
Introduction – The Beginning of Madness.
So the steamer trunk project is something that I had been thinking about for a year; though originally it was not mine to work with – it originally belonged to my sister Lily.
Not long after we moved into our flat in Fall of 2017, the furnace went belly up and took the water heater with it. Not that big of a deal but the water heater freaked out and started just DUMPING water into the basement. There is a sump pump down there but it couldn’t keep up – the whole basement was flooded overnight and a lot of stuff had to get thrown out. It really sucked.
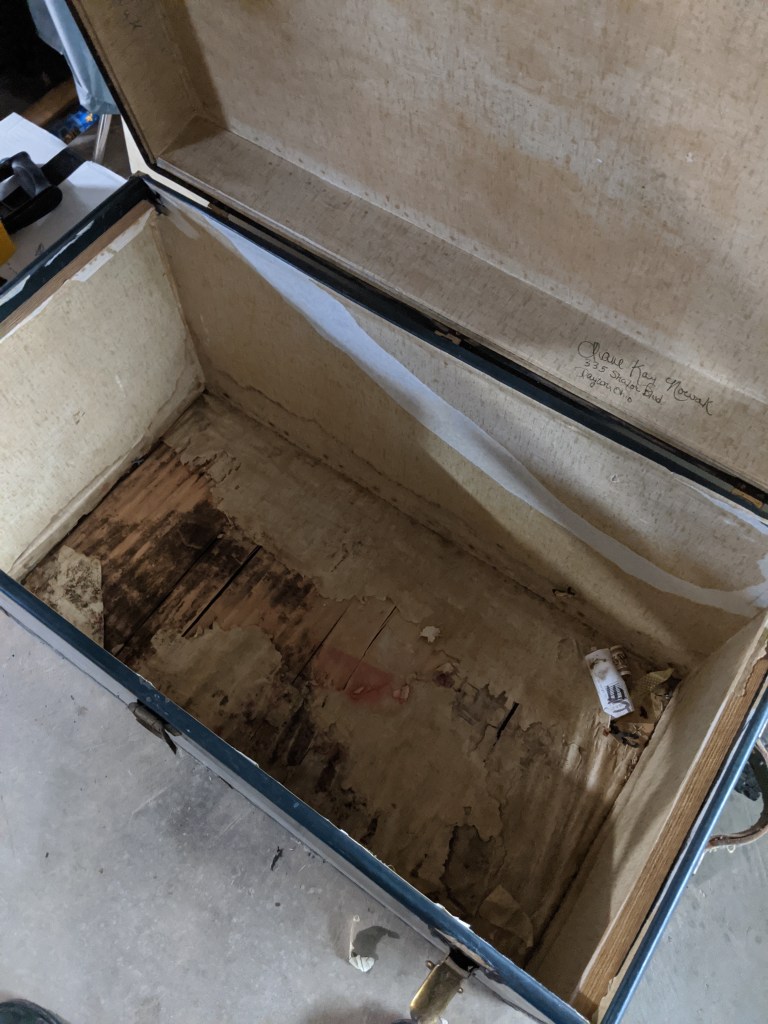
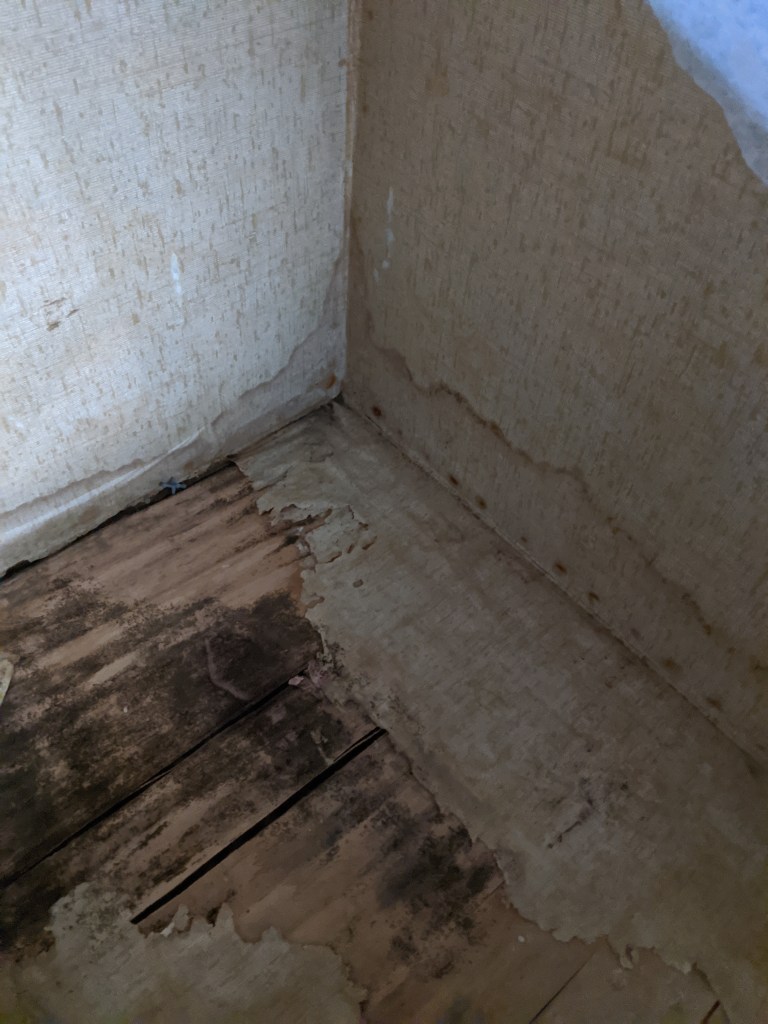
The steamer trunk took A LOT of water damage to it; about 2 inches worth I’d wager. The bottom was utterly a loss and as you can imagine, the musky smell in the trunk itself was… it had character.
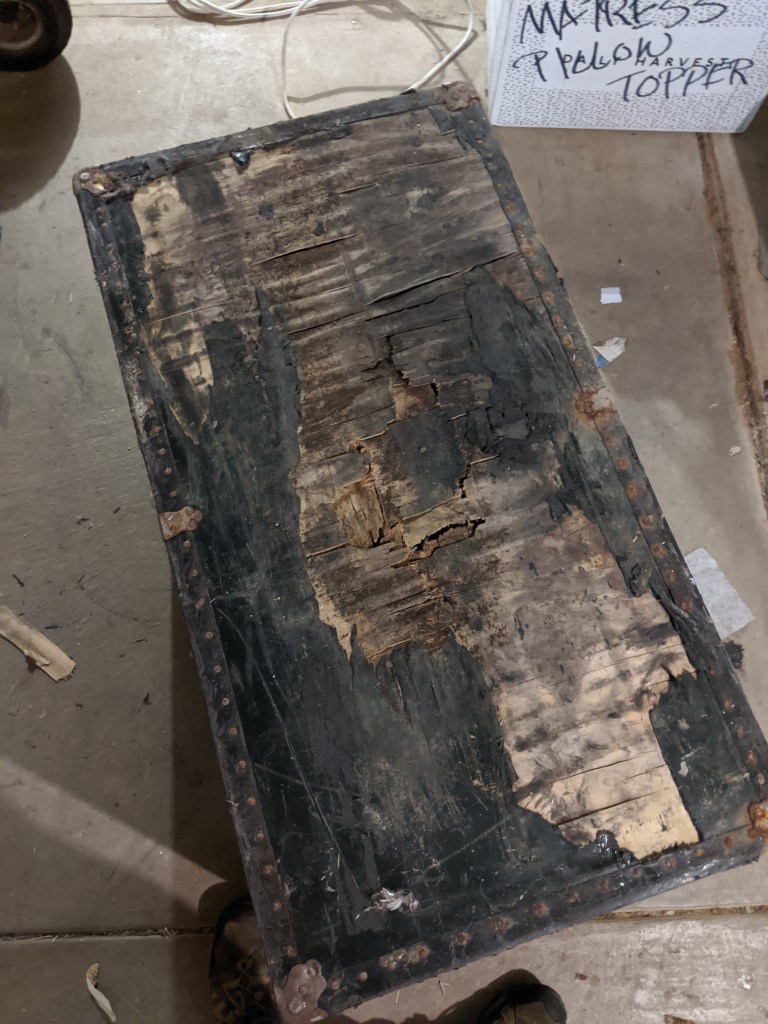
It was fairly bad. Lily was put out and understandably so, she had the trunk for years. When she moved out in July of 2019, she decided to leave it behind and told me to do with it what I wanted. I poked around at it; it could be repaired if I was crazy enough to fashion a new bottom for it. I gave myself a year deadline to address it so it didn’t take up space if it needed to go.
I had planned to work on it during the Summer hours in which my spouse Liz would be working overtime. As much the pandemic made everything more challenging; interestingly enough, it all kind of fell into place. The project, as it grew and changed in it’s production, really is a series of small steps piled on top of each other. 5 minutes here, 10 minutes there; it helped give me something to focus on to stay sane when things are initializing, and I acclimated to the new… normal I guess.
A plan is formed and slowly takes action:
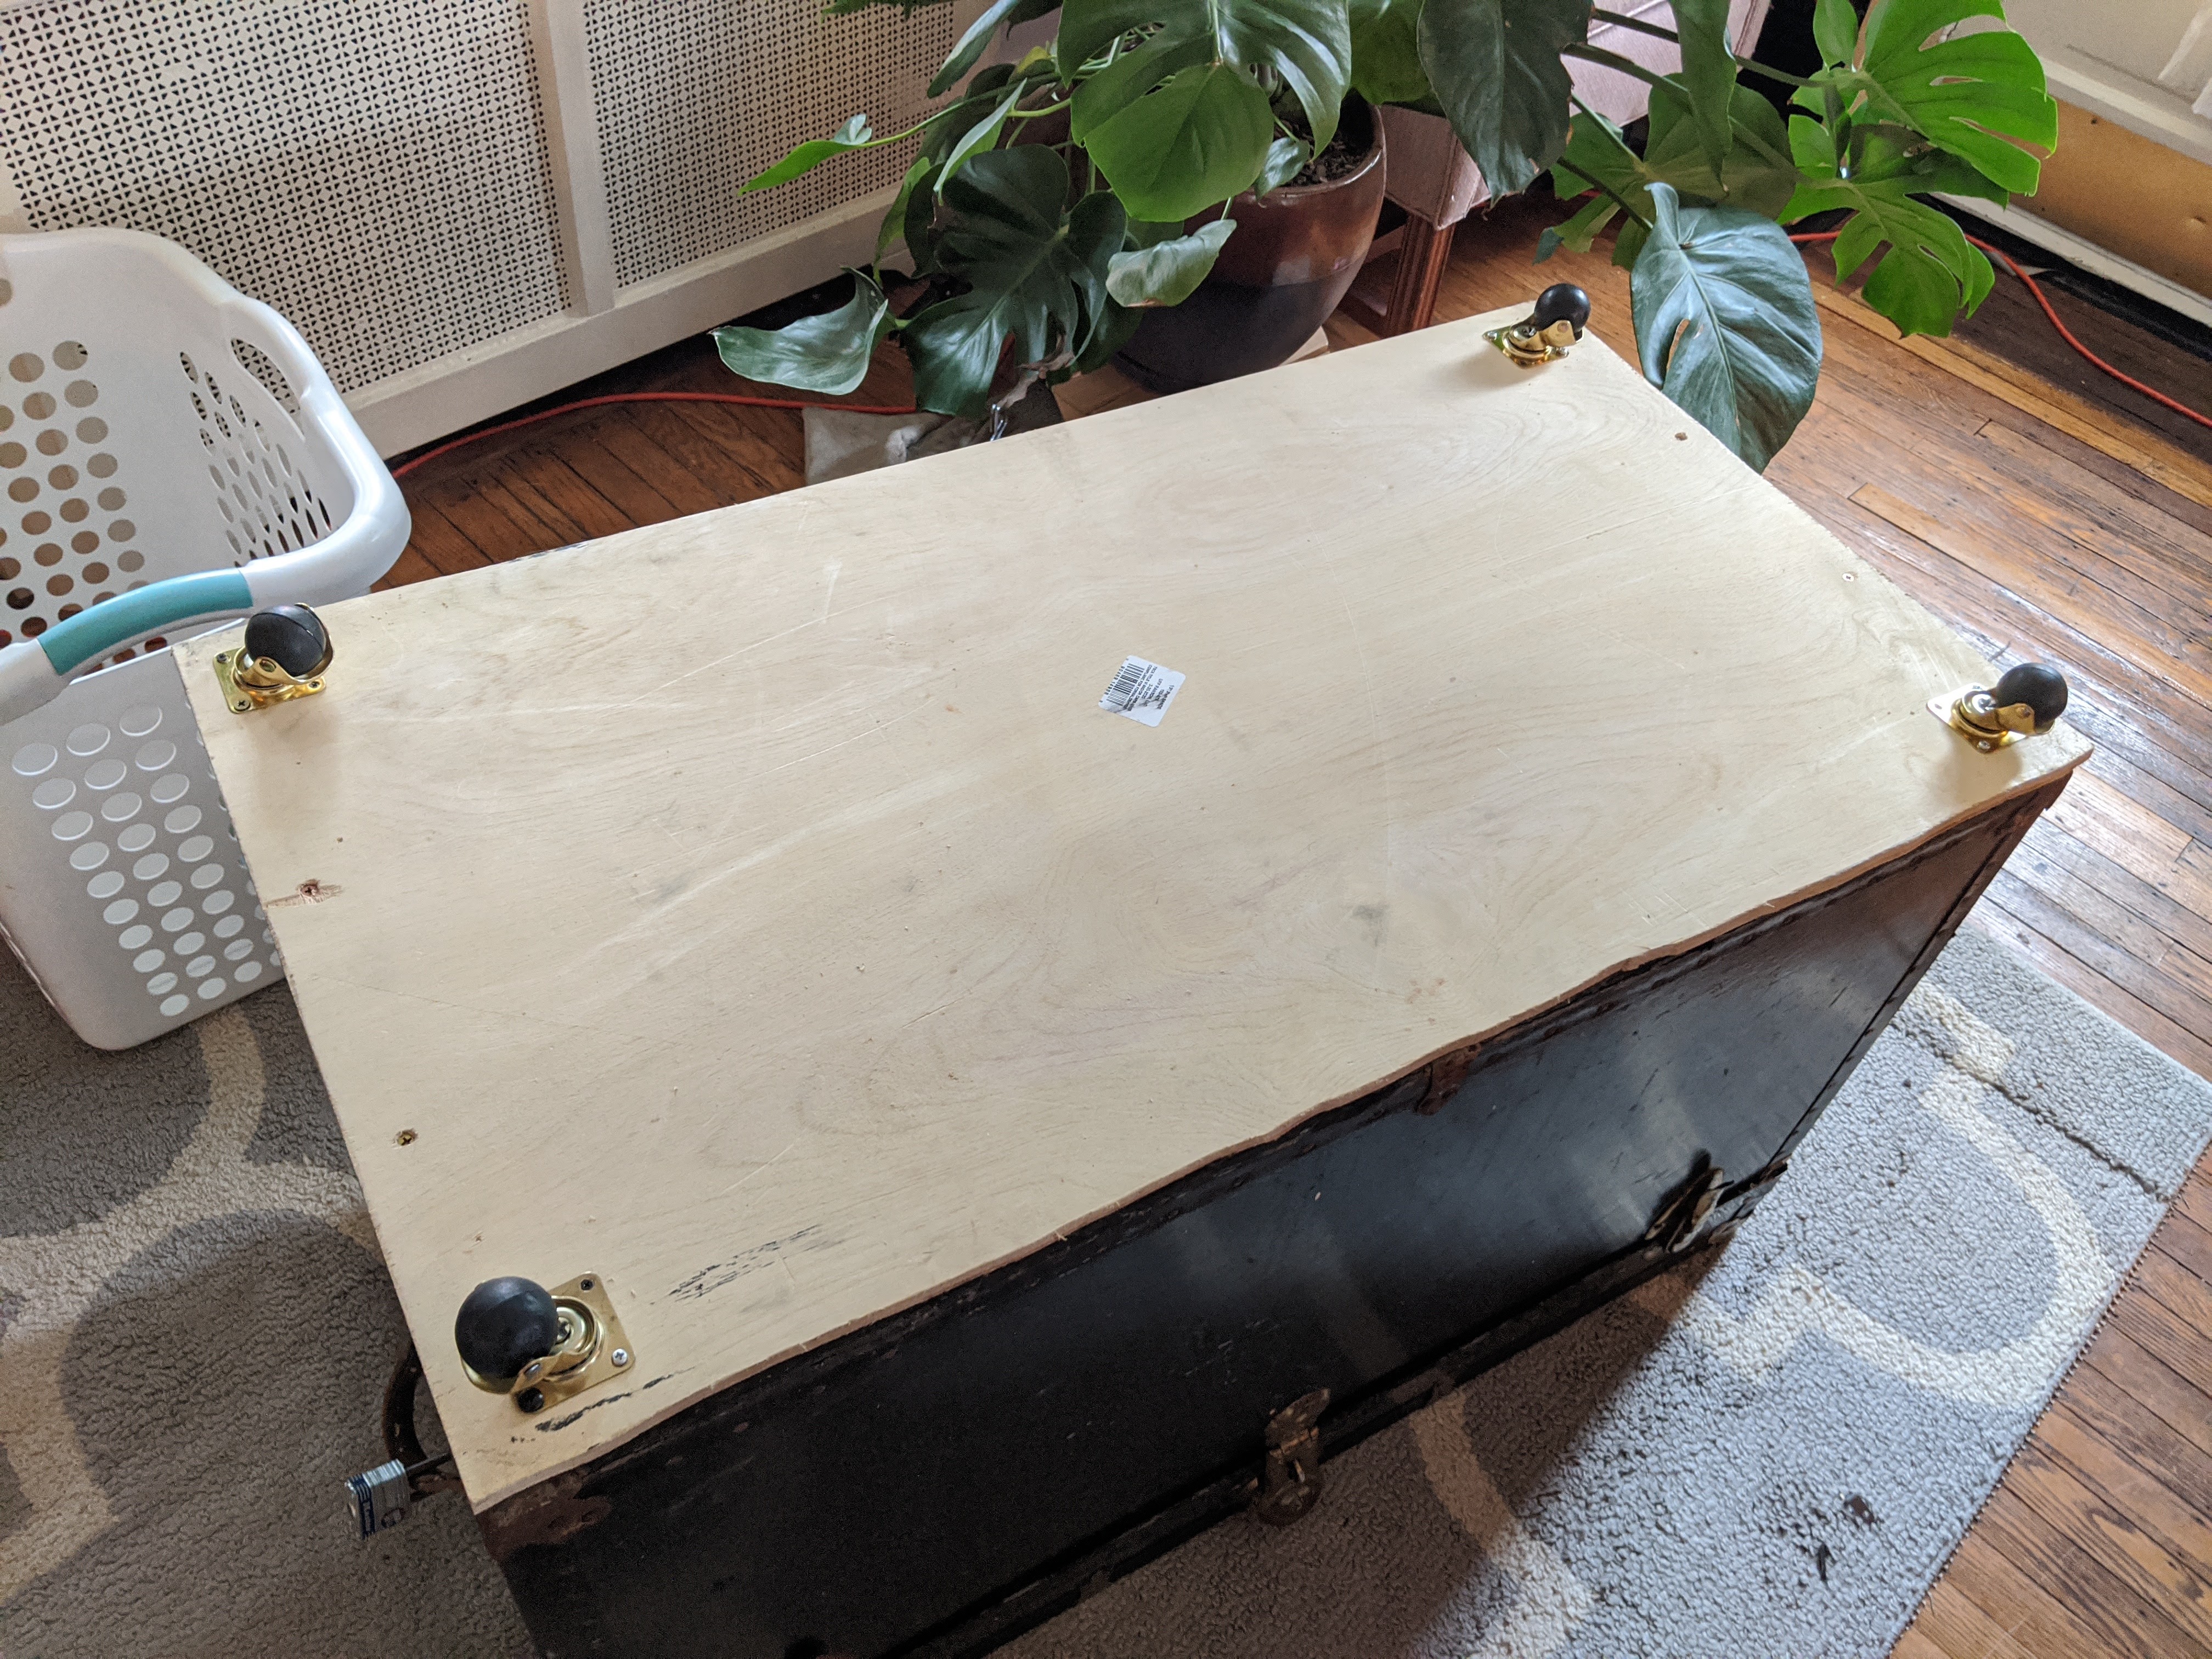
When I started hammering out details on how to address the steamer trunk, I knew I would need plywood for the bottom. I could go through the trouble of removing all the riveted bands attached to the bottom but sensibly they are all interlaced from its primary construction. I already had the plywood prior to the pandemic, but hadn’t cut it yet – now things were underway, I did that prior to cutting.
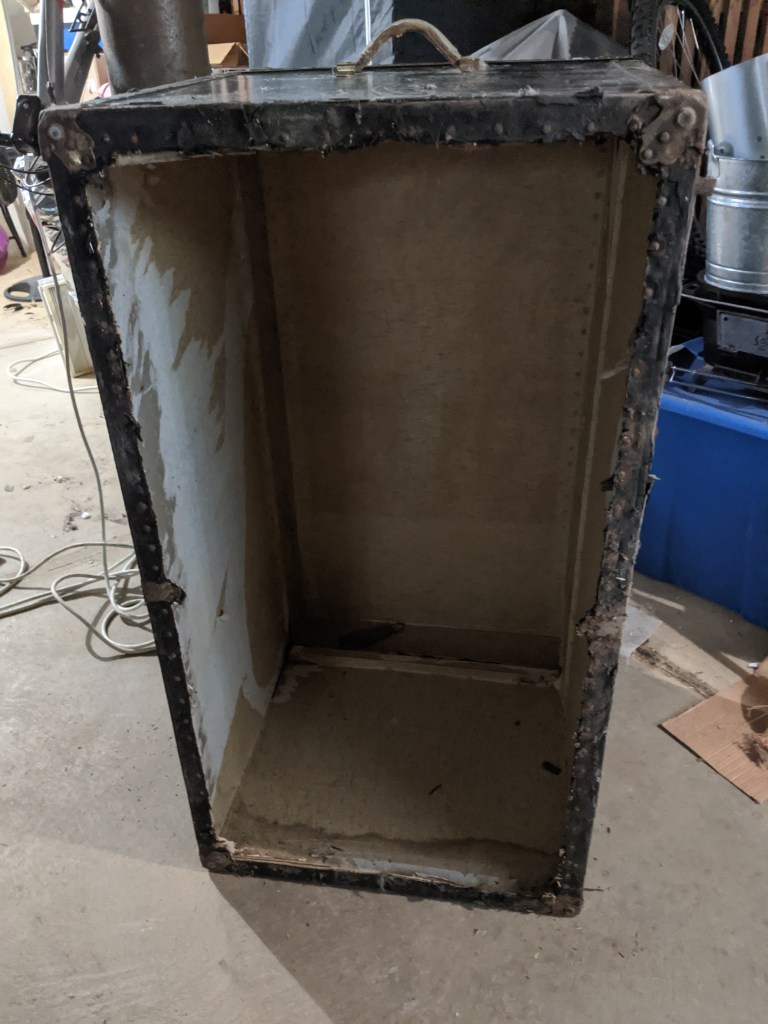
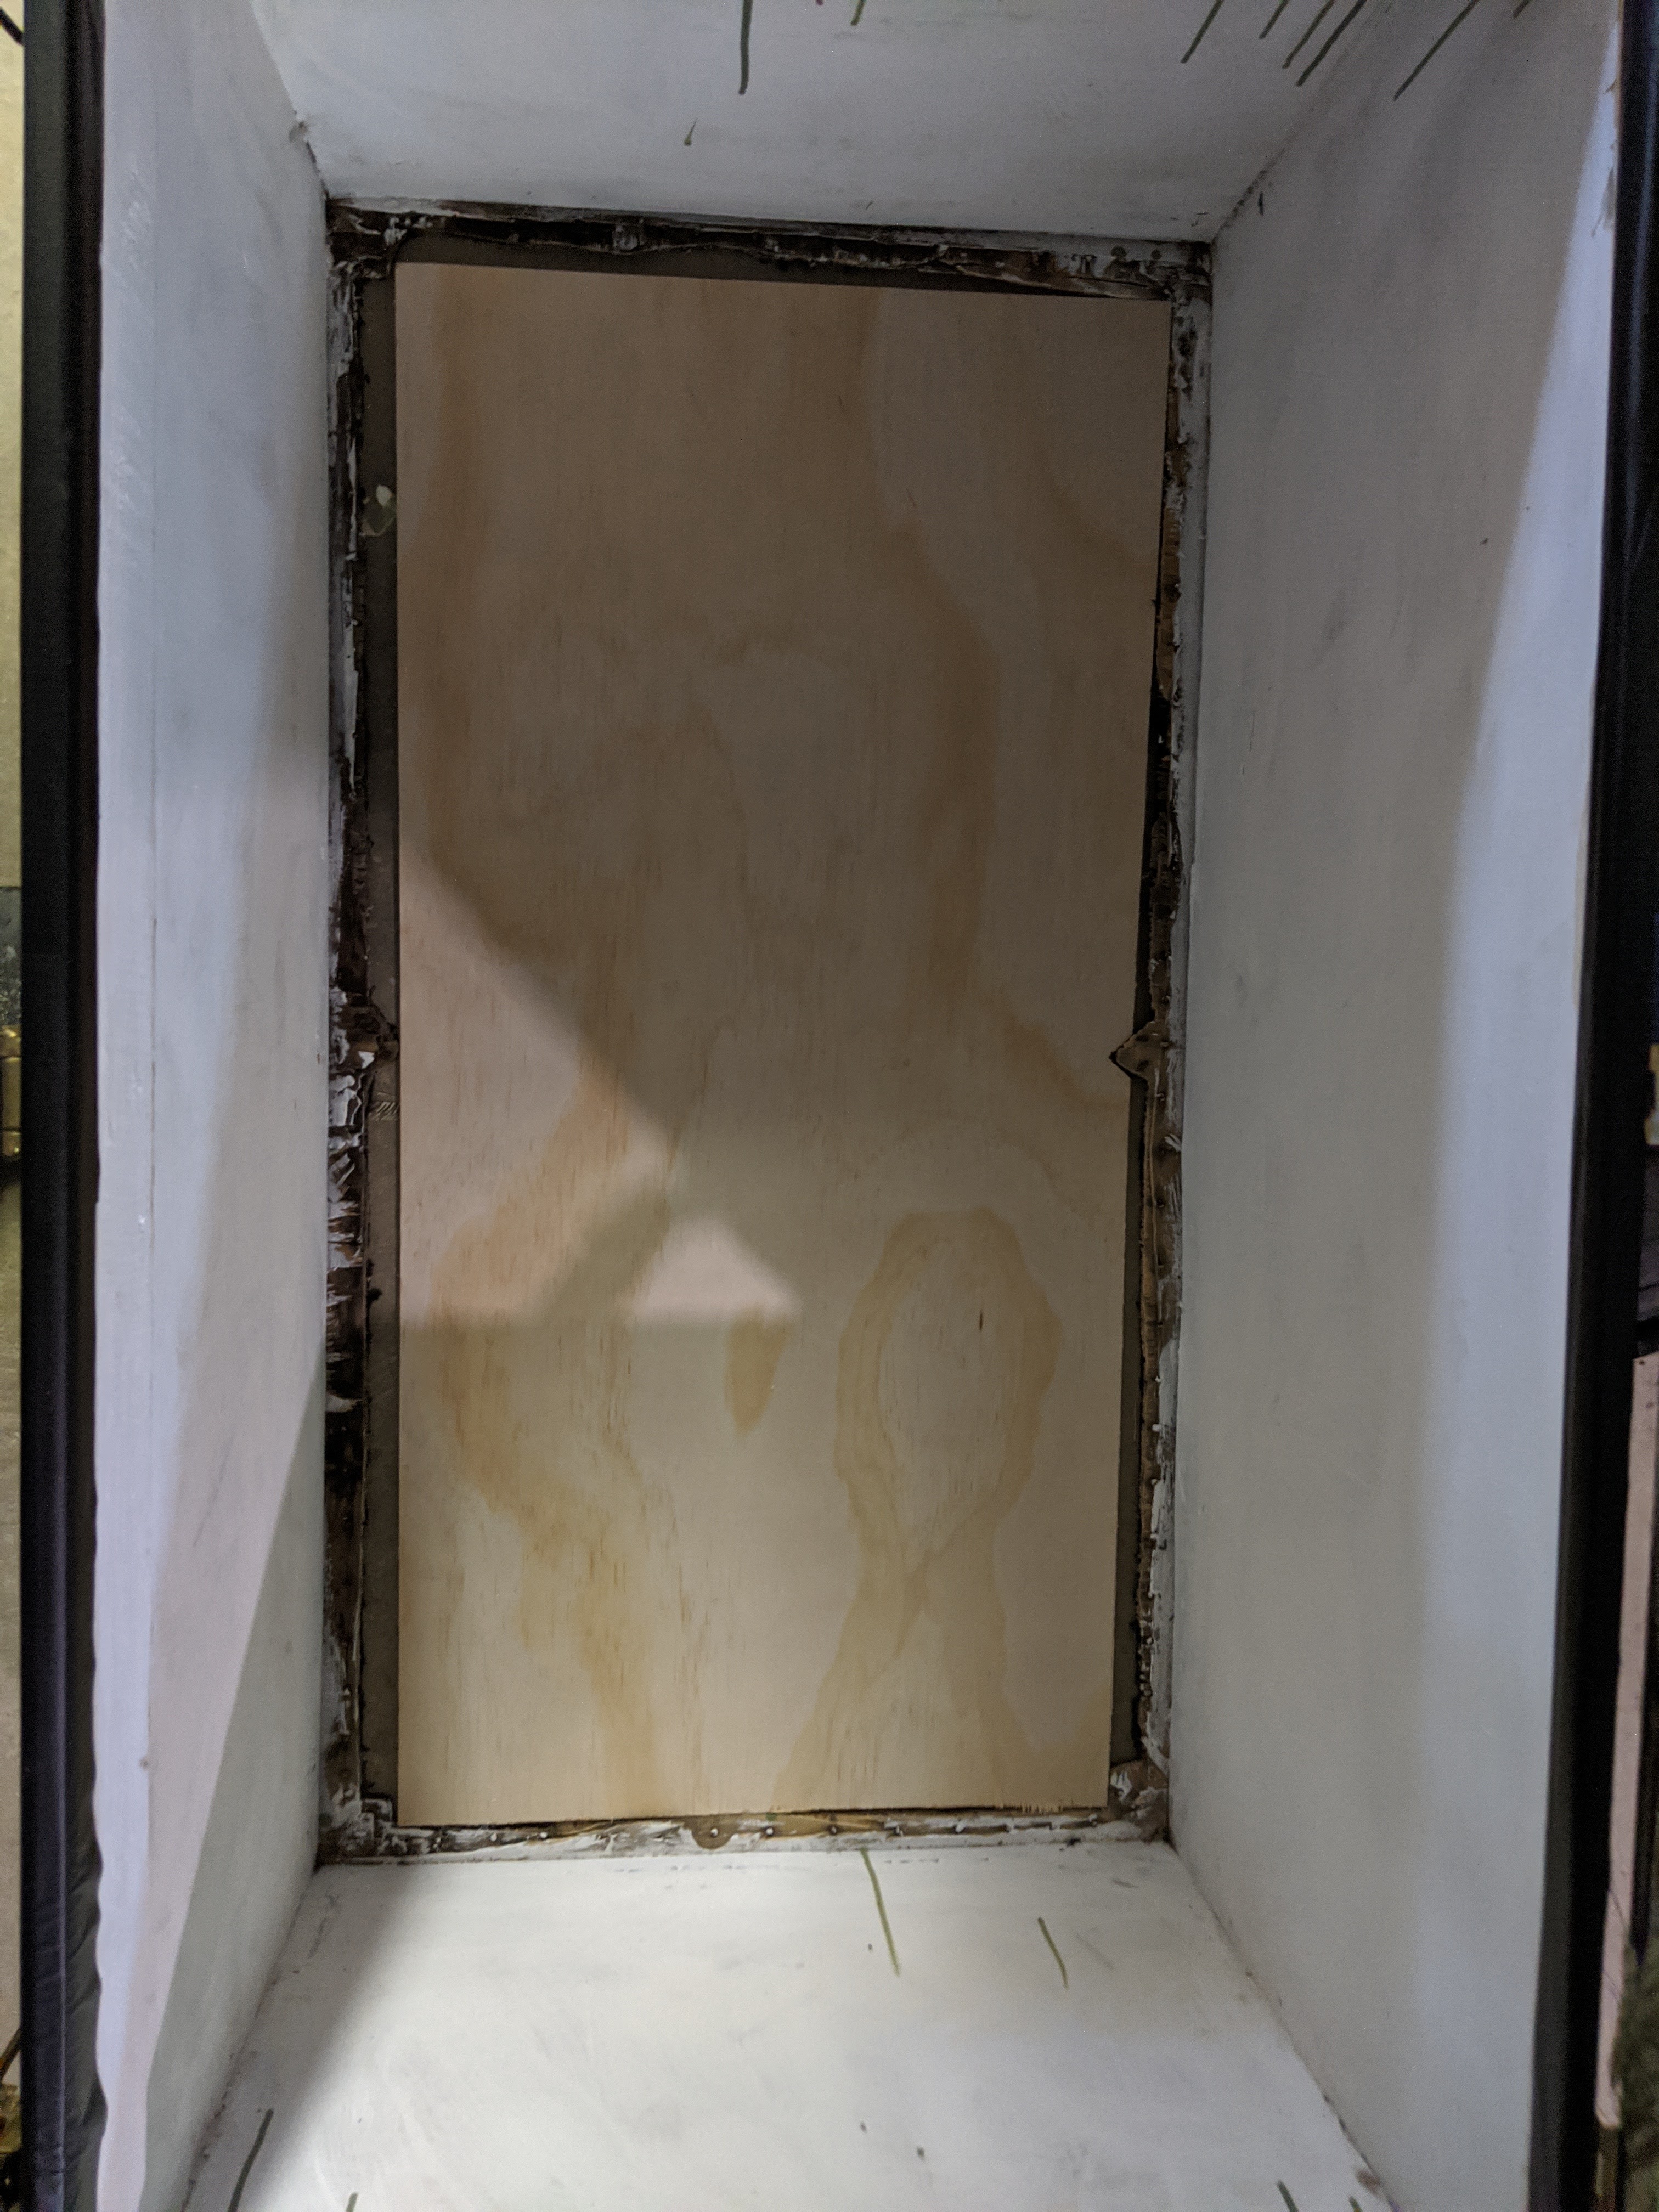
I next took on the crazy part of clearing out the damaged sections of the trunk and recover it. I busted out the jig saw and slowly but careful cut out the body of the bottom of the trunk. I didn’t take a picture of the debris that came from it but it was TERRIBLE. The water damage turned the bottom into paper machete tatters. All went into the trash.
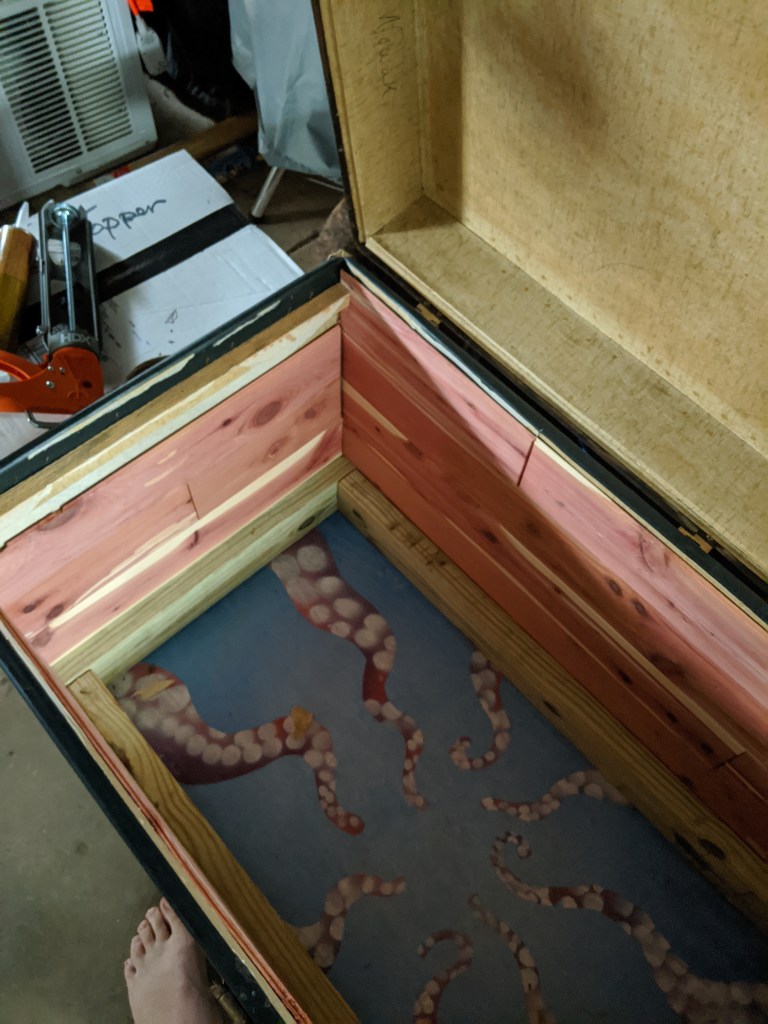
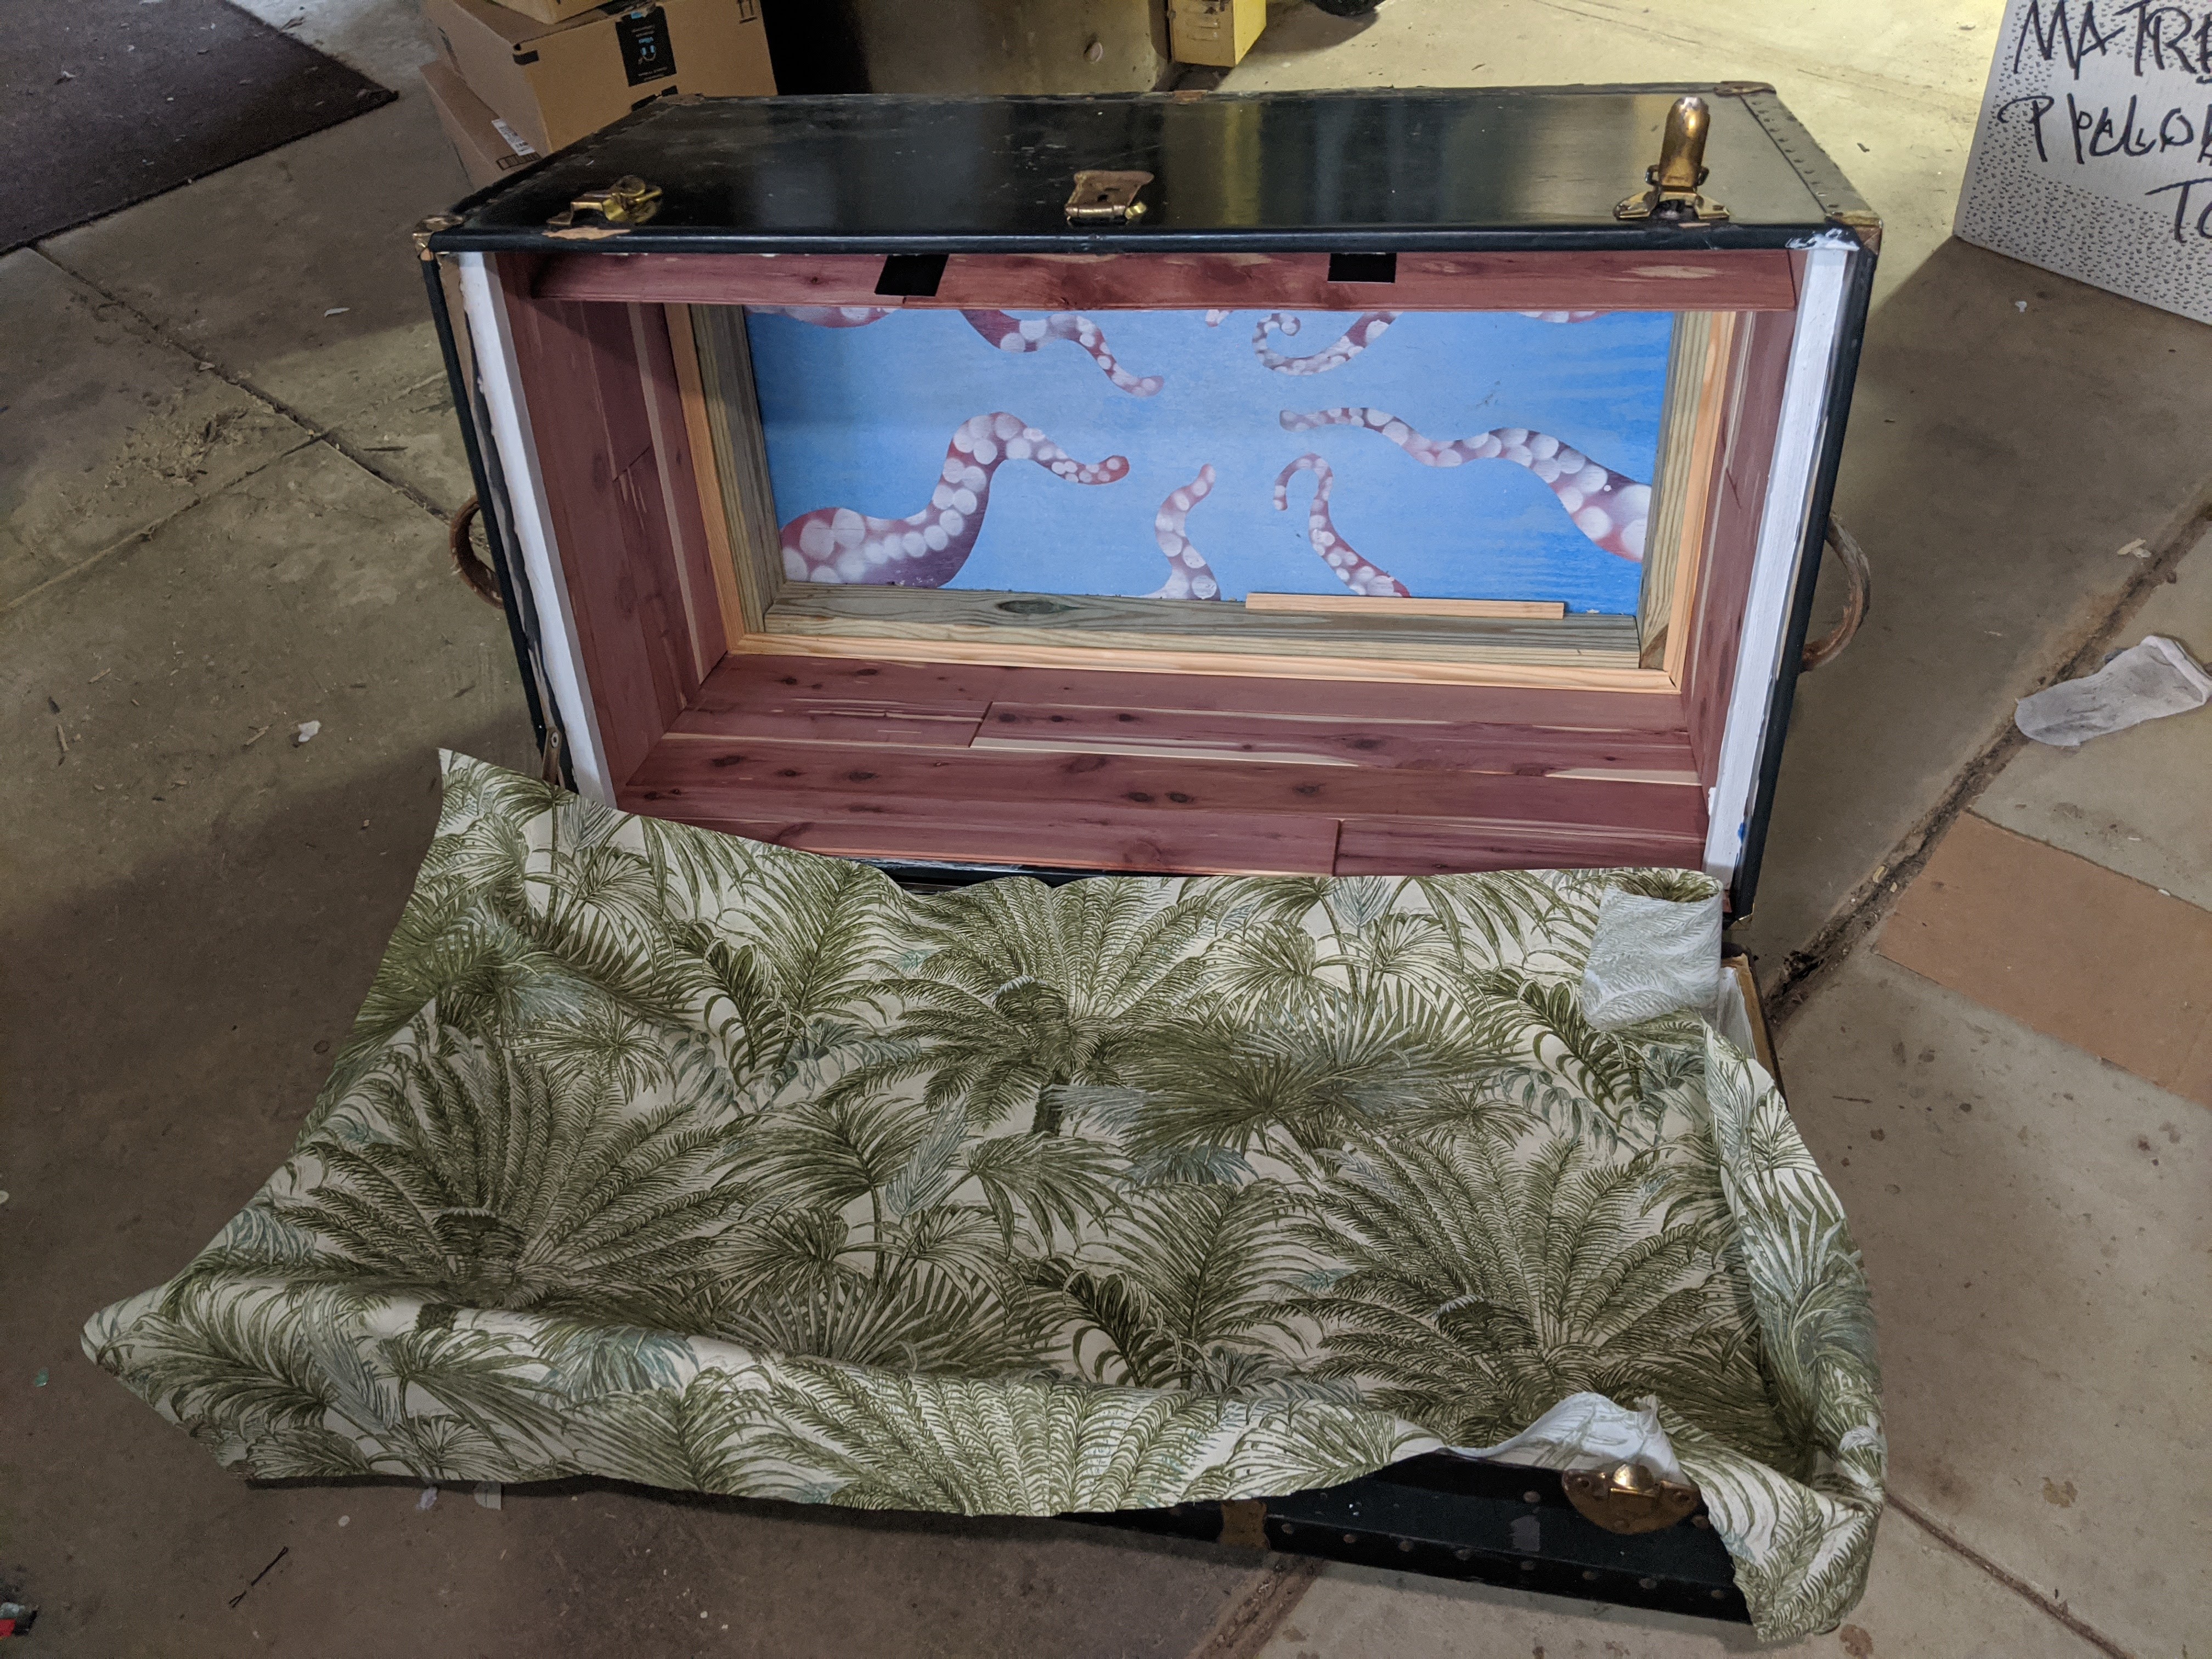
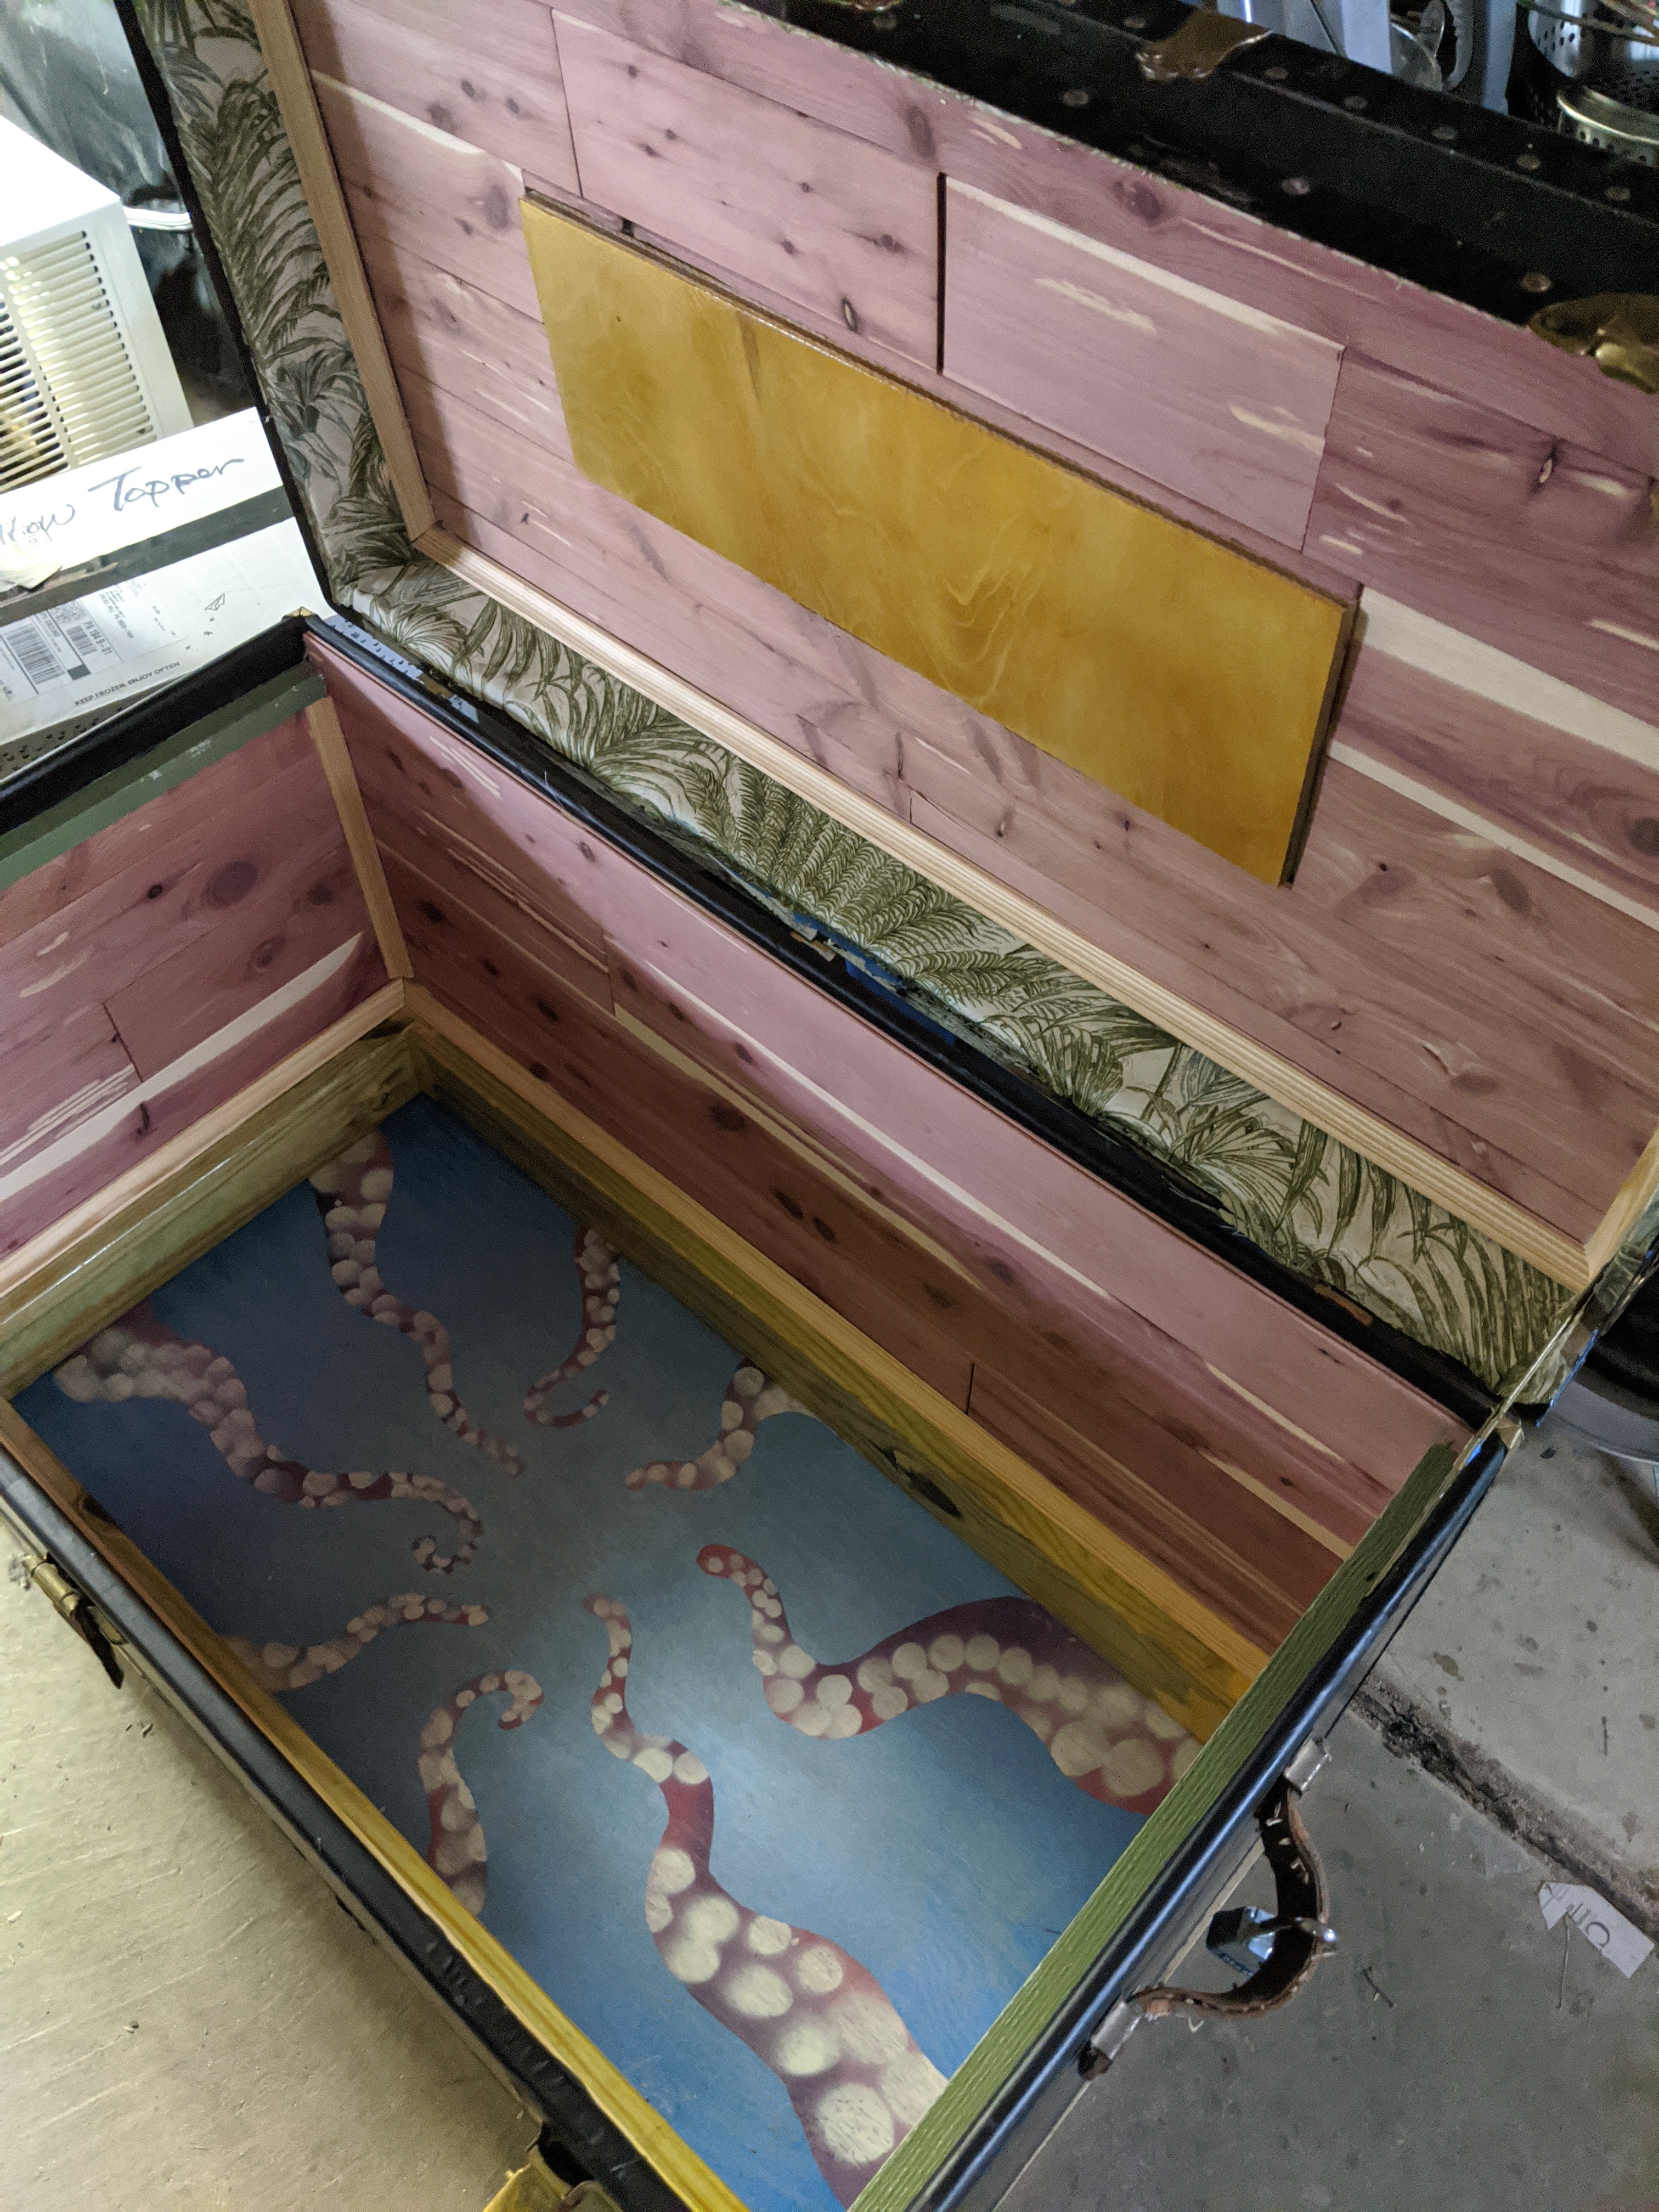
Now the tentacle mural was a gift from Lily as well and it dawned on me that it might look amazing as the bottom of the trunk! I would have to cut it length wise but it was too narrow on it’s own to be a true bottom. I knew it would require a wood ‘frame’ for the bottom, which would both allow for the tentacle art to be visible bottom comfortably, and offer substantial support for the functional bottom that would overlap the still viable parts of the trunk frame.
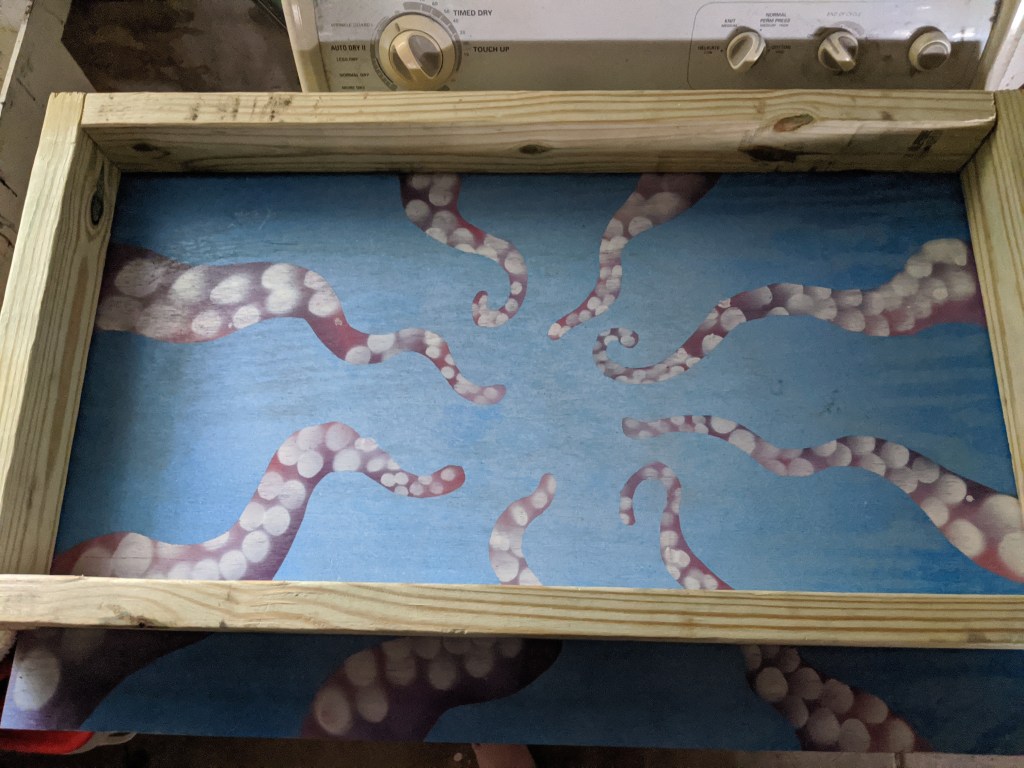
I thought about splitting the tentacle artwork to have a split bottom frame but felt it would have weakened the work and did not feel comfortable with it. So, wrap frame it is. It would have to be a 2 x 4 to be enough but how would it look? I made the cuts on the artwork and tried out the dry fit. It was the anchoring moment that made my skin chill. It was PERFECT!

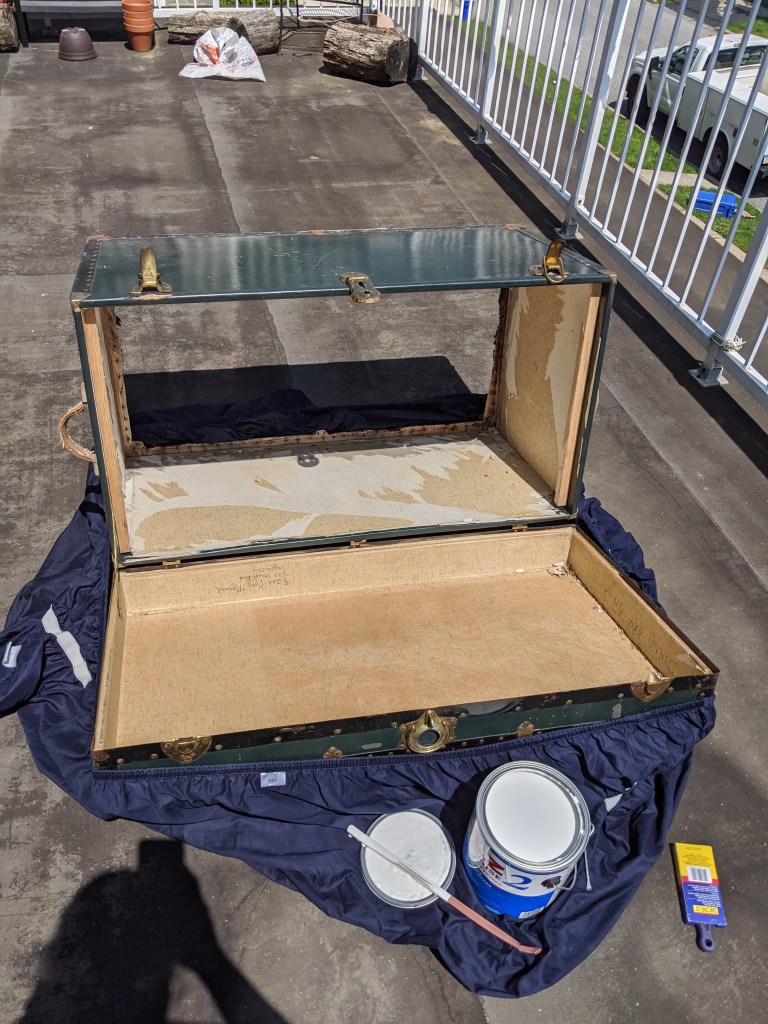
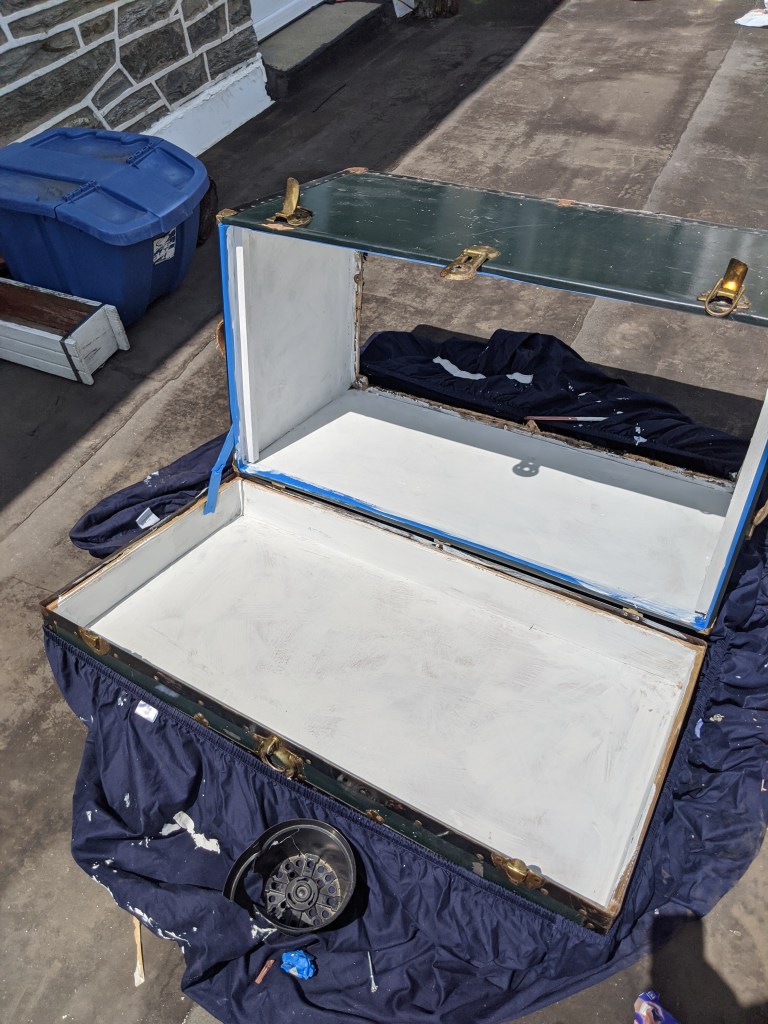
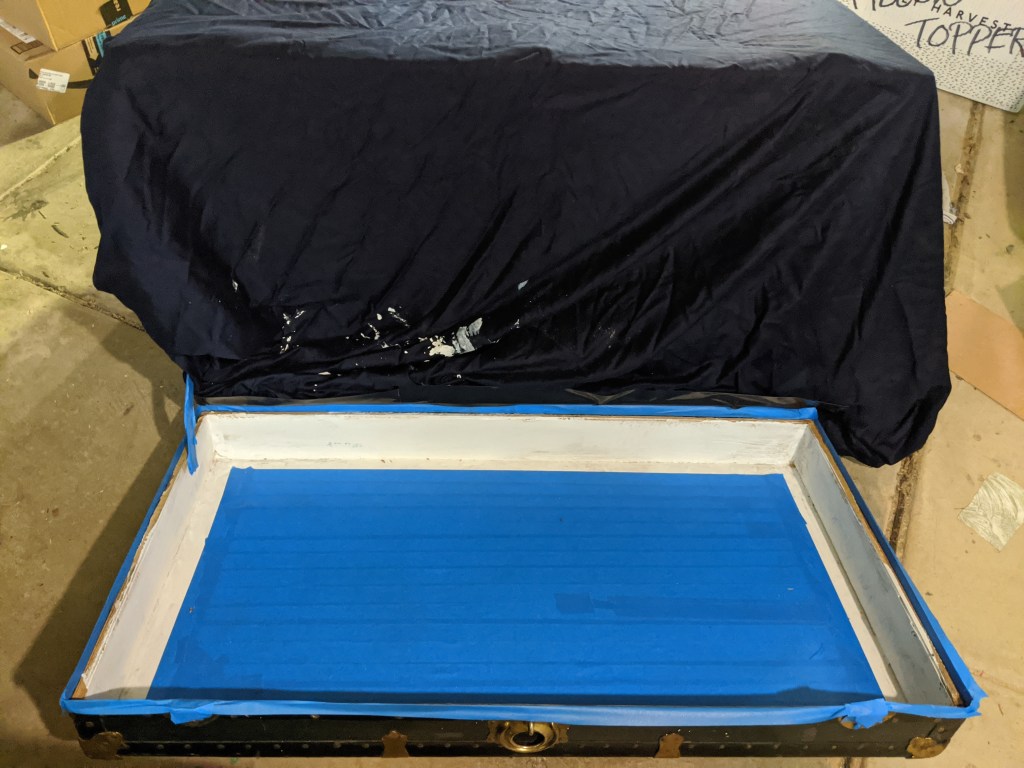
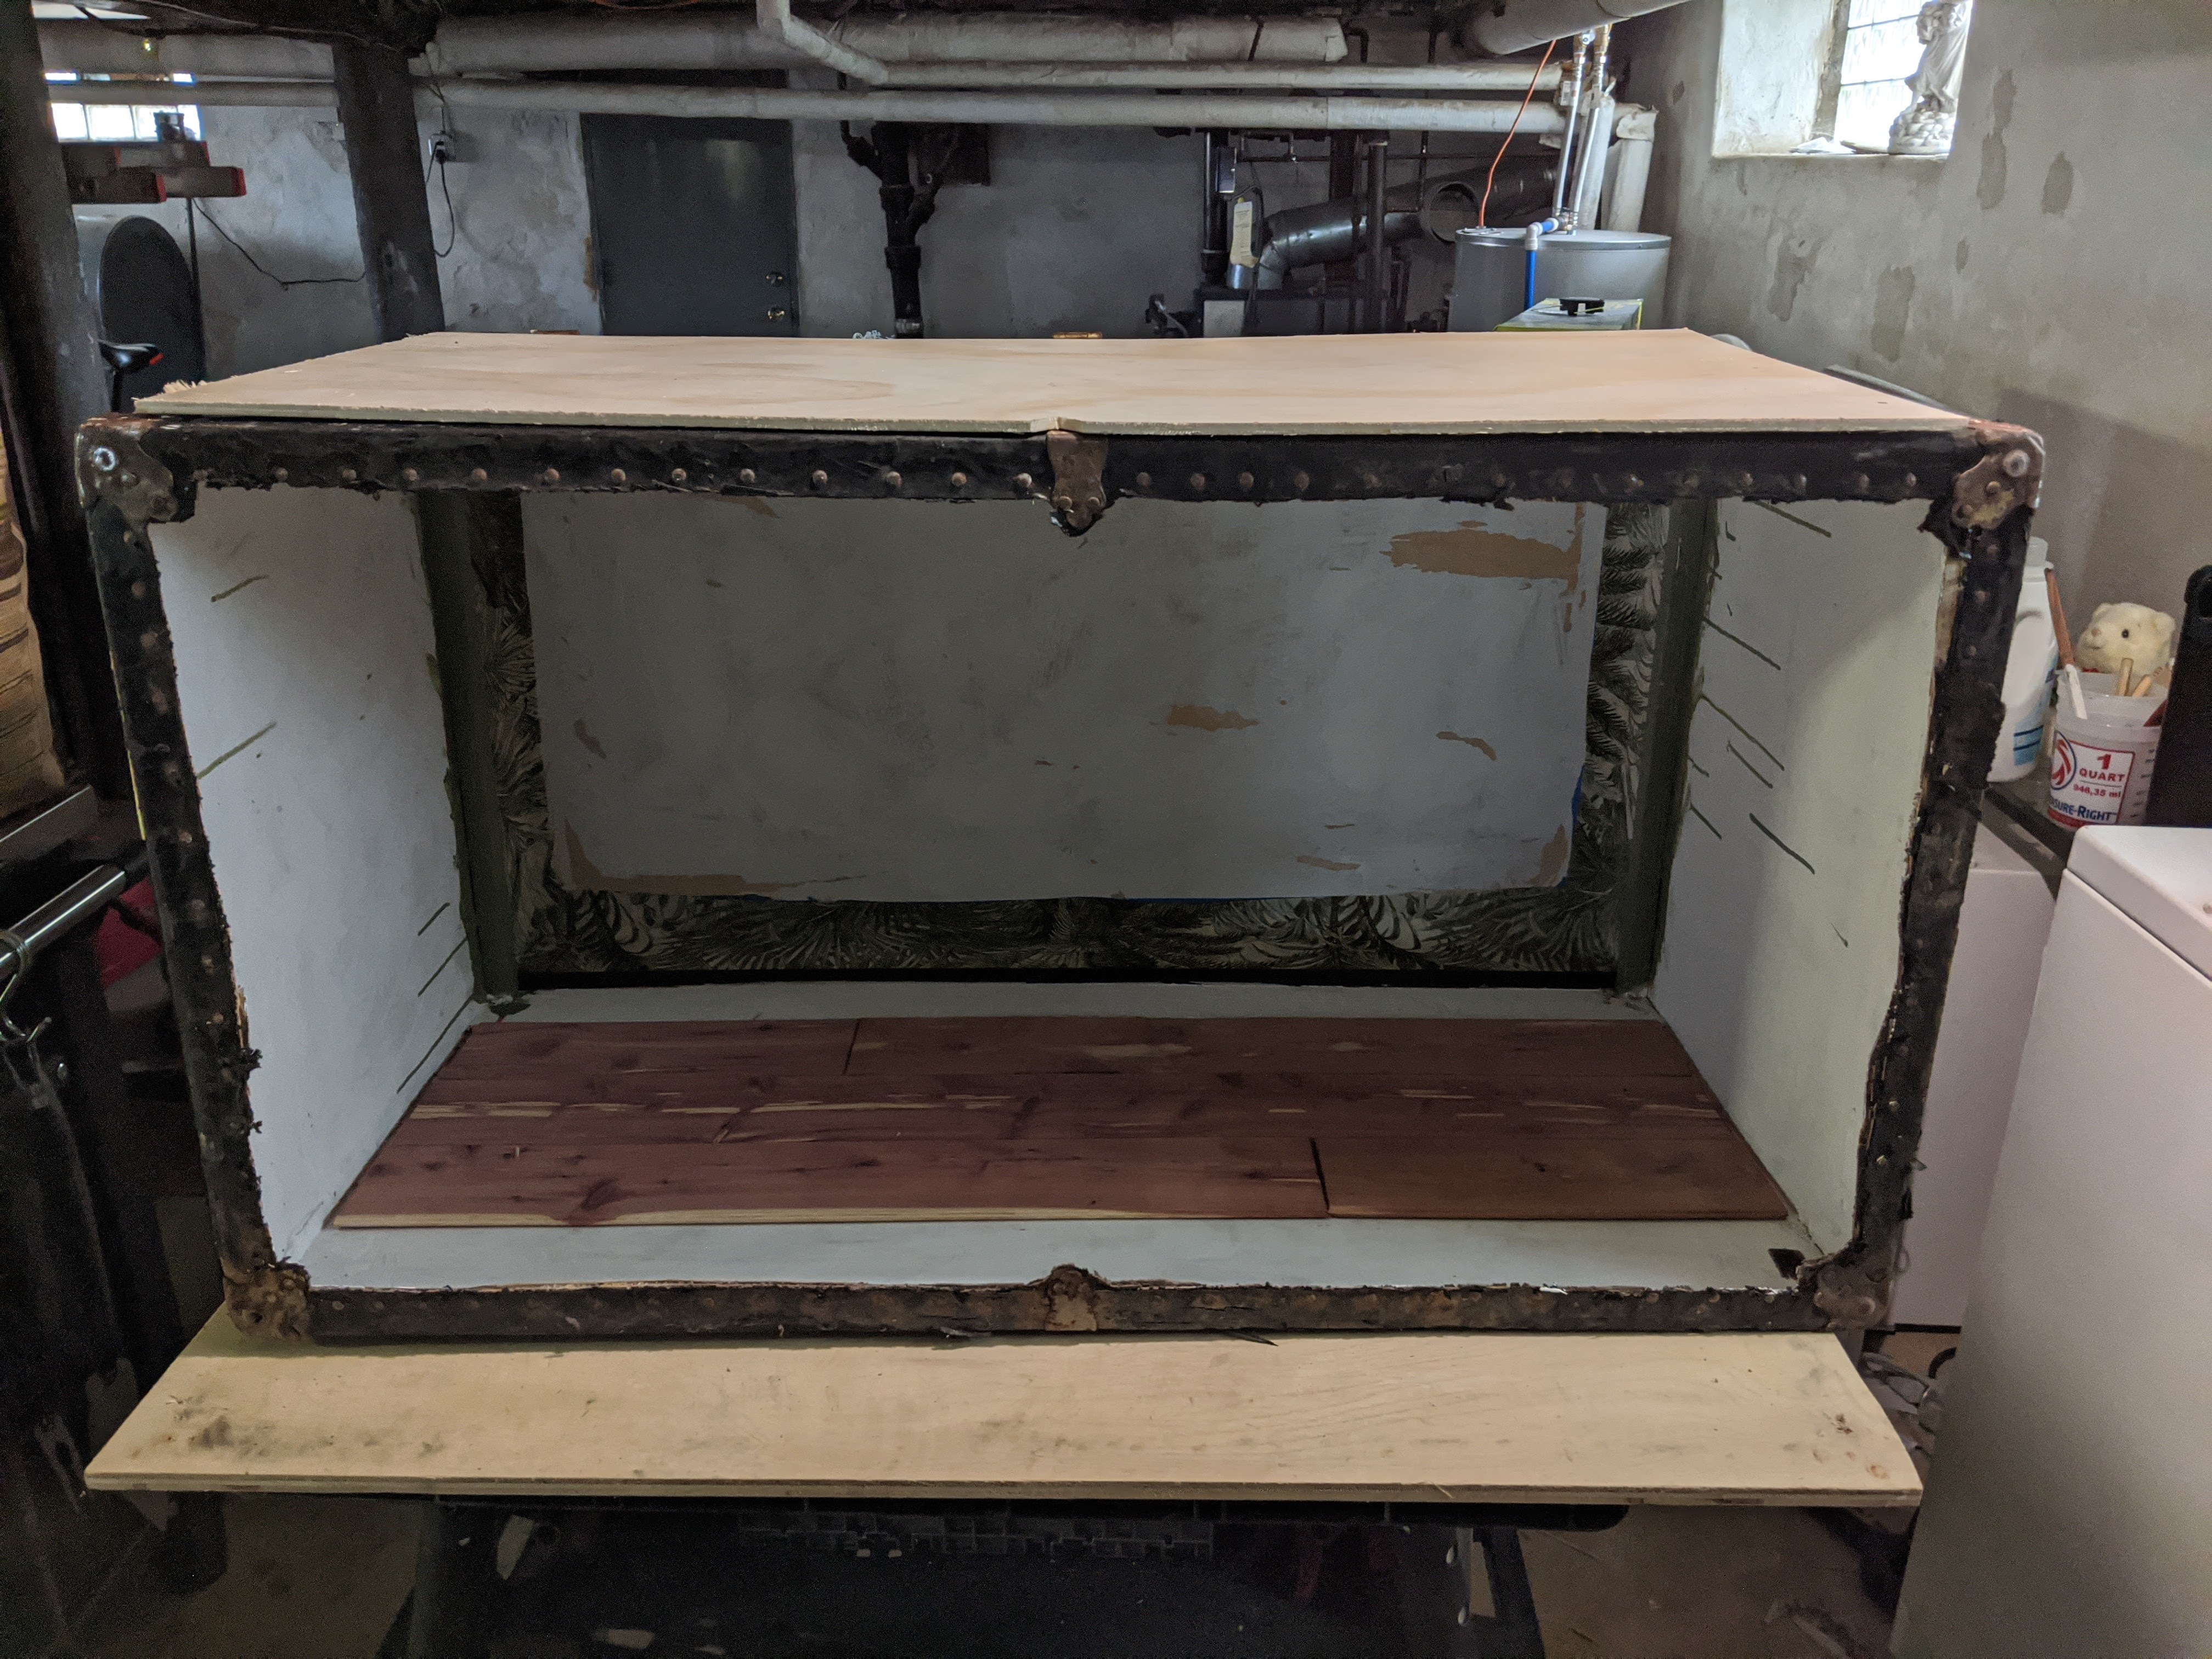
The weather was on my side, so I drug the chest upstairs for a coating of KILZ on the inside to get rid of the musky smell that comes from older steamer trunks, especially with water damage. I knew this was a good call thanks to Two Purple Couches blog; they had recovered a streamer trunk of their own and were considerably inspirational on the next few steps. Thank you, Folks!!
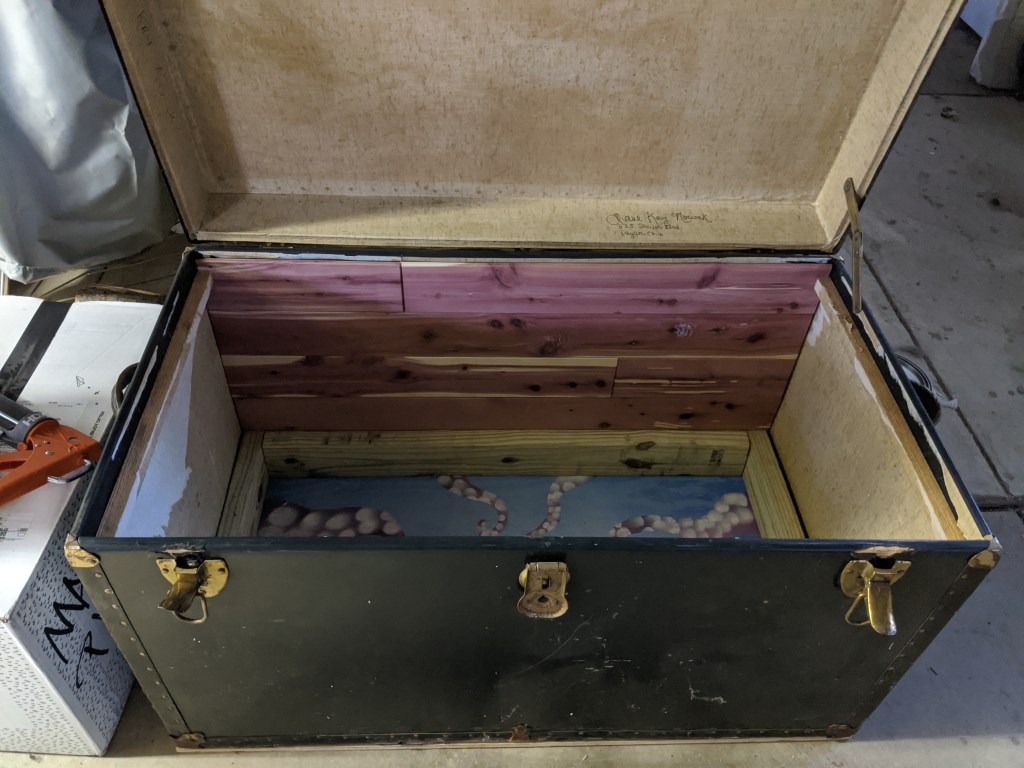
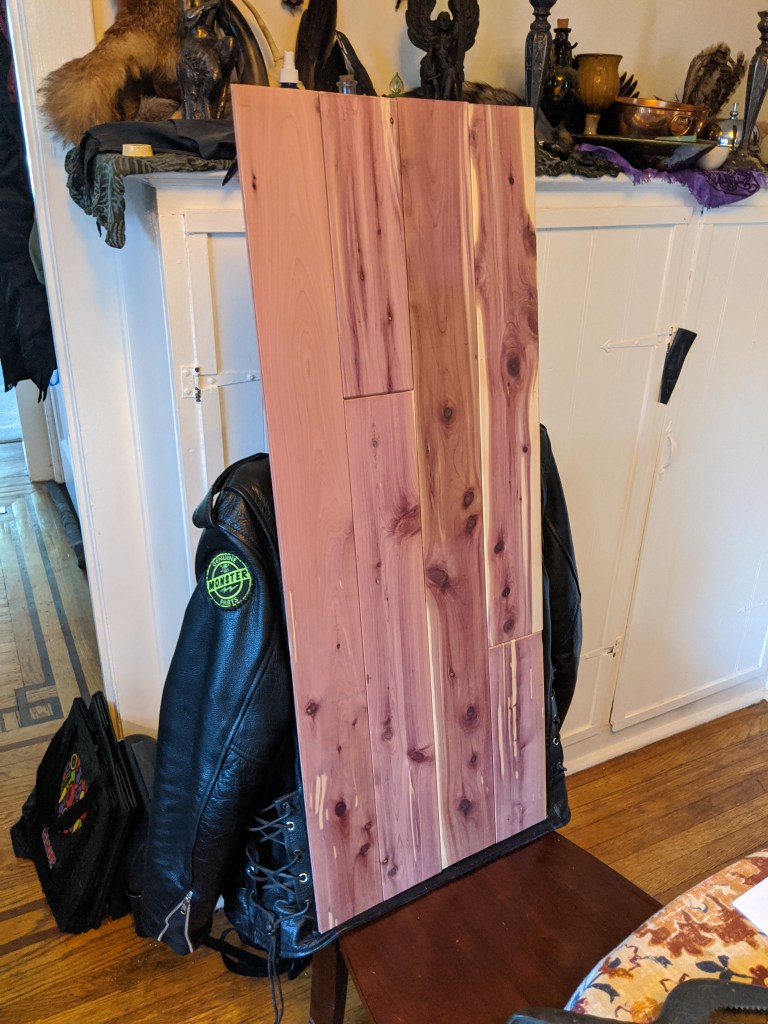
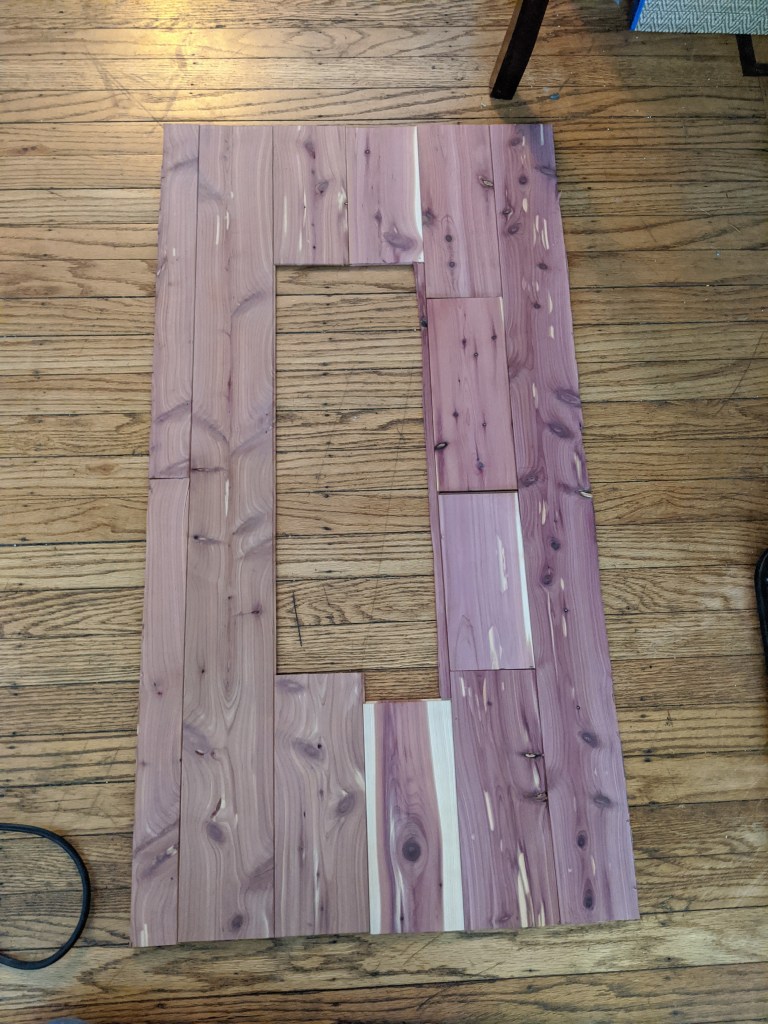
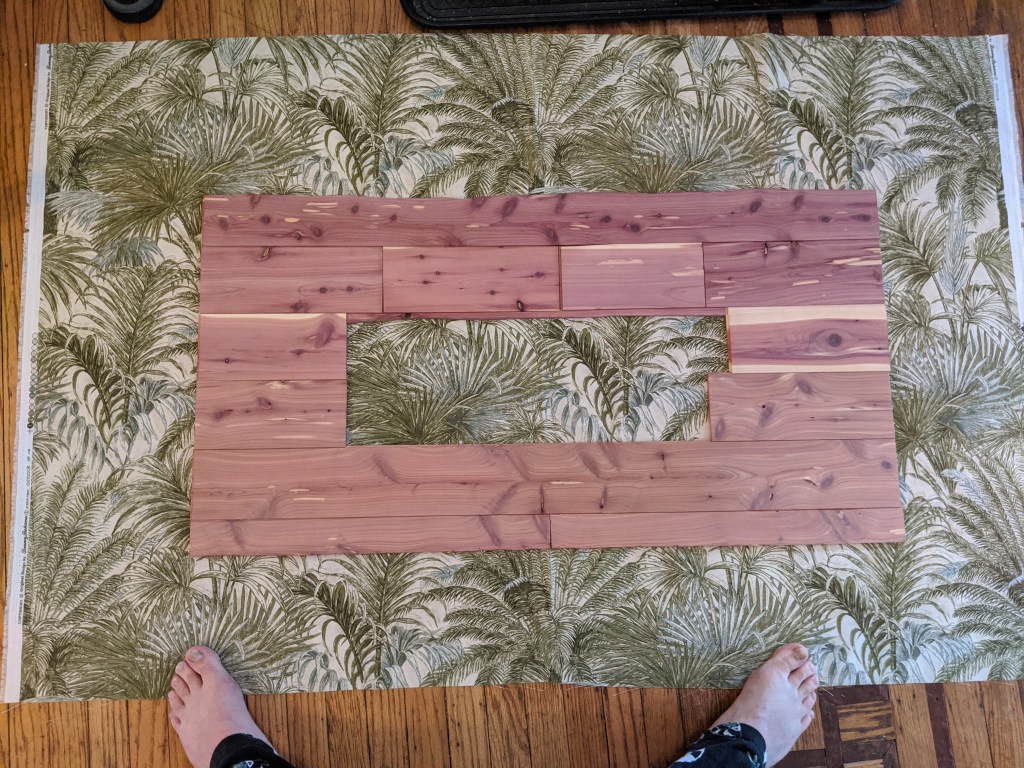
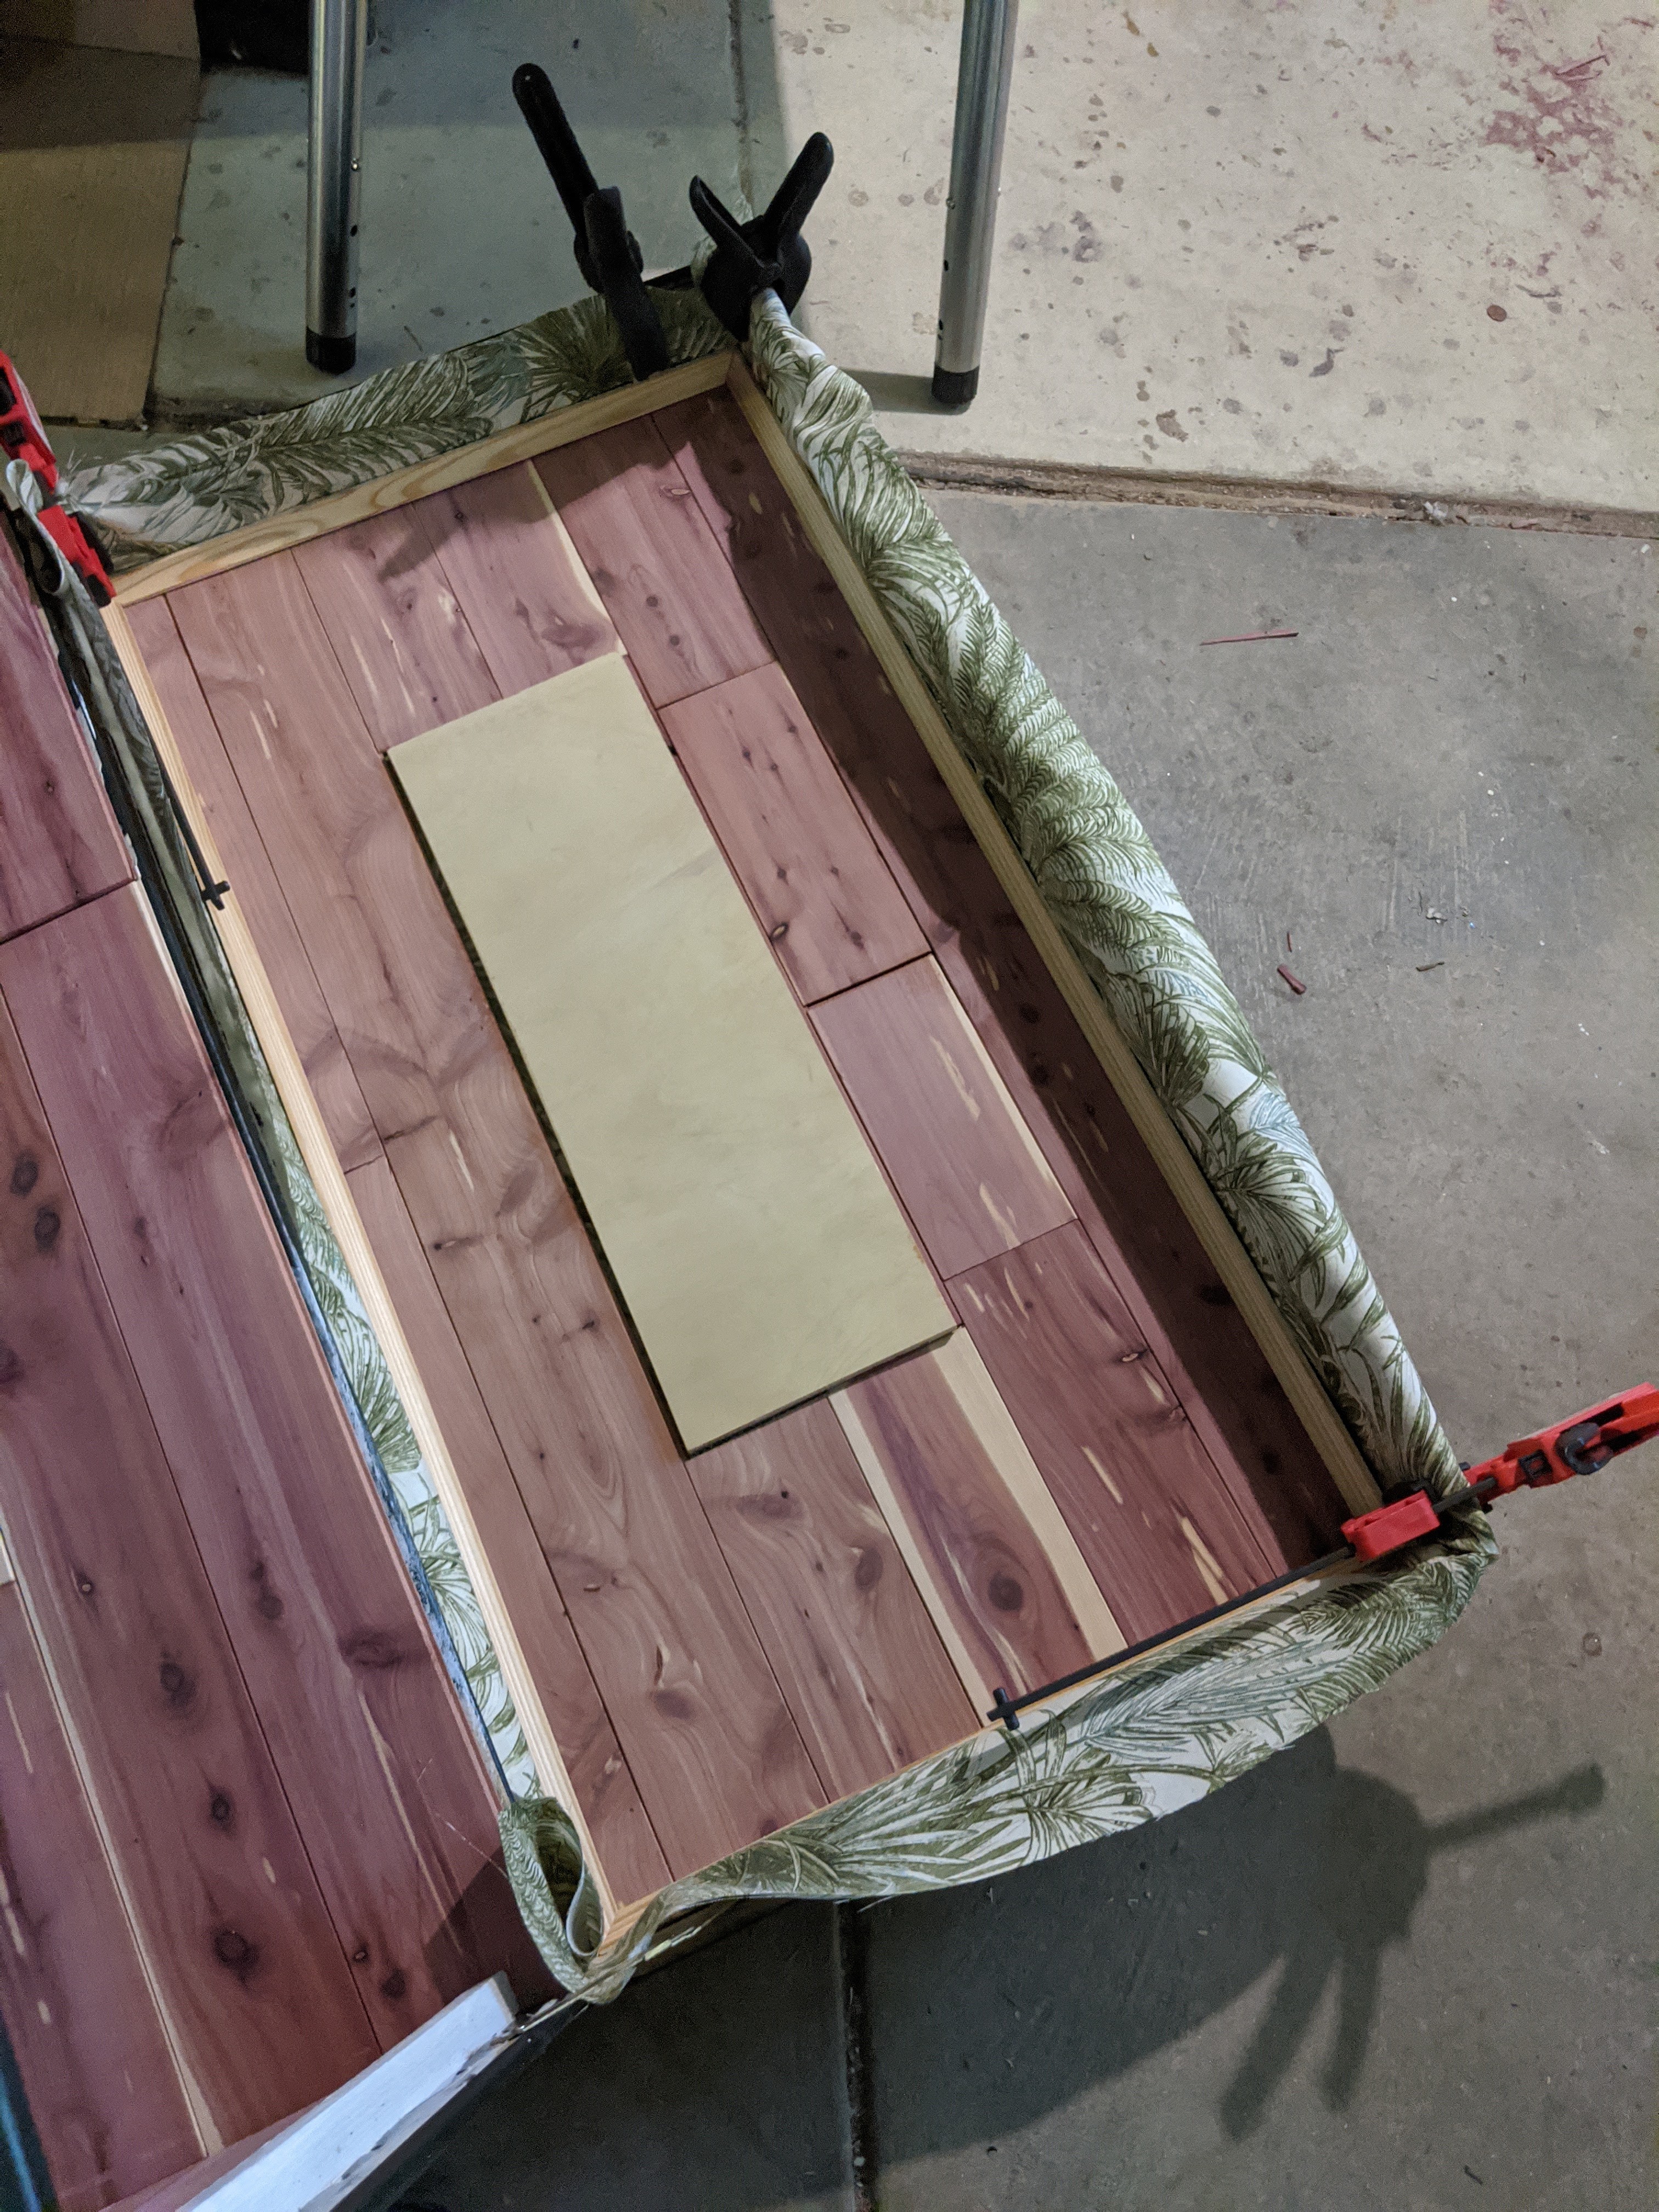
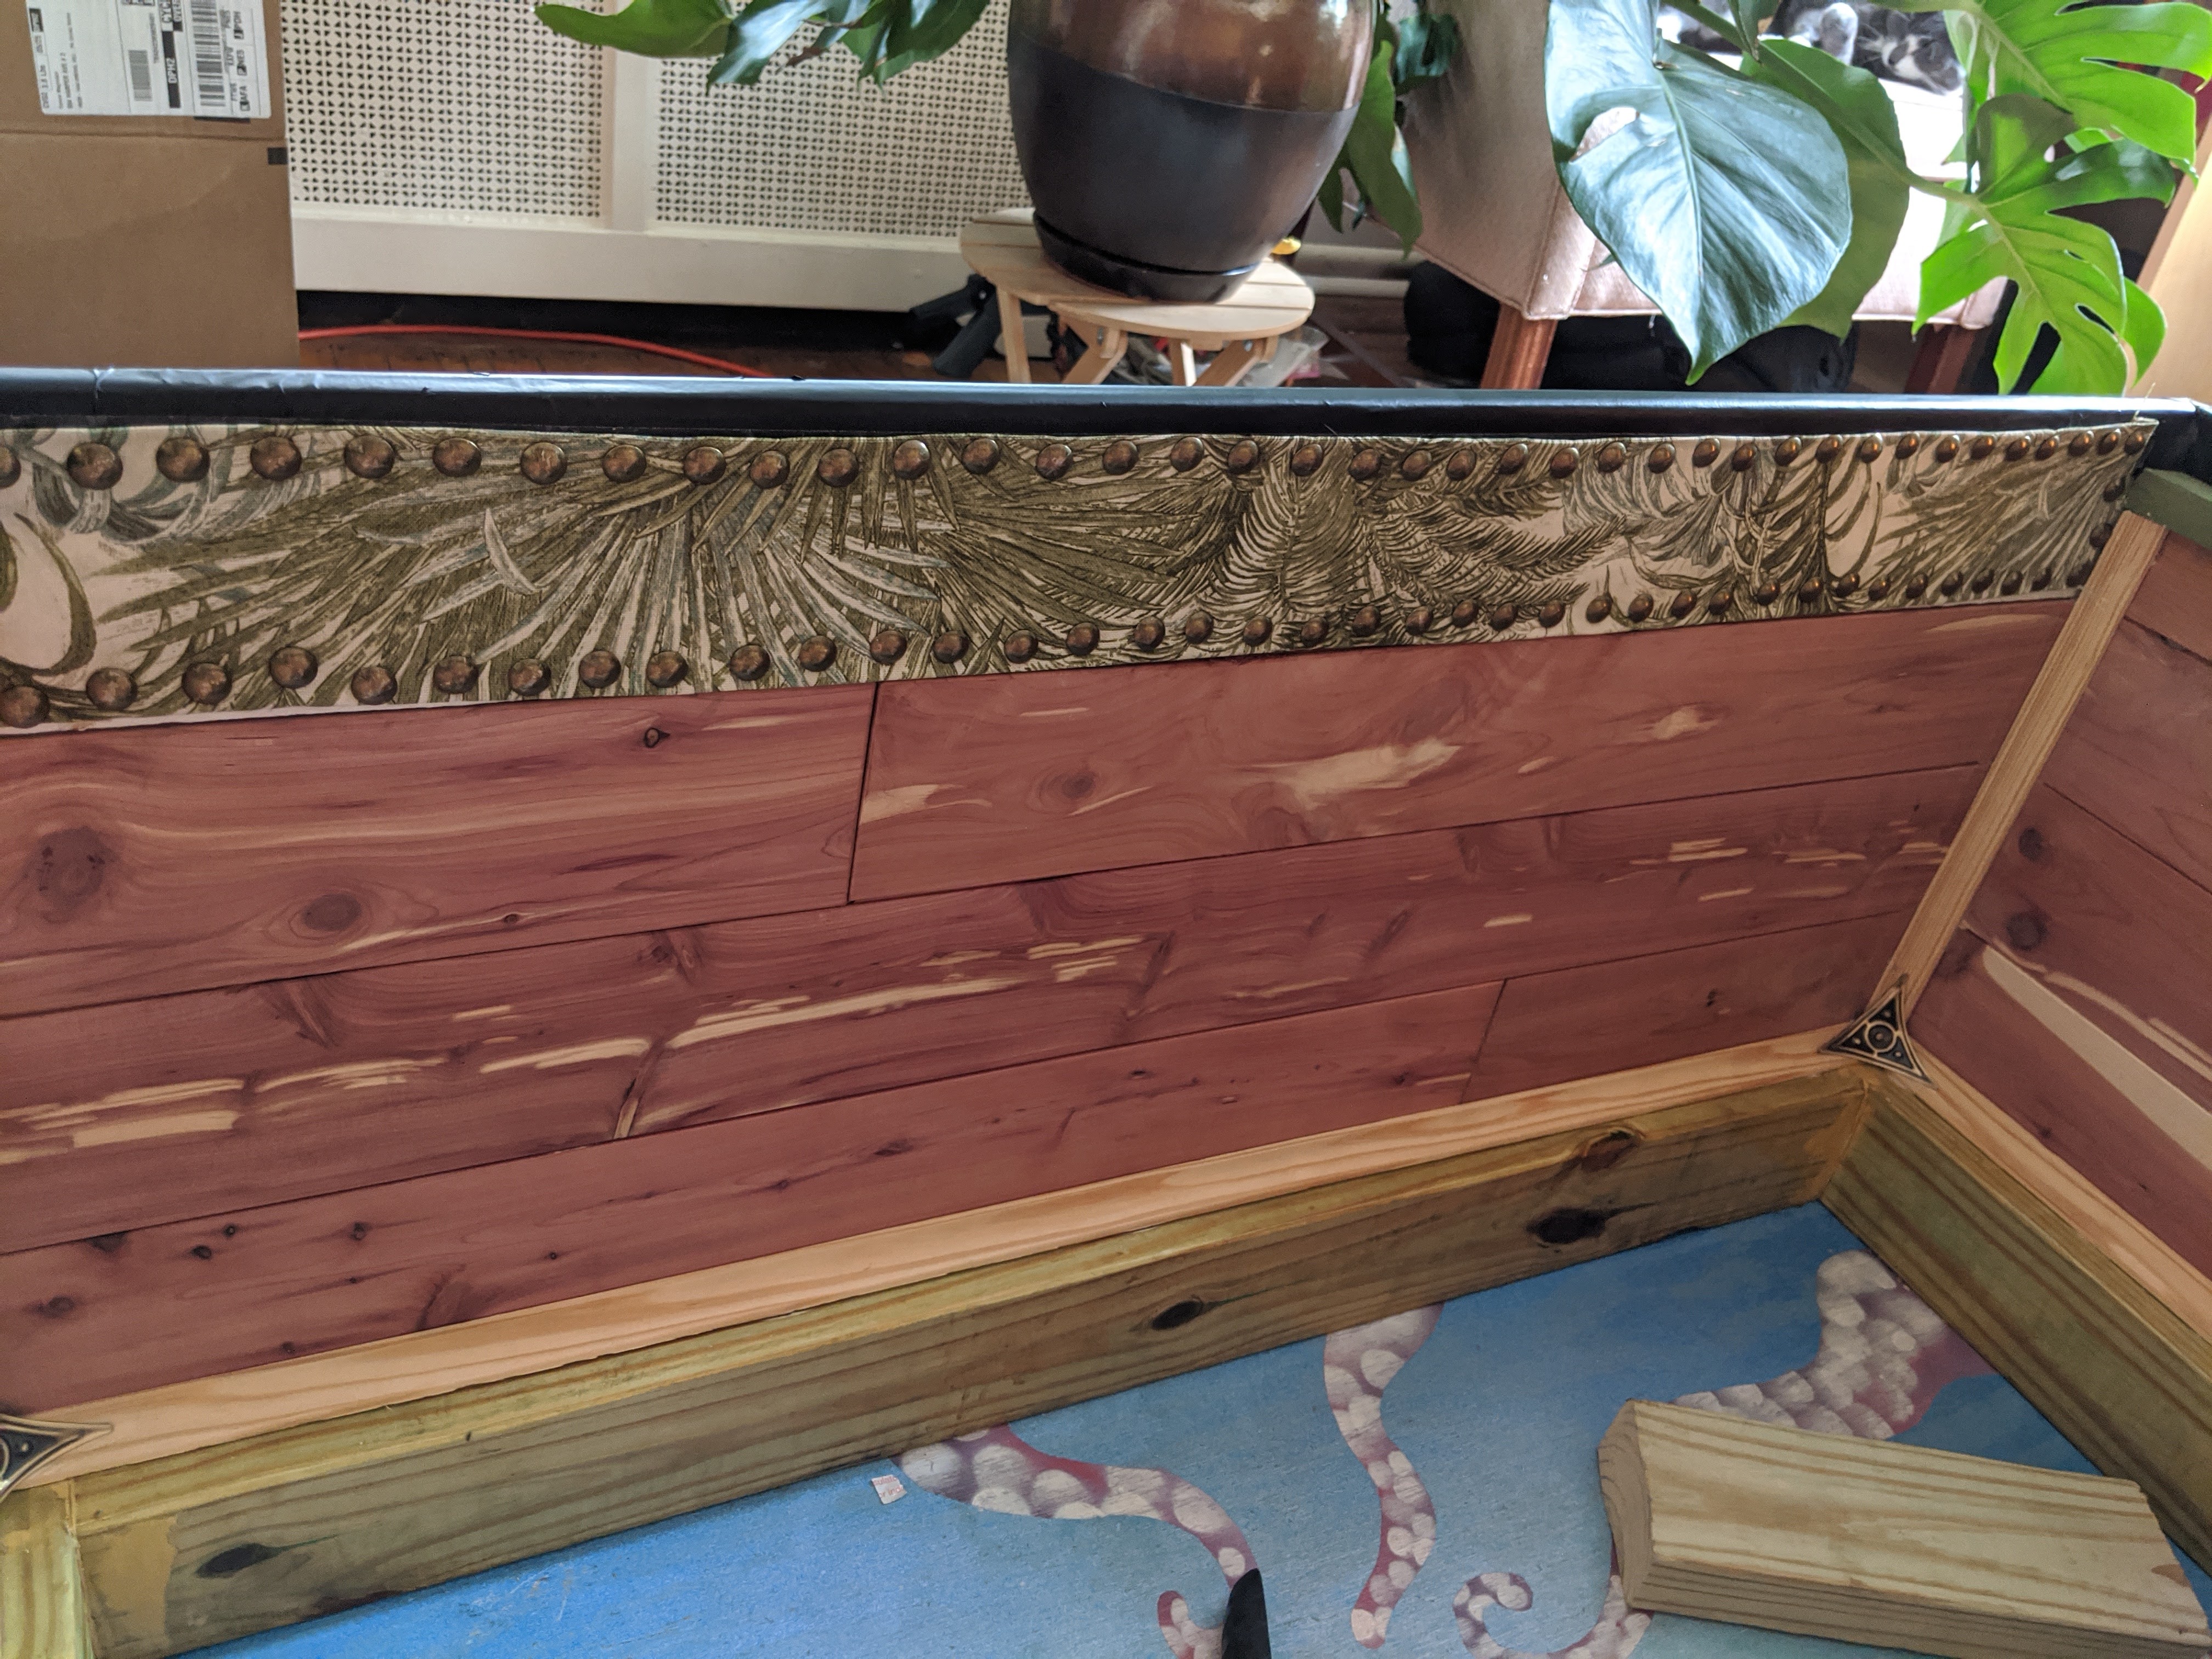
I picked up the cedar planks that TPC suggested and they are amazing. For me, the trick was not only adjusting for the 2 x 4s present, but also for the fact that the steamer truck is quite large – damn near a foot locker, in size. So many measurements, so many dry fittings, lots of moments bent over the miter saw box; sawing pieces to fit just perfectly. Before I knew it, I had all four sides done. But what about the top? While I was chewing at the idea, I cut the bottom of the steamer trunk and mounted it.


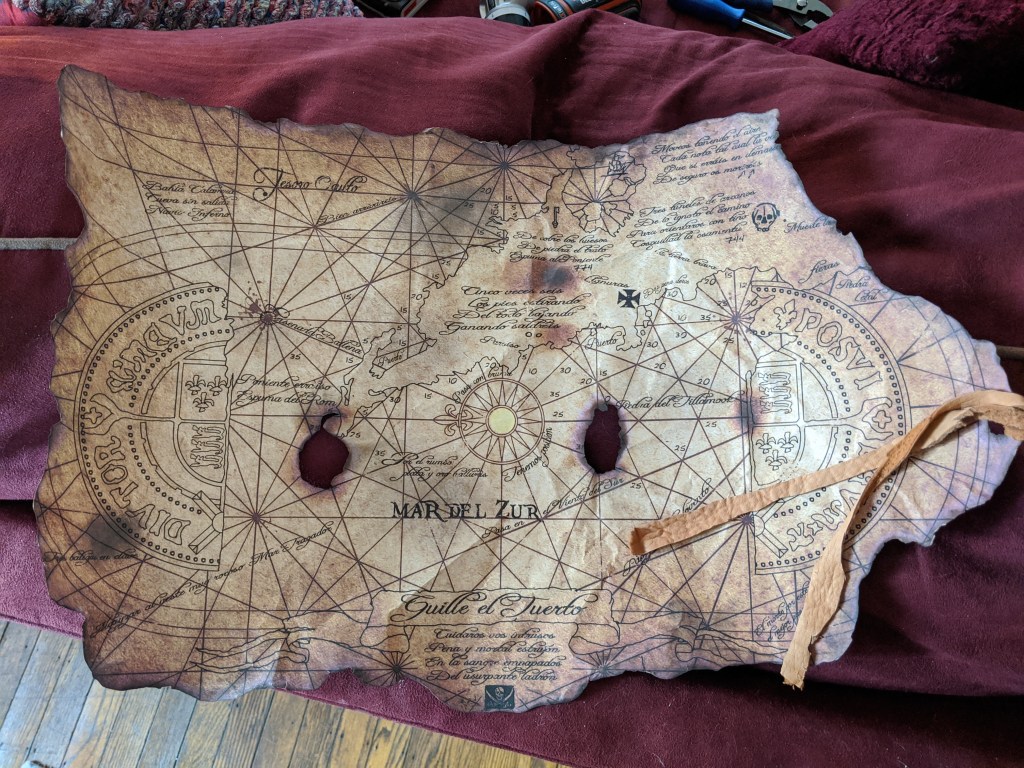
My original plan was to fabric the top as TPC had done; I had fetched some medium grade adhesive from Michael’s and fabric from Jo-Ann’s thanks to curb side pick up but it felt… busy yet lacking. All this volumous space and nothing. I had a great pirate map from Lily as well but it was simply too big to fit in the top; at least in the frame I had for it. Etsy was asking $65 on average for the shape because it was so specific. Blurgh. Maybe I could make my own picture frame?
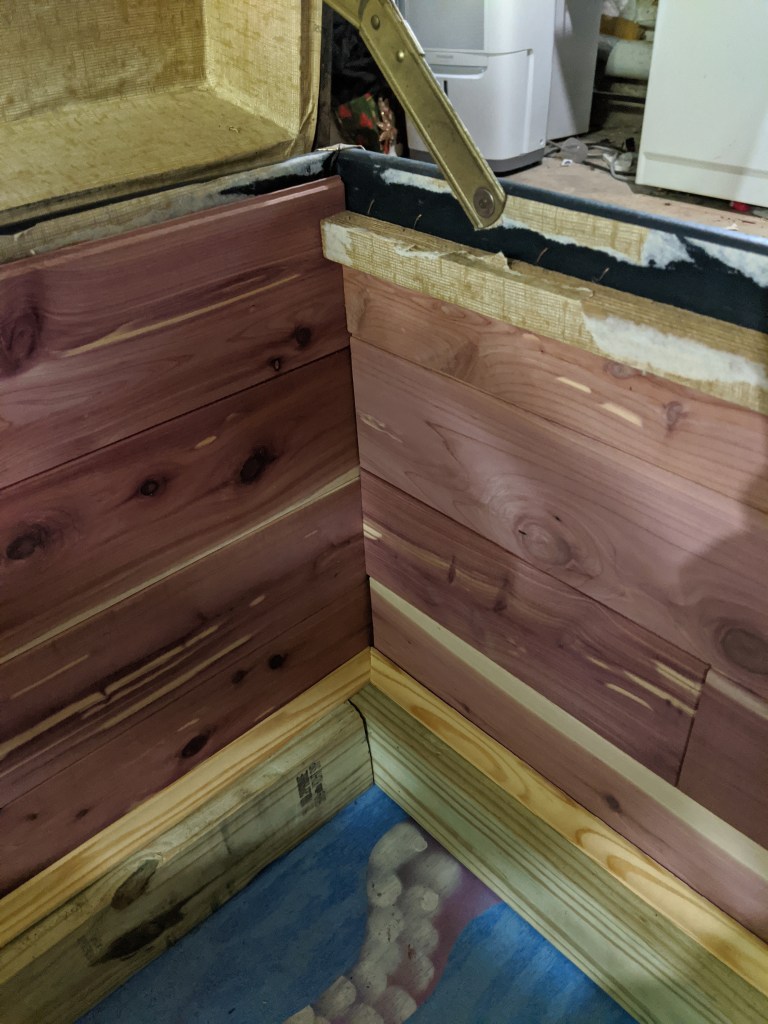
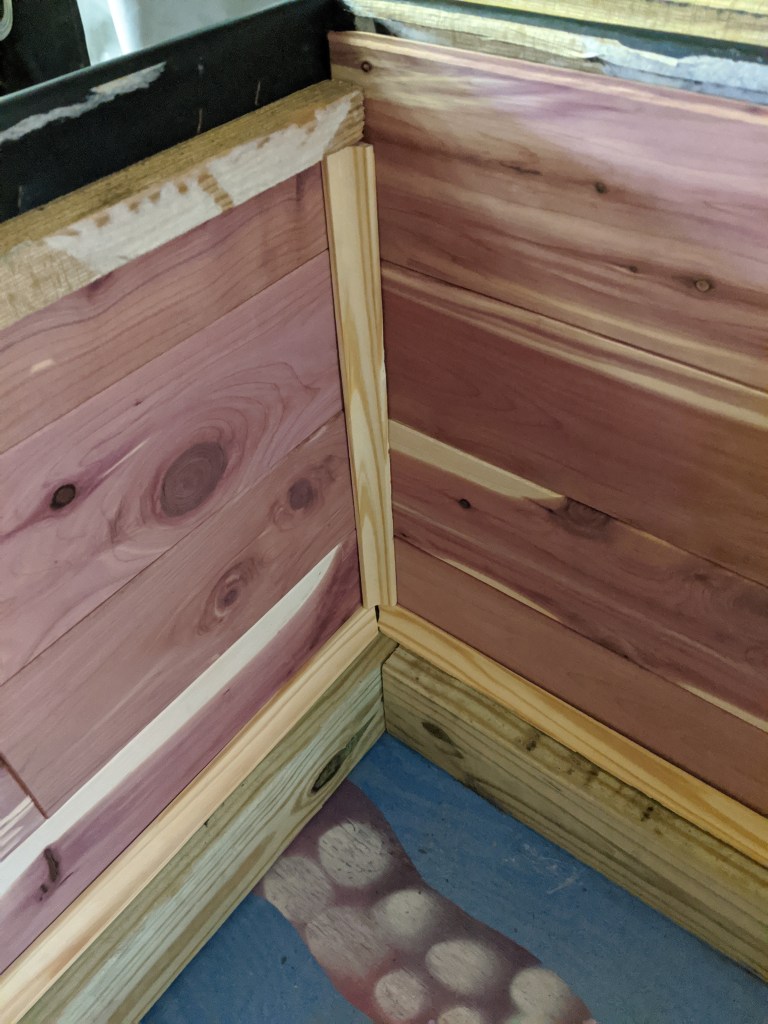
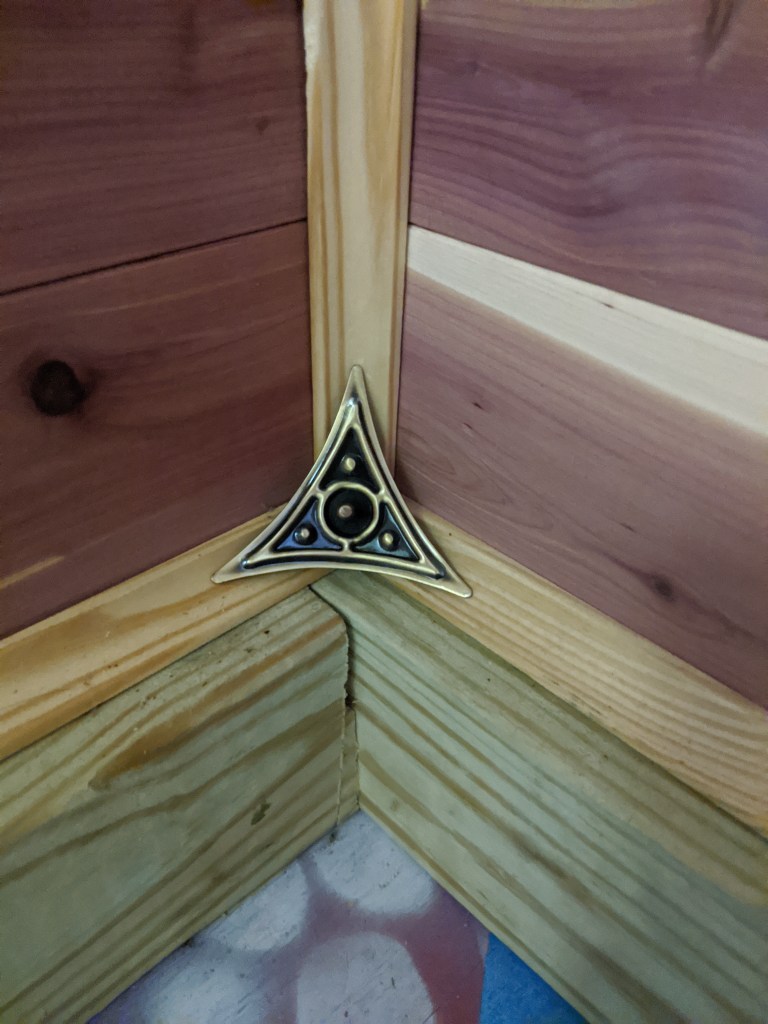
I enjoyed the cedar pieces with how well they fit together but the edging was missing something. My parents have a cedar closet in their house in Nebraska and the oak curved trim really makes the closet complete. Okay, I can manage that; a quick evening trip to Lowes and a few cuts, viola! I felt like the corners needed something, did some research, and discovered Victorian dust corners! YAY!
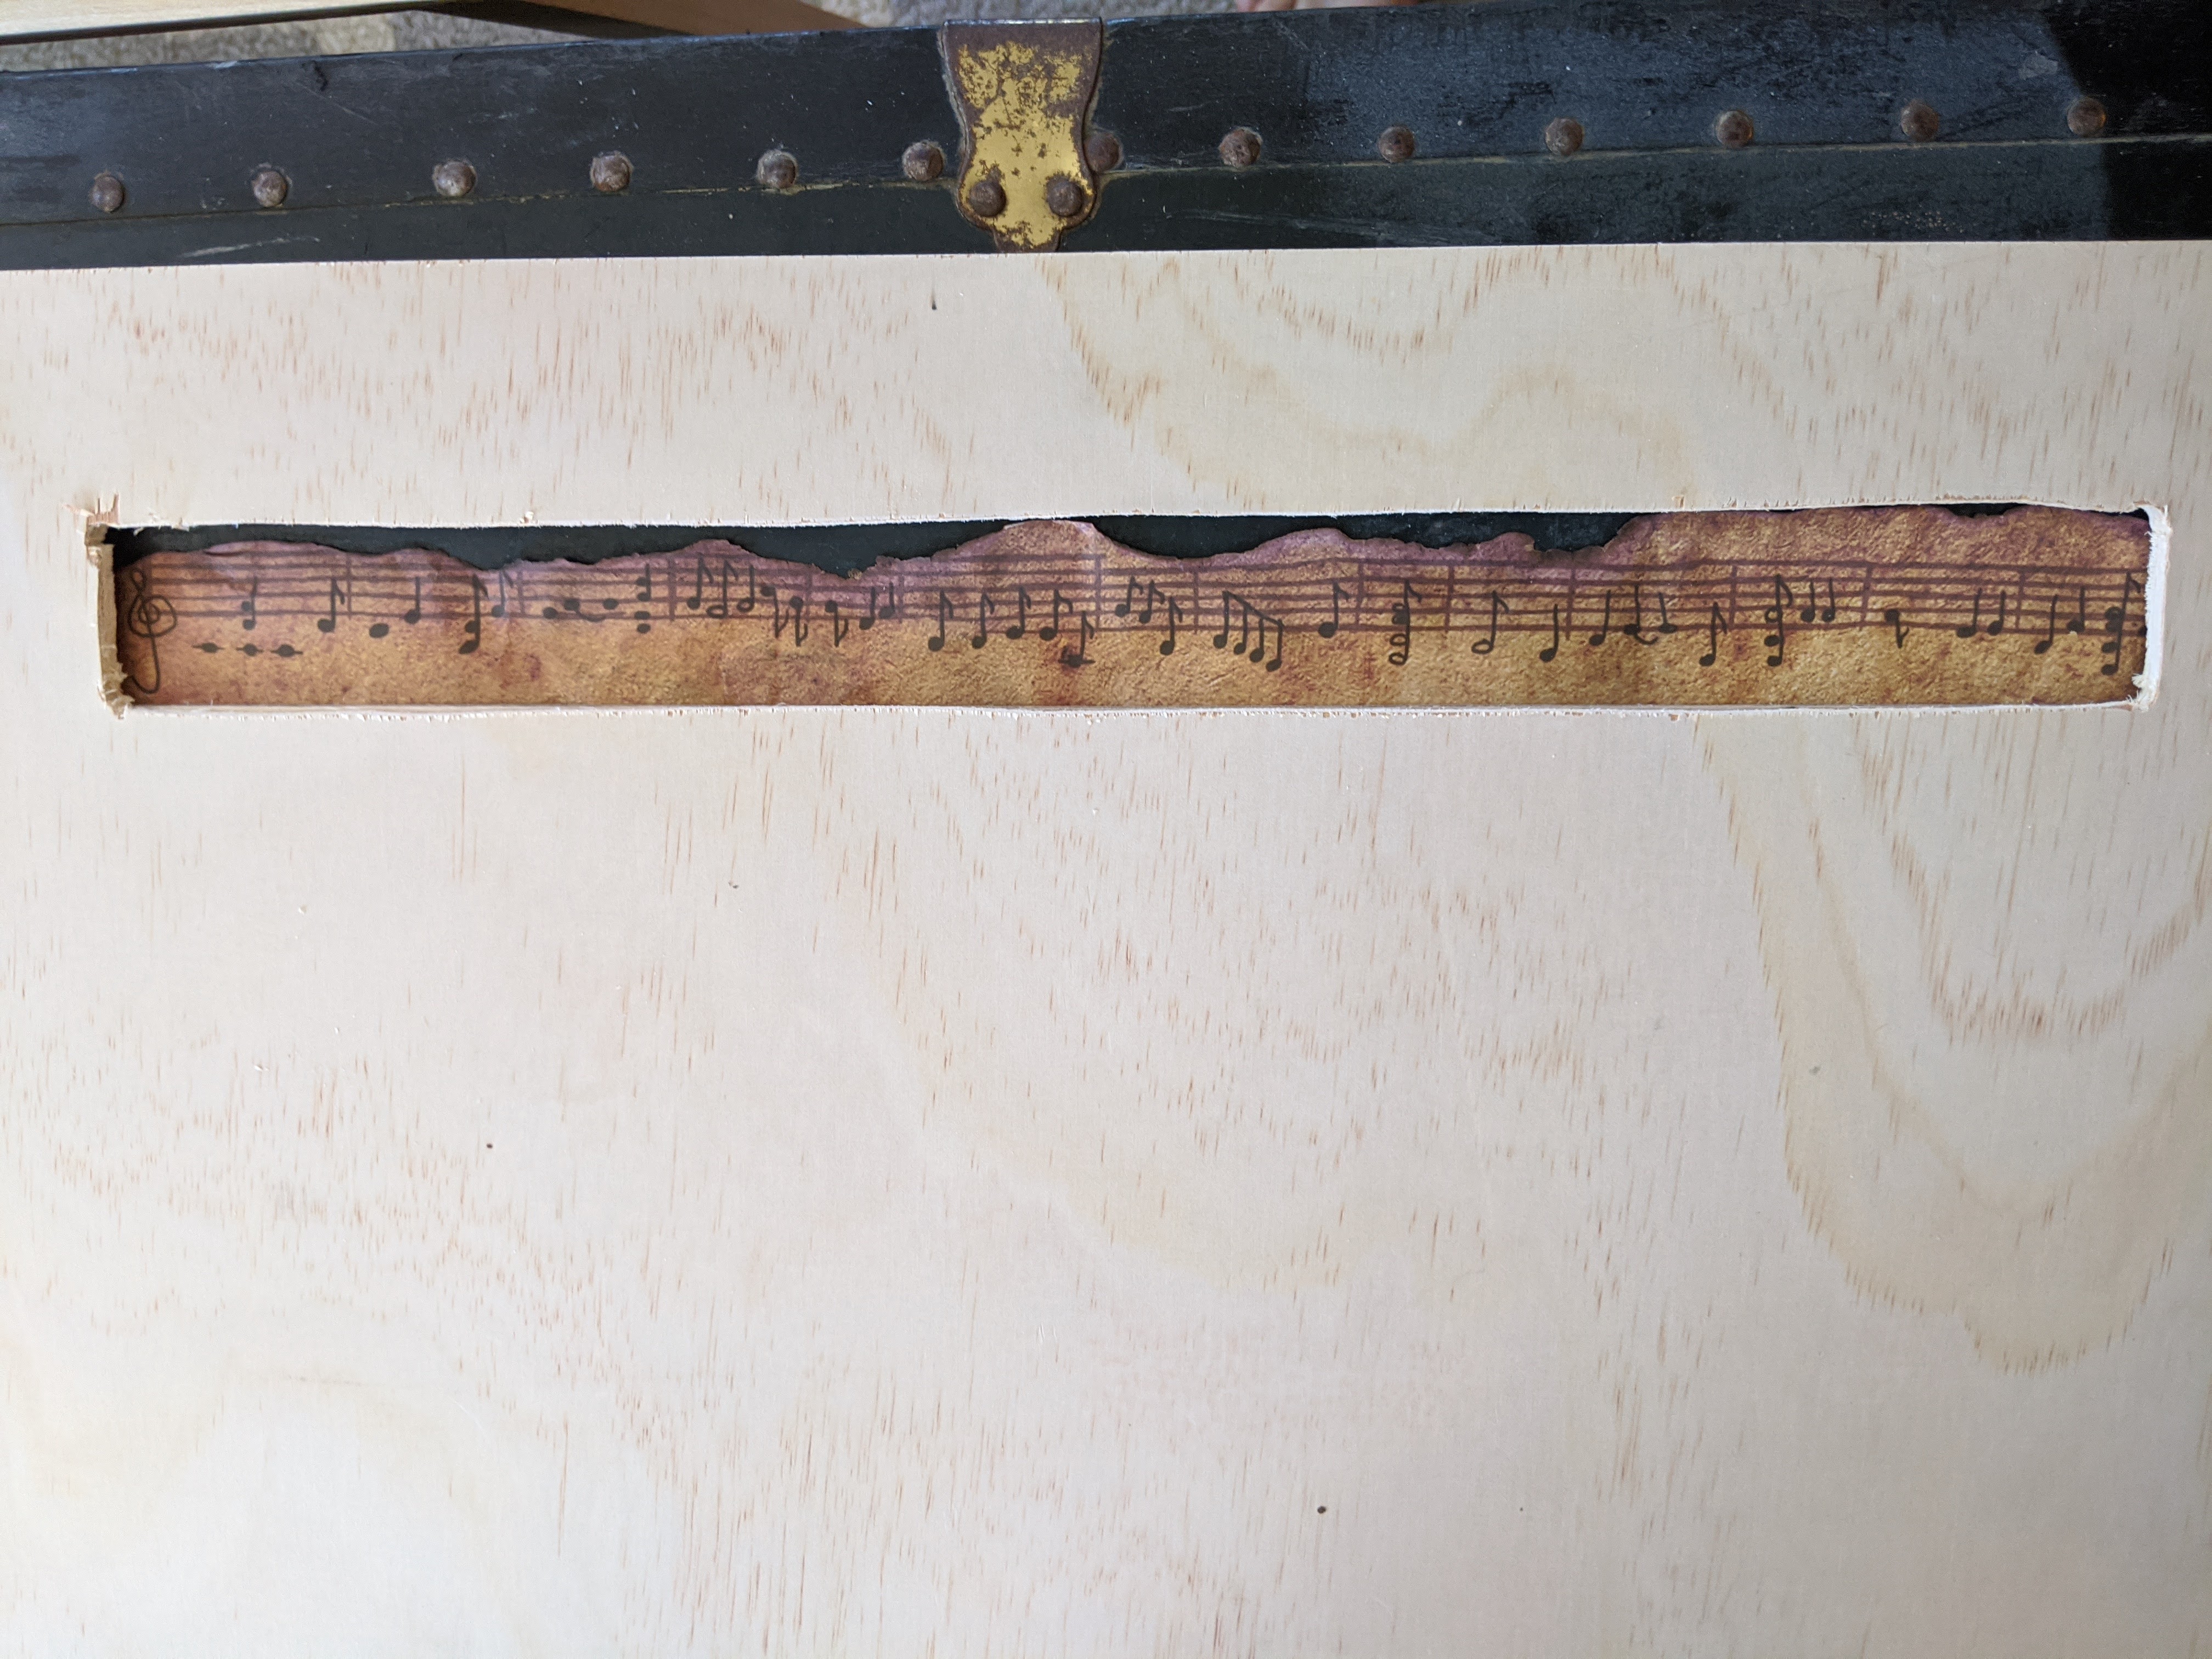
I put all the spare pieces together that I had left of the cedar panels. I’ll be damned there is ALMOST a perfect lid covering there, short of some light trimming and shaping. But there would be a cut out center. I had learned in theatre, if something is incongruent, you did one of two things – either you throw it out or embrace the hell out of it. And the whole thing flooded in my mind like a thunderstorm when it started to come together. Something One-eyed Willie would be proud of.

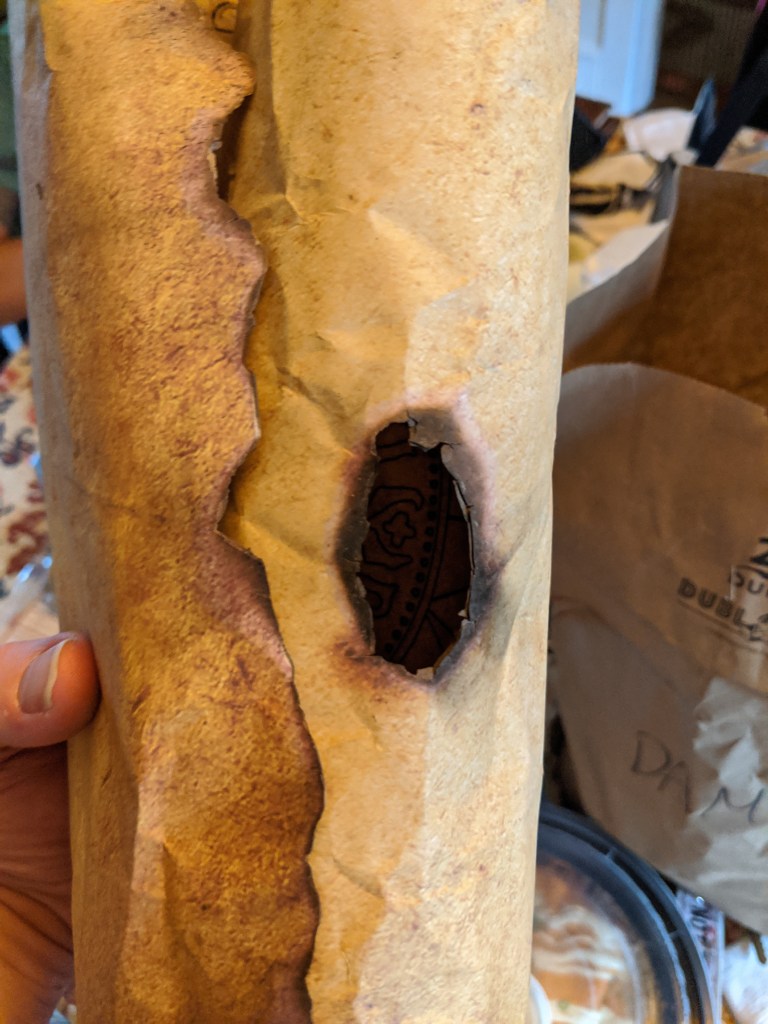
Grabbing a section of the excess plywood from the bottom, I nearly jumped up and down. Shit it would look lovely in the middle of the lid. Okay, so I have a hidden compartment behind the map. But for what? What on earth would I want to hide behind a map, like it was a hidden compartment? My eyes left my head and I nearly threw my phone pulling it from my pocket rushing to Etsy. Why yes, people did make replicas of the props from one of my favorite movies, and reasonably priced. I kept my budget tight and got two of the three primary props; the map and the key (compass later).
The trunk would have a Goonies/Pirate theme and I was madly beside myself in joy over this.
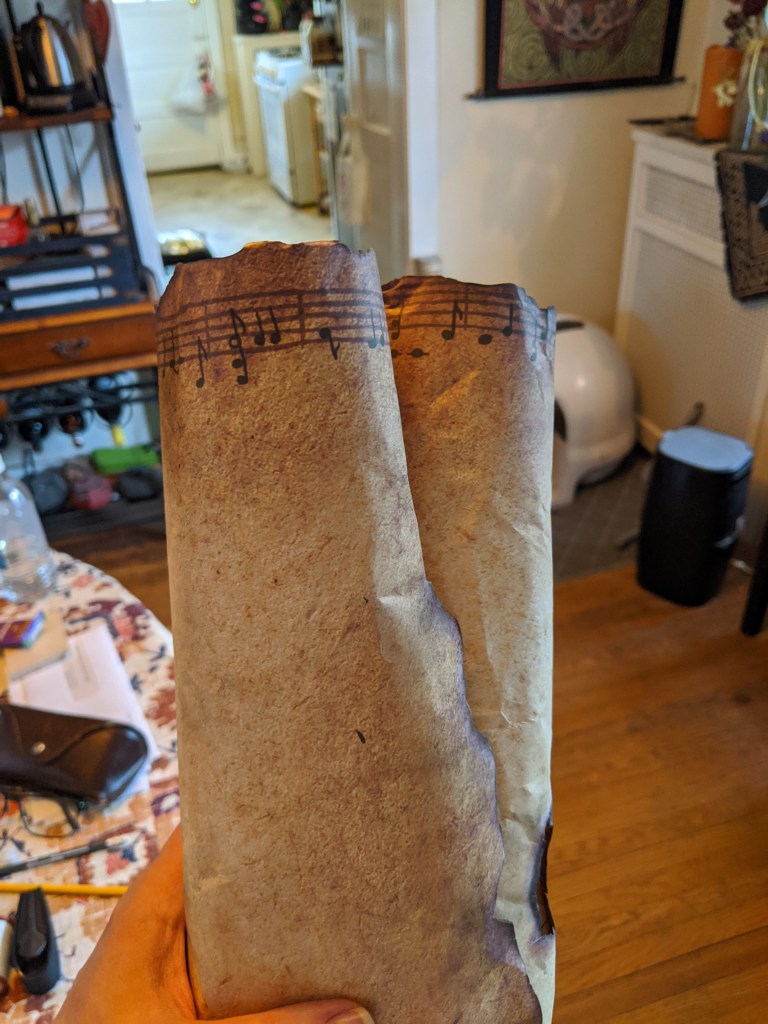
The picture frame would have to now be a shadowbox; the map would have to be somehow floating in the frame, but what about the back? What would be the point of getting this map if you couldn’t see the notes on the back?! Cut out a window for it? I was rolling my eyes at myself just thinking about it – okay, so not only are we going to make a shadowbox from scratch, we’re going to cut out the back? Sure. Right. Totally done this a thousand times. Nope, not even close.
But what the hell, Goonies never say die, right?!
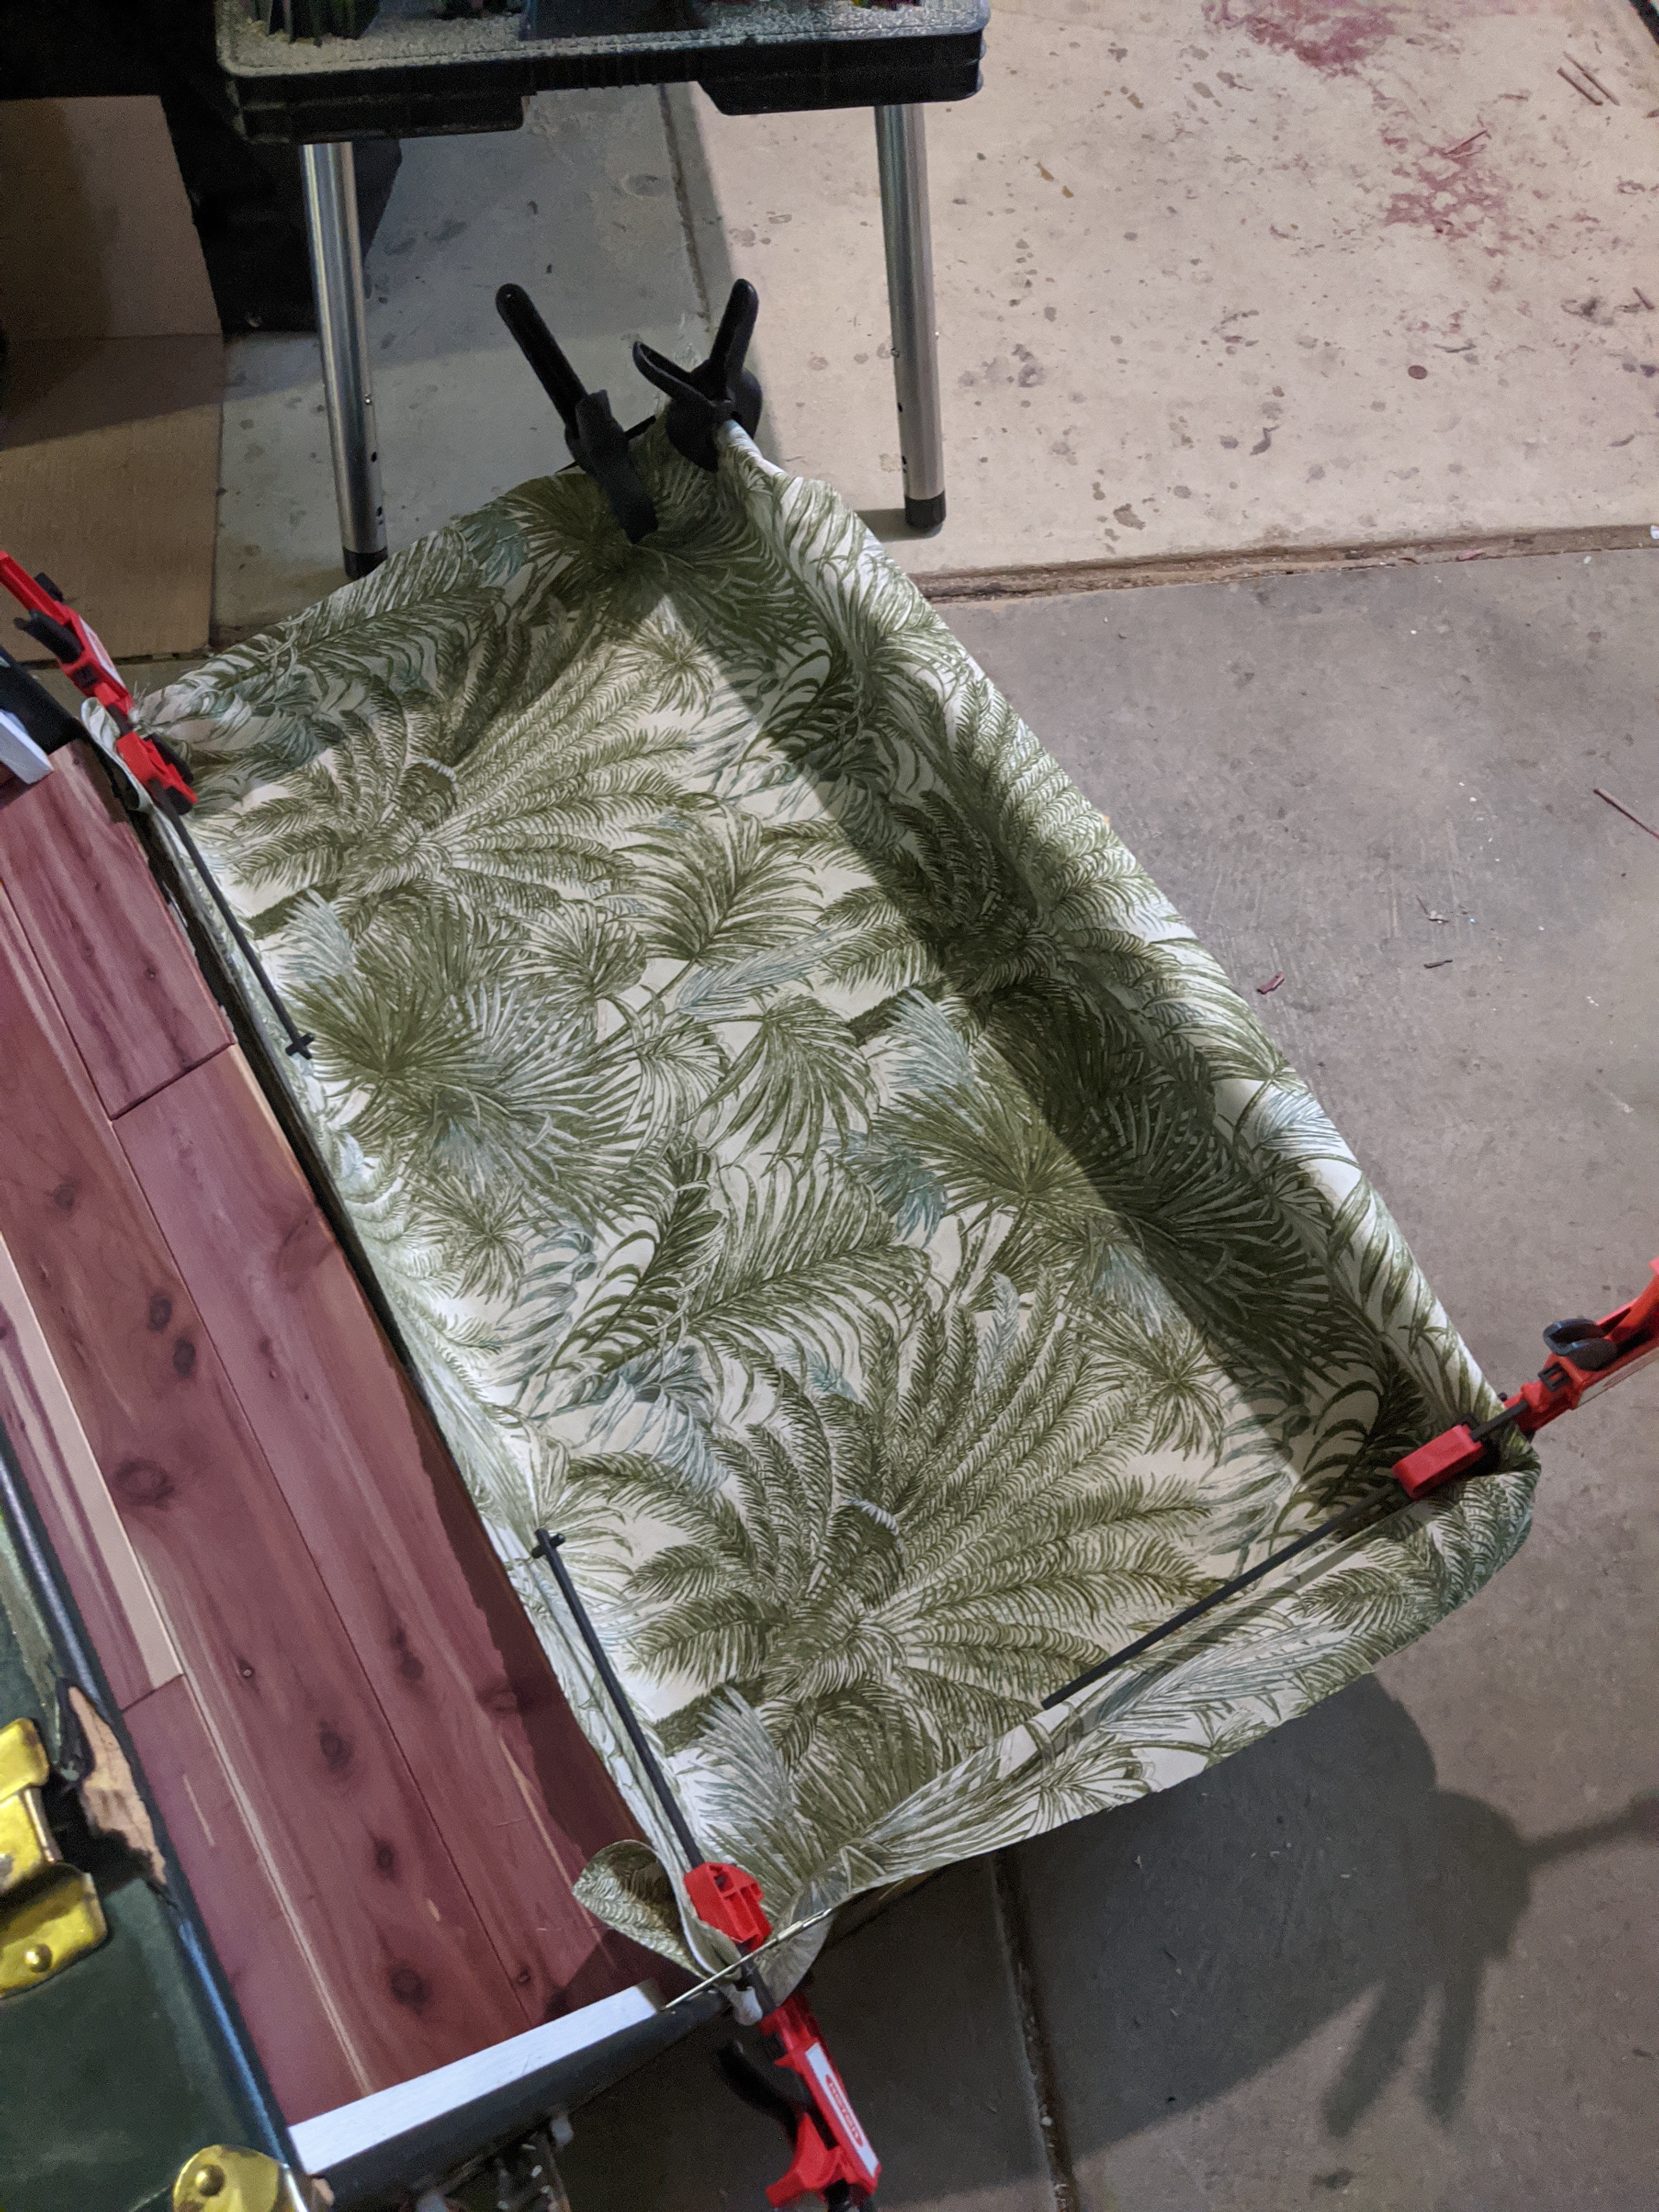
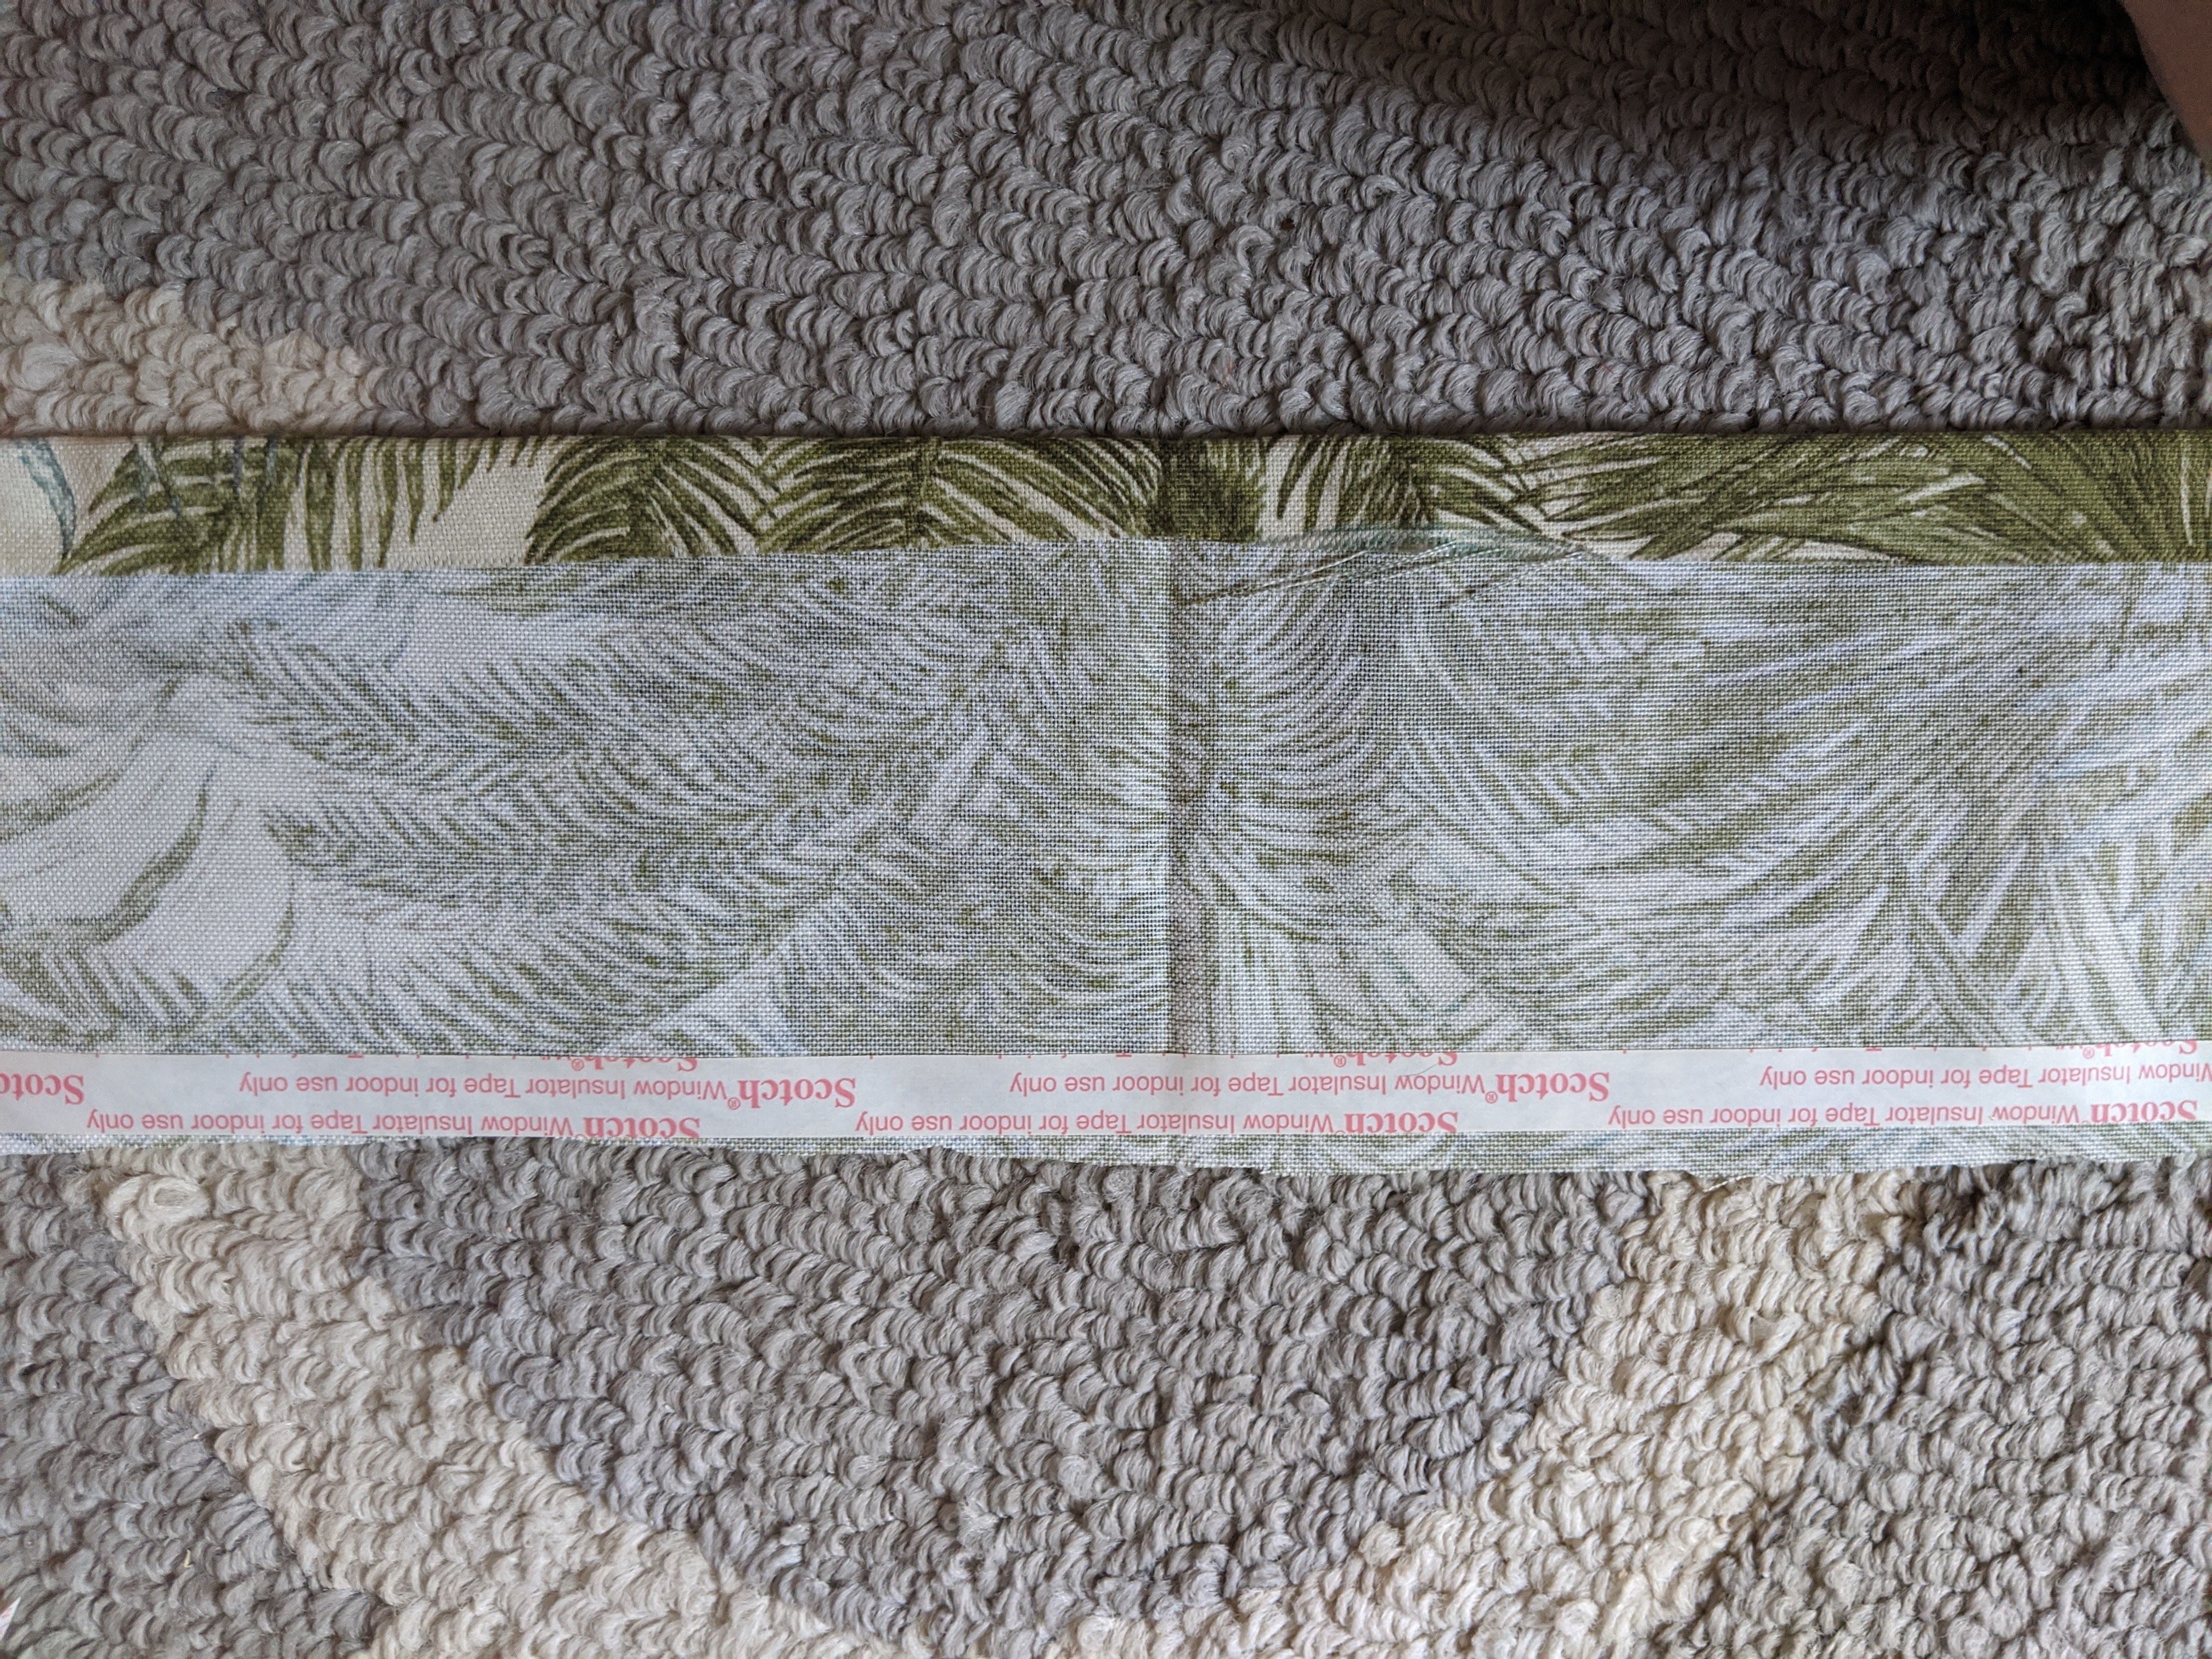
I had already planned on doing a fabric top, so now to figure out a way to incorporate the fabric liner, the cedar panels, AND the back panel. Thankfully I had plenty of the Liquid nails left as recommended by TPC, but the fabric was going to be tricky – there was no way the medium weight spray could manage WOOD. Okay, let’s dive in on this liner crap and see how it goes.
MAN, I will never complain about putting sheets on a bed again for the rest of my life. So glad I with medium grade that allows repositioning and that slimmer TPC mentioned was a GODDESSSEND. I did my best to fold, pre-line, cut strategically in a slow but steady pattern, and it still cost me a Saturday afternoon to get it all JUST RIGHT.
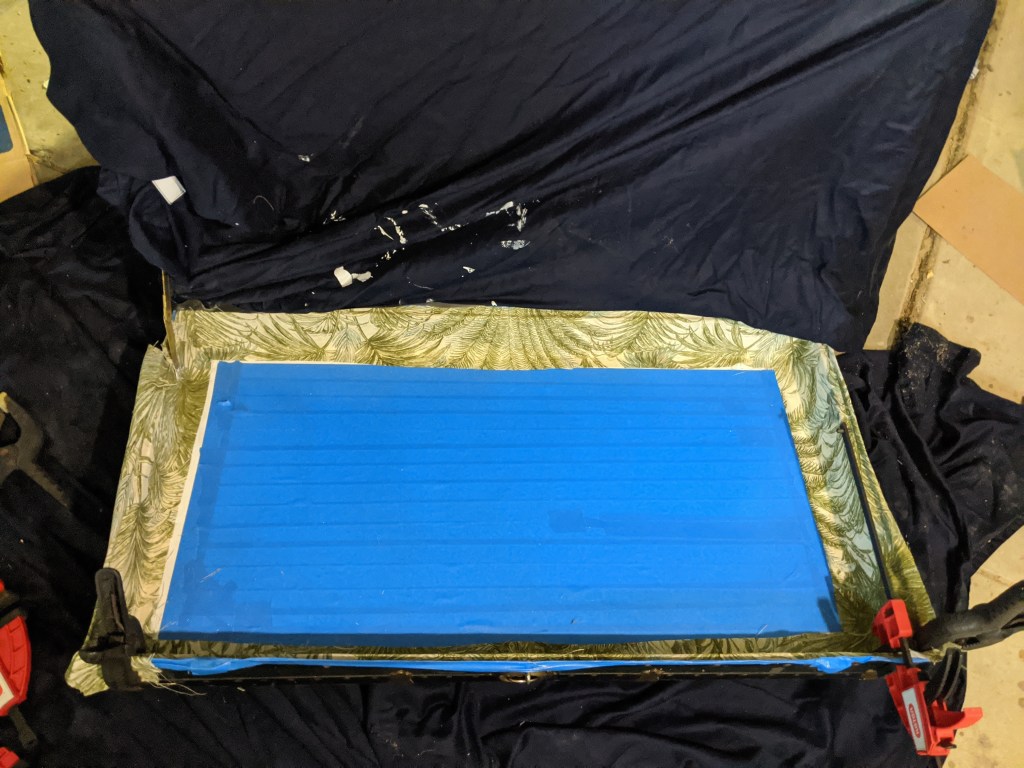
In order to pull off all the tricks I wanted to do with the lid, I had to get creative with the adhesive spray. I needed an area of the lid that was open to the liquid nails for the woodwork but wanted congruency on the fabric. Once I got the fabric measured and cut, I put down painter’s tape on the area I didn’t want the fabric to stick to. Once the adhesive was set, I cut it out for the wood gluing.
Listen to TPC but also, my suggestions for the no-sew approach:
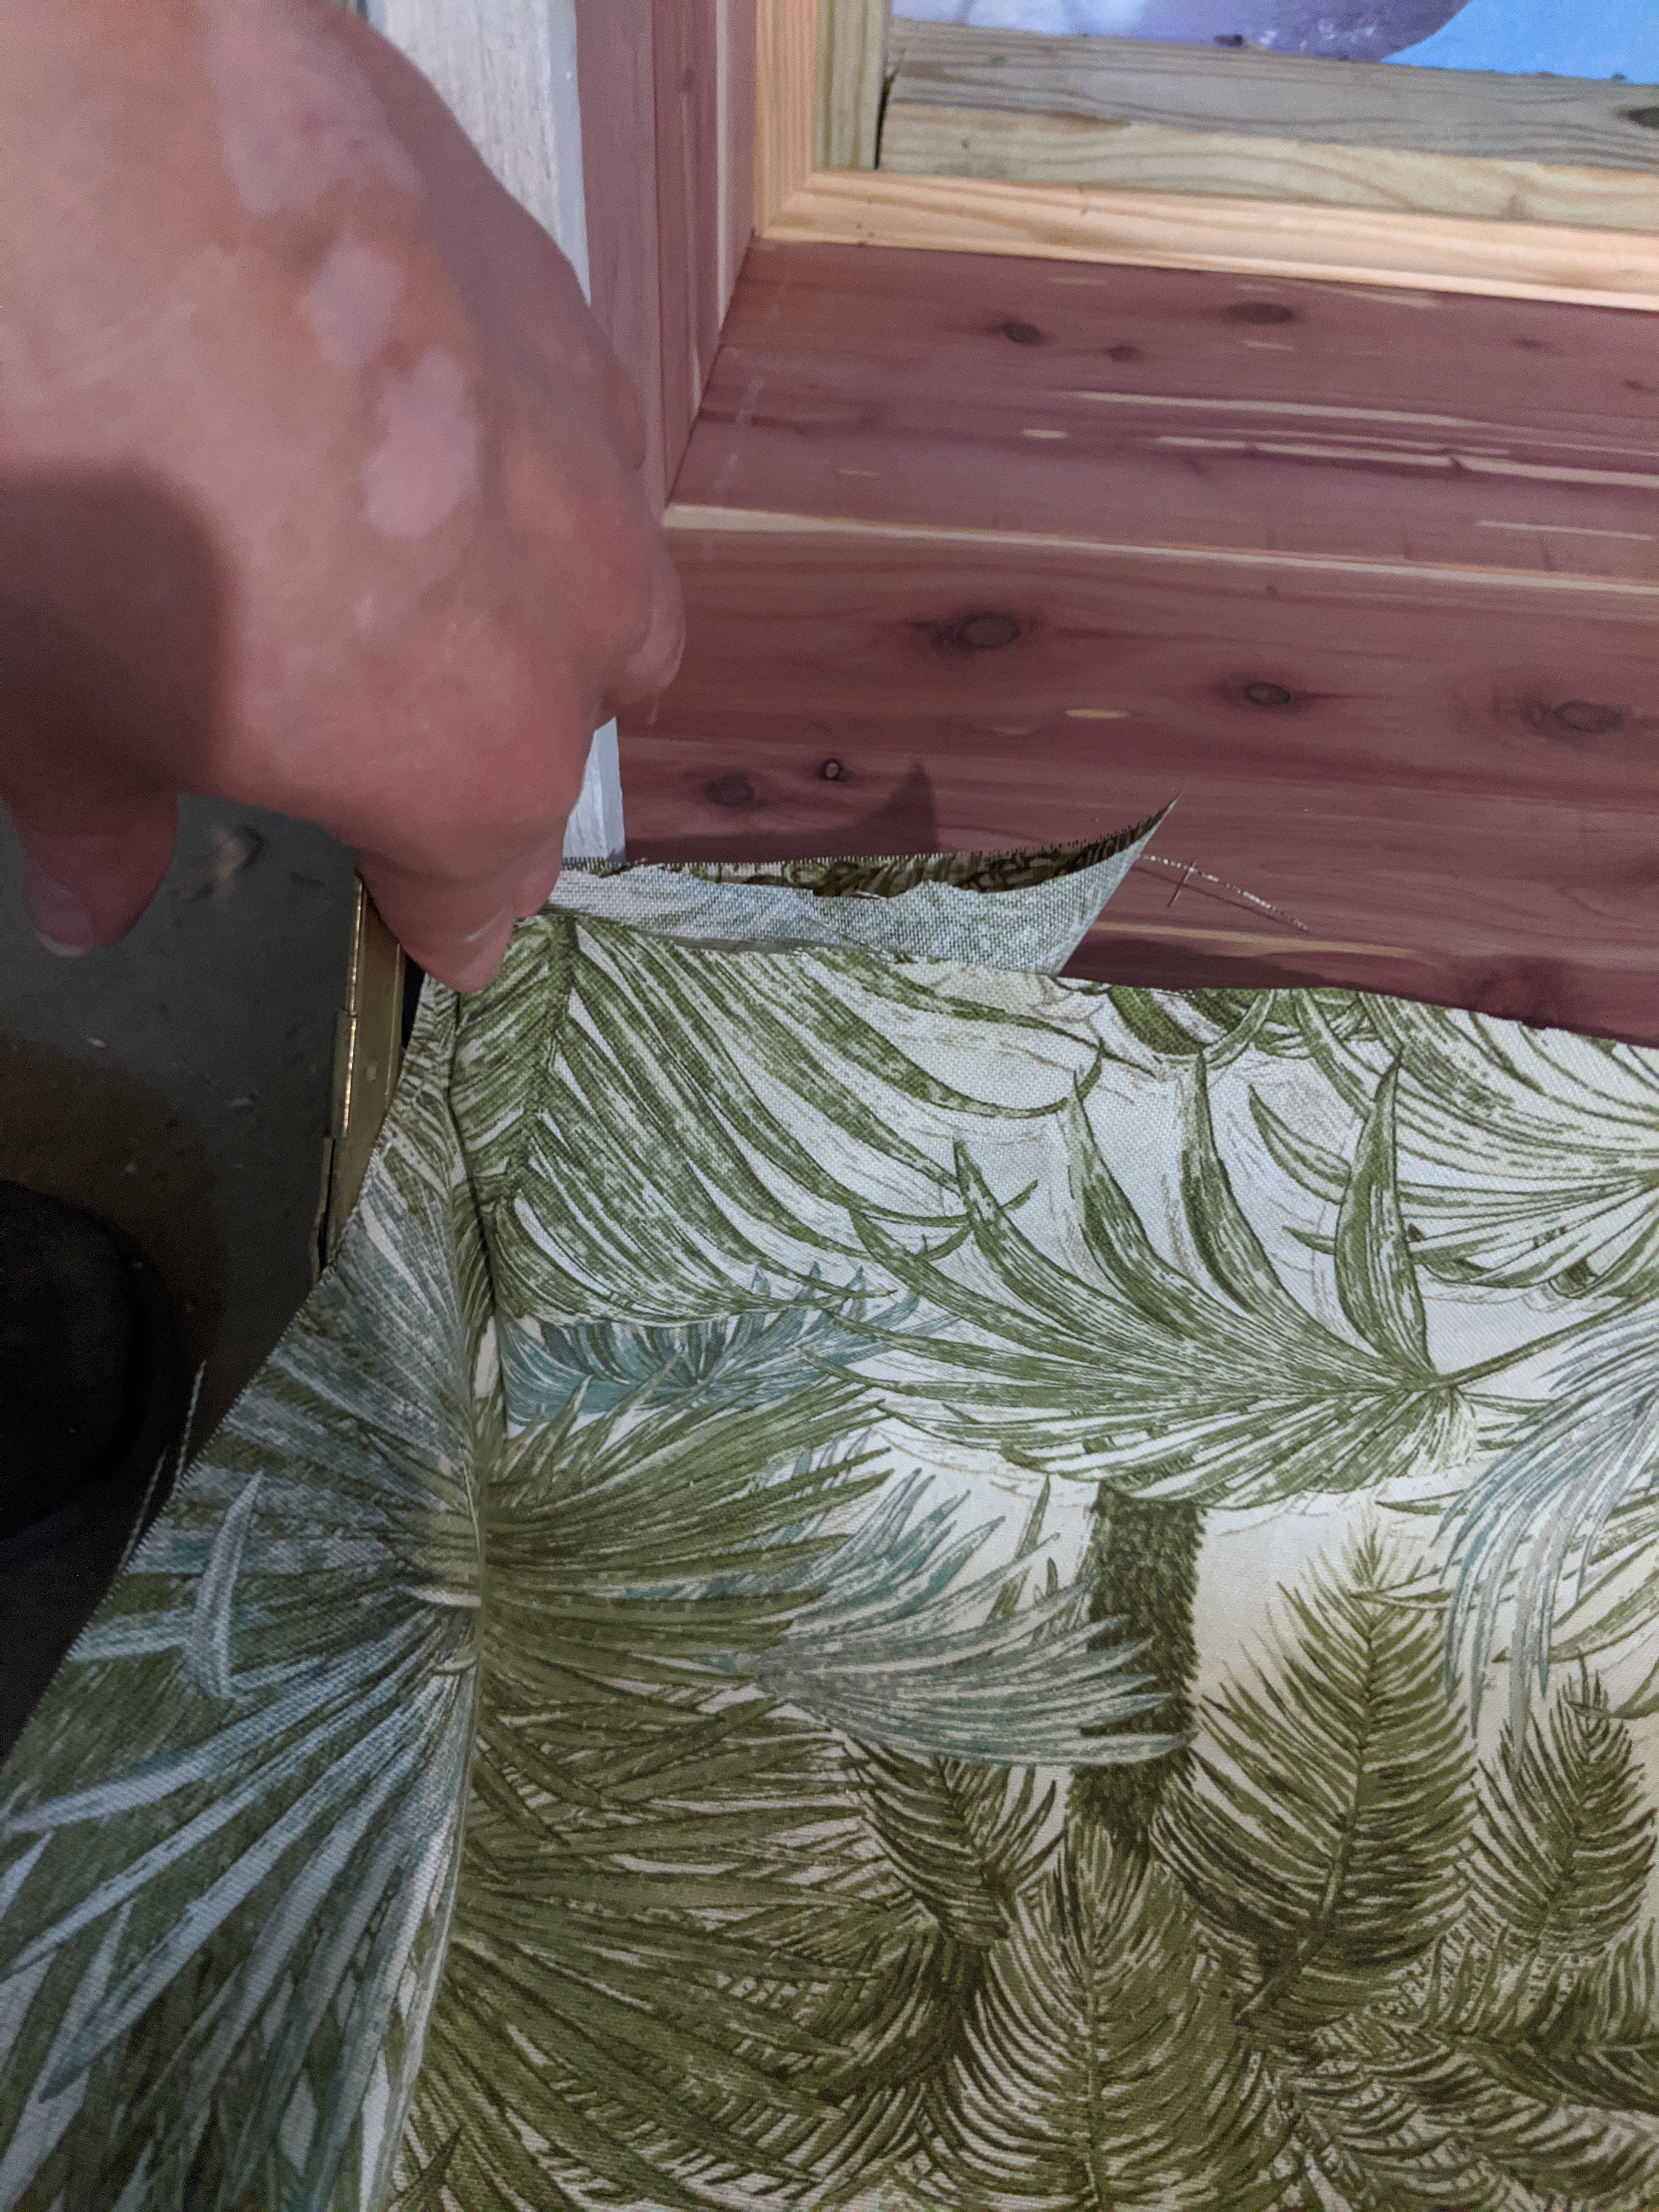
Clothes Pin the corners – I used these to frame a corner then carefully cut out the excess. This includes making sure to make a TINY corner above your large corner for the lid. Create the corner, trim excess, repeat. Double sided tape, a suggestion from my friend Nick, helps a lot too!
As always, measure 4 times, almost cut once, measure again, THEN cut.


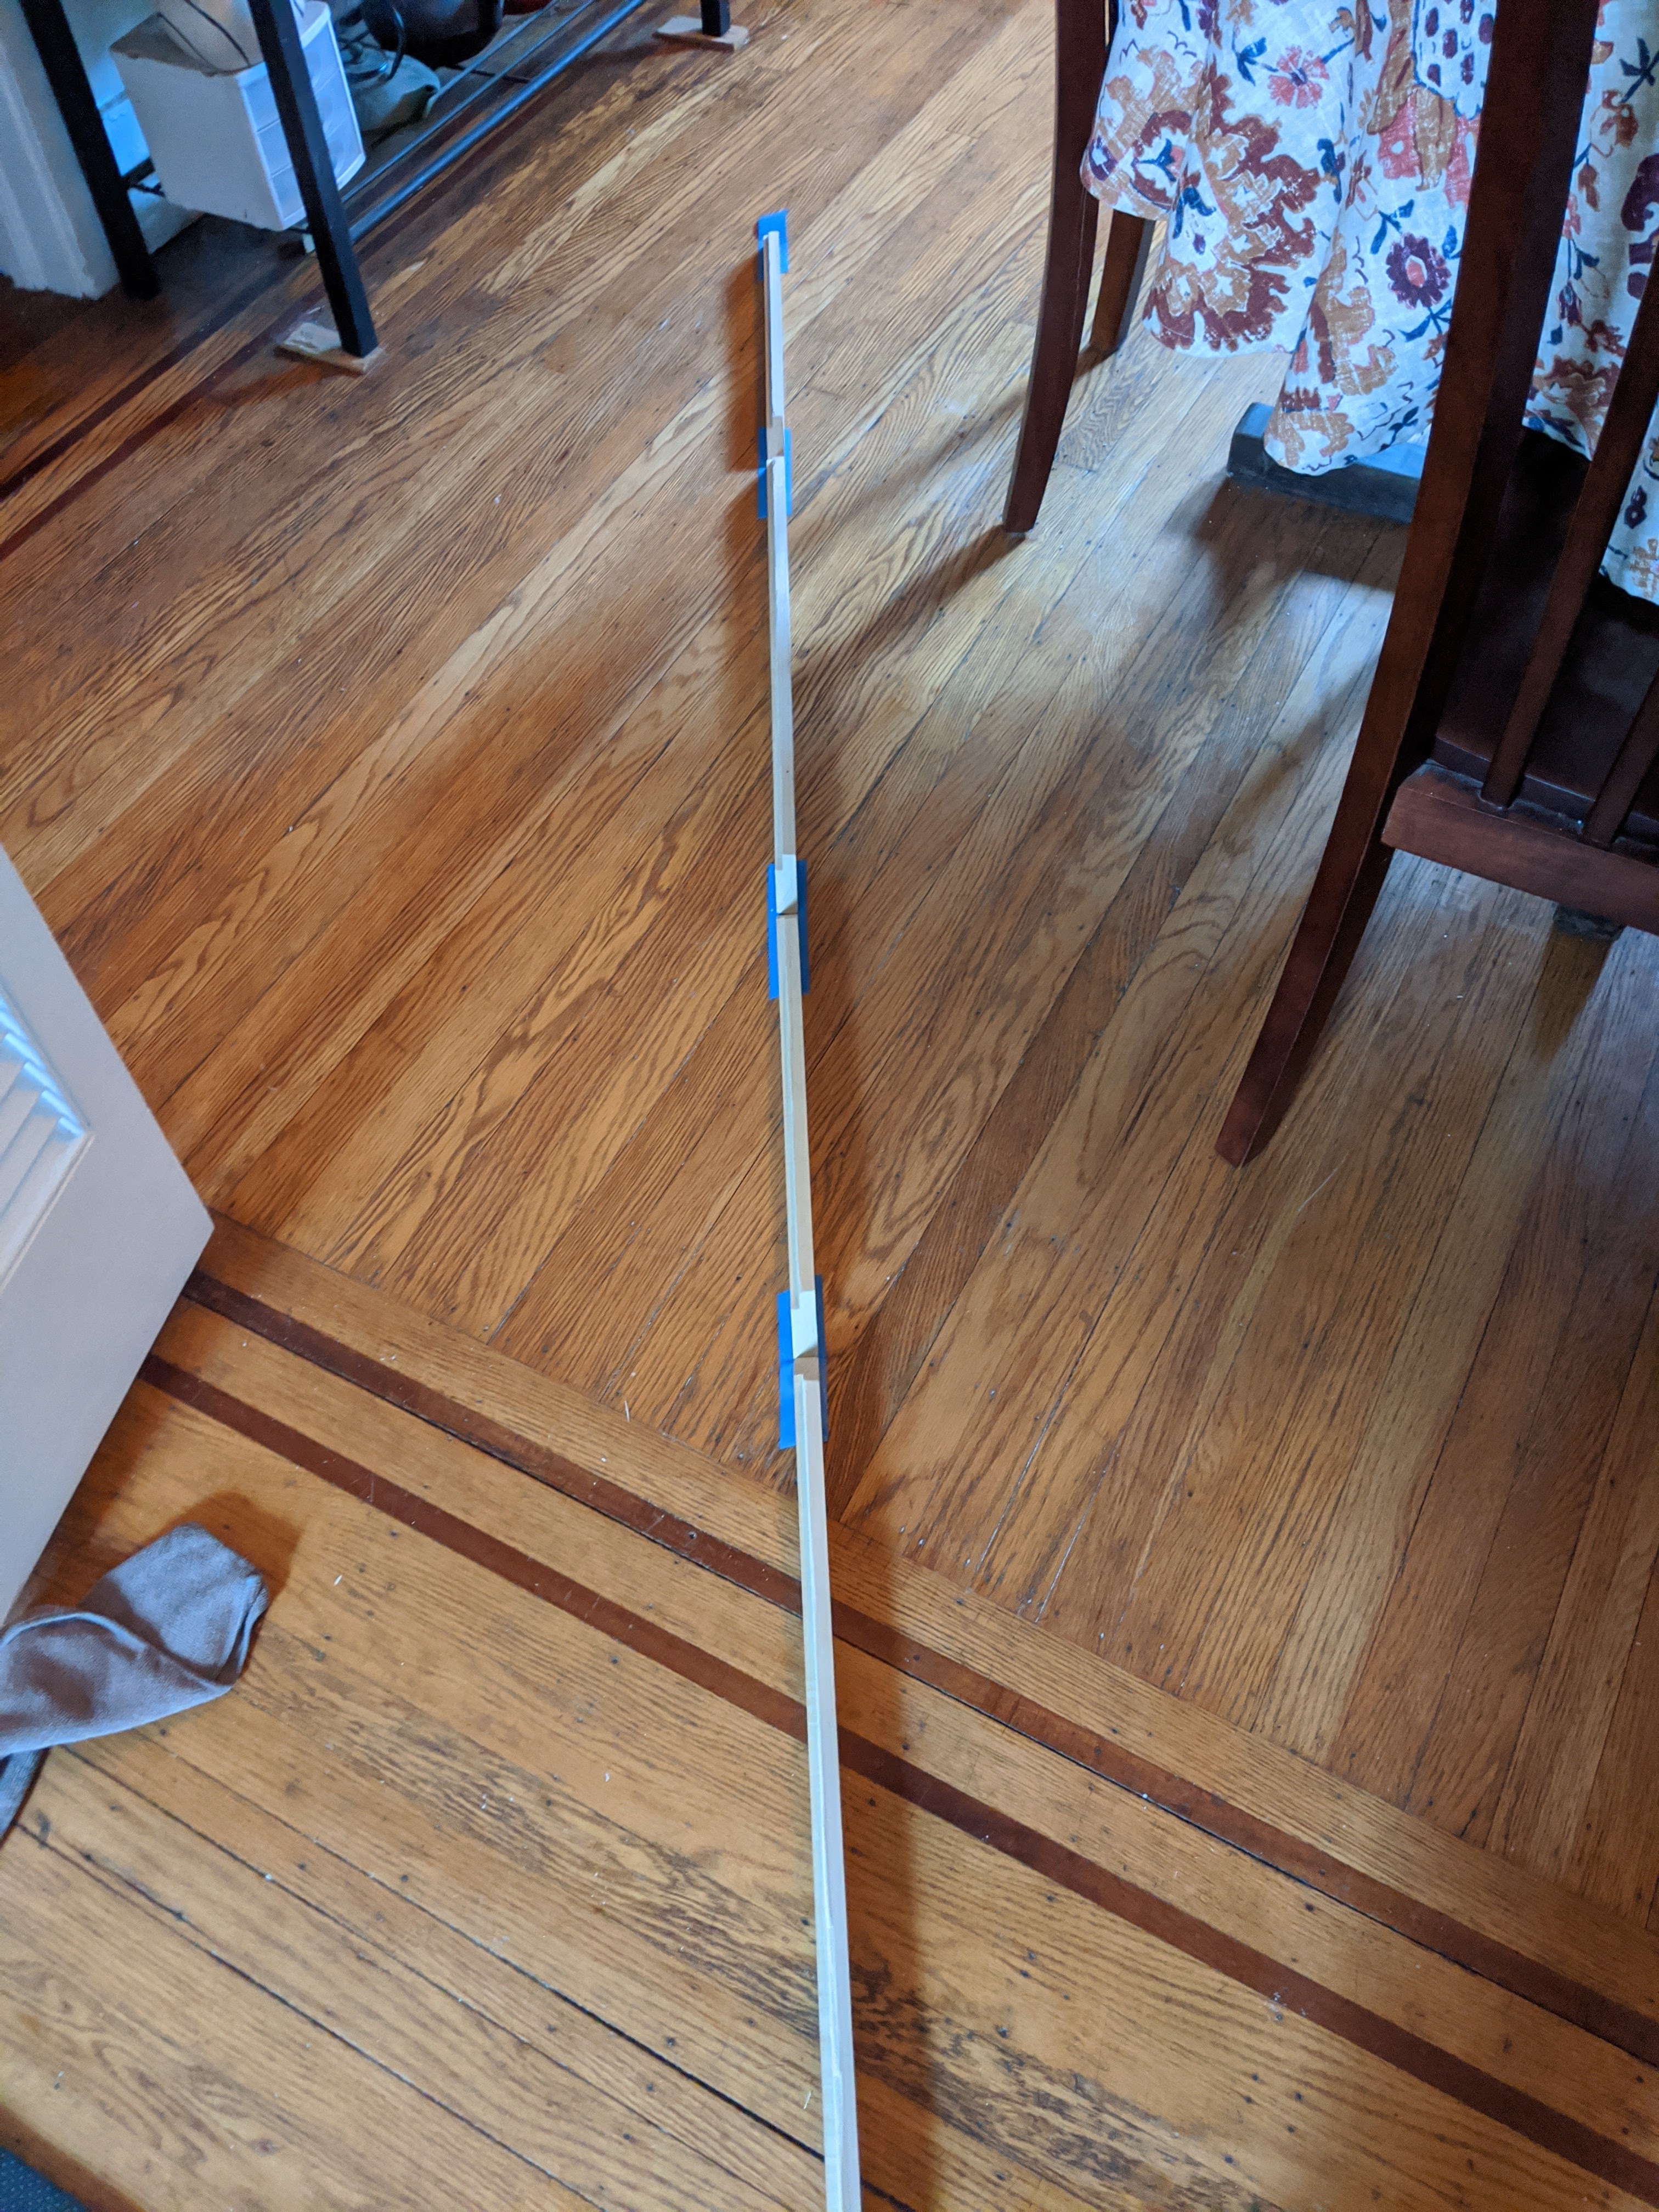
Just buy the dowel, it’s worth it – The hardest part of the whole lid process is the back edge that runs right next to the back of the steamer trunk. I made the NOVICE MISTAKE of not just buying an ½” dowel from the hardware store to use as a pinning device to help keep the fabric down. If you have a yard stick or a long, thin strip of wood to use with some slide clamps, even the more better! Otherwise you will be like me and be CONSTANTLY adjusting the fabric to get it to lay right and stay put!
Now that the fabric was finally, FINALLY done (sheesh!) I could actually move onto the wood installation phase! Everything so far was just dry fit – The wood pieces were all cut but nothing was glued or stained/varnished yet. The next few steps happened in stages; first off, the runners were painted so they stopped screaming “BLANK” at me every time I looked at them (and so the paint could cure).

For the remaining wood pieces, I read up on boat varnishing. Learned about spar varnish and the difference between a semi-gloss and matte varnishes. I could get a spar varnish for the bottom frame, the picture frame, and the back panel. The bottom got several poly coats. I kept the corner trim bare because I enjoyed the contrast against the cedar. Thanks to my friend Cassie and a quick visit to Ace Hardware for an inexpensive spar varnish, I was ready to stink up the basement!

Now to assemble the bottom, drop it into place, secure it, and liquid nails all the panels into place. It was a very nervous moment for me as I was fully committing at this point – the point of no return. First off I needed to cut off a section of the picture backing to be void filter between the mural piece and the structural bottom – just the right thickness of what would have been the proper bottom if it wasn’t water damaged. Then zipped up the mural and frame.

I set the structural bottom onto my pop up table, set the trunk on top of it, dropping the newly assembled framed mural into the steamer trunk, and slowly started the liquid nails press, pull, and set process on the panels. Once the ‘walls’ were in place, I made sure everything was perfect, then screwed it all properly into place from the bottom. The trim pieces when in last, then got the Victorian Dust corners into place. WHEW.

So had a drink after that; to celebrate the milestone of getting the liquid nails done and not fucking up.

Now that they were underway, it was time for the frame construction. Oh man.
While everything was curing downstairs both paint and stain – I was working on the frame. I actually own a ‘How to Make Shaker furniture’ book and read up on picture frames. What I wanted to do was somewhere between a shadowbox and a picture frame, but more a picture frame. I found some inexpensive poplar wood pieces that would make for a great frame; thank you for that Ace Hardware!!
I found some tips online about DIY frame making. I busted out the router kit I had (thanks Vati for the router bits!!) and after a few test runs on a chunk of 2 x 4 I had left, I worked on the poplar pieces. Then I took them and did 45-degree angles for the frame. Finally, I did the painter’s tape and wood glue trick from video, crossing all my fingers it would work and wiping the floor clean of glue.
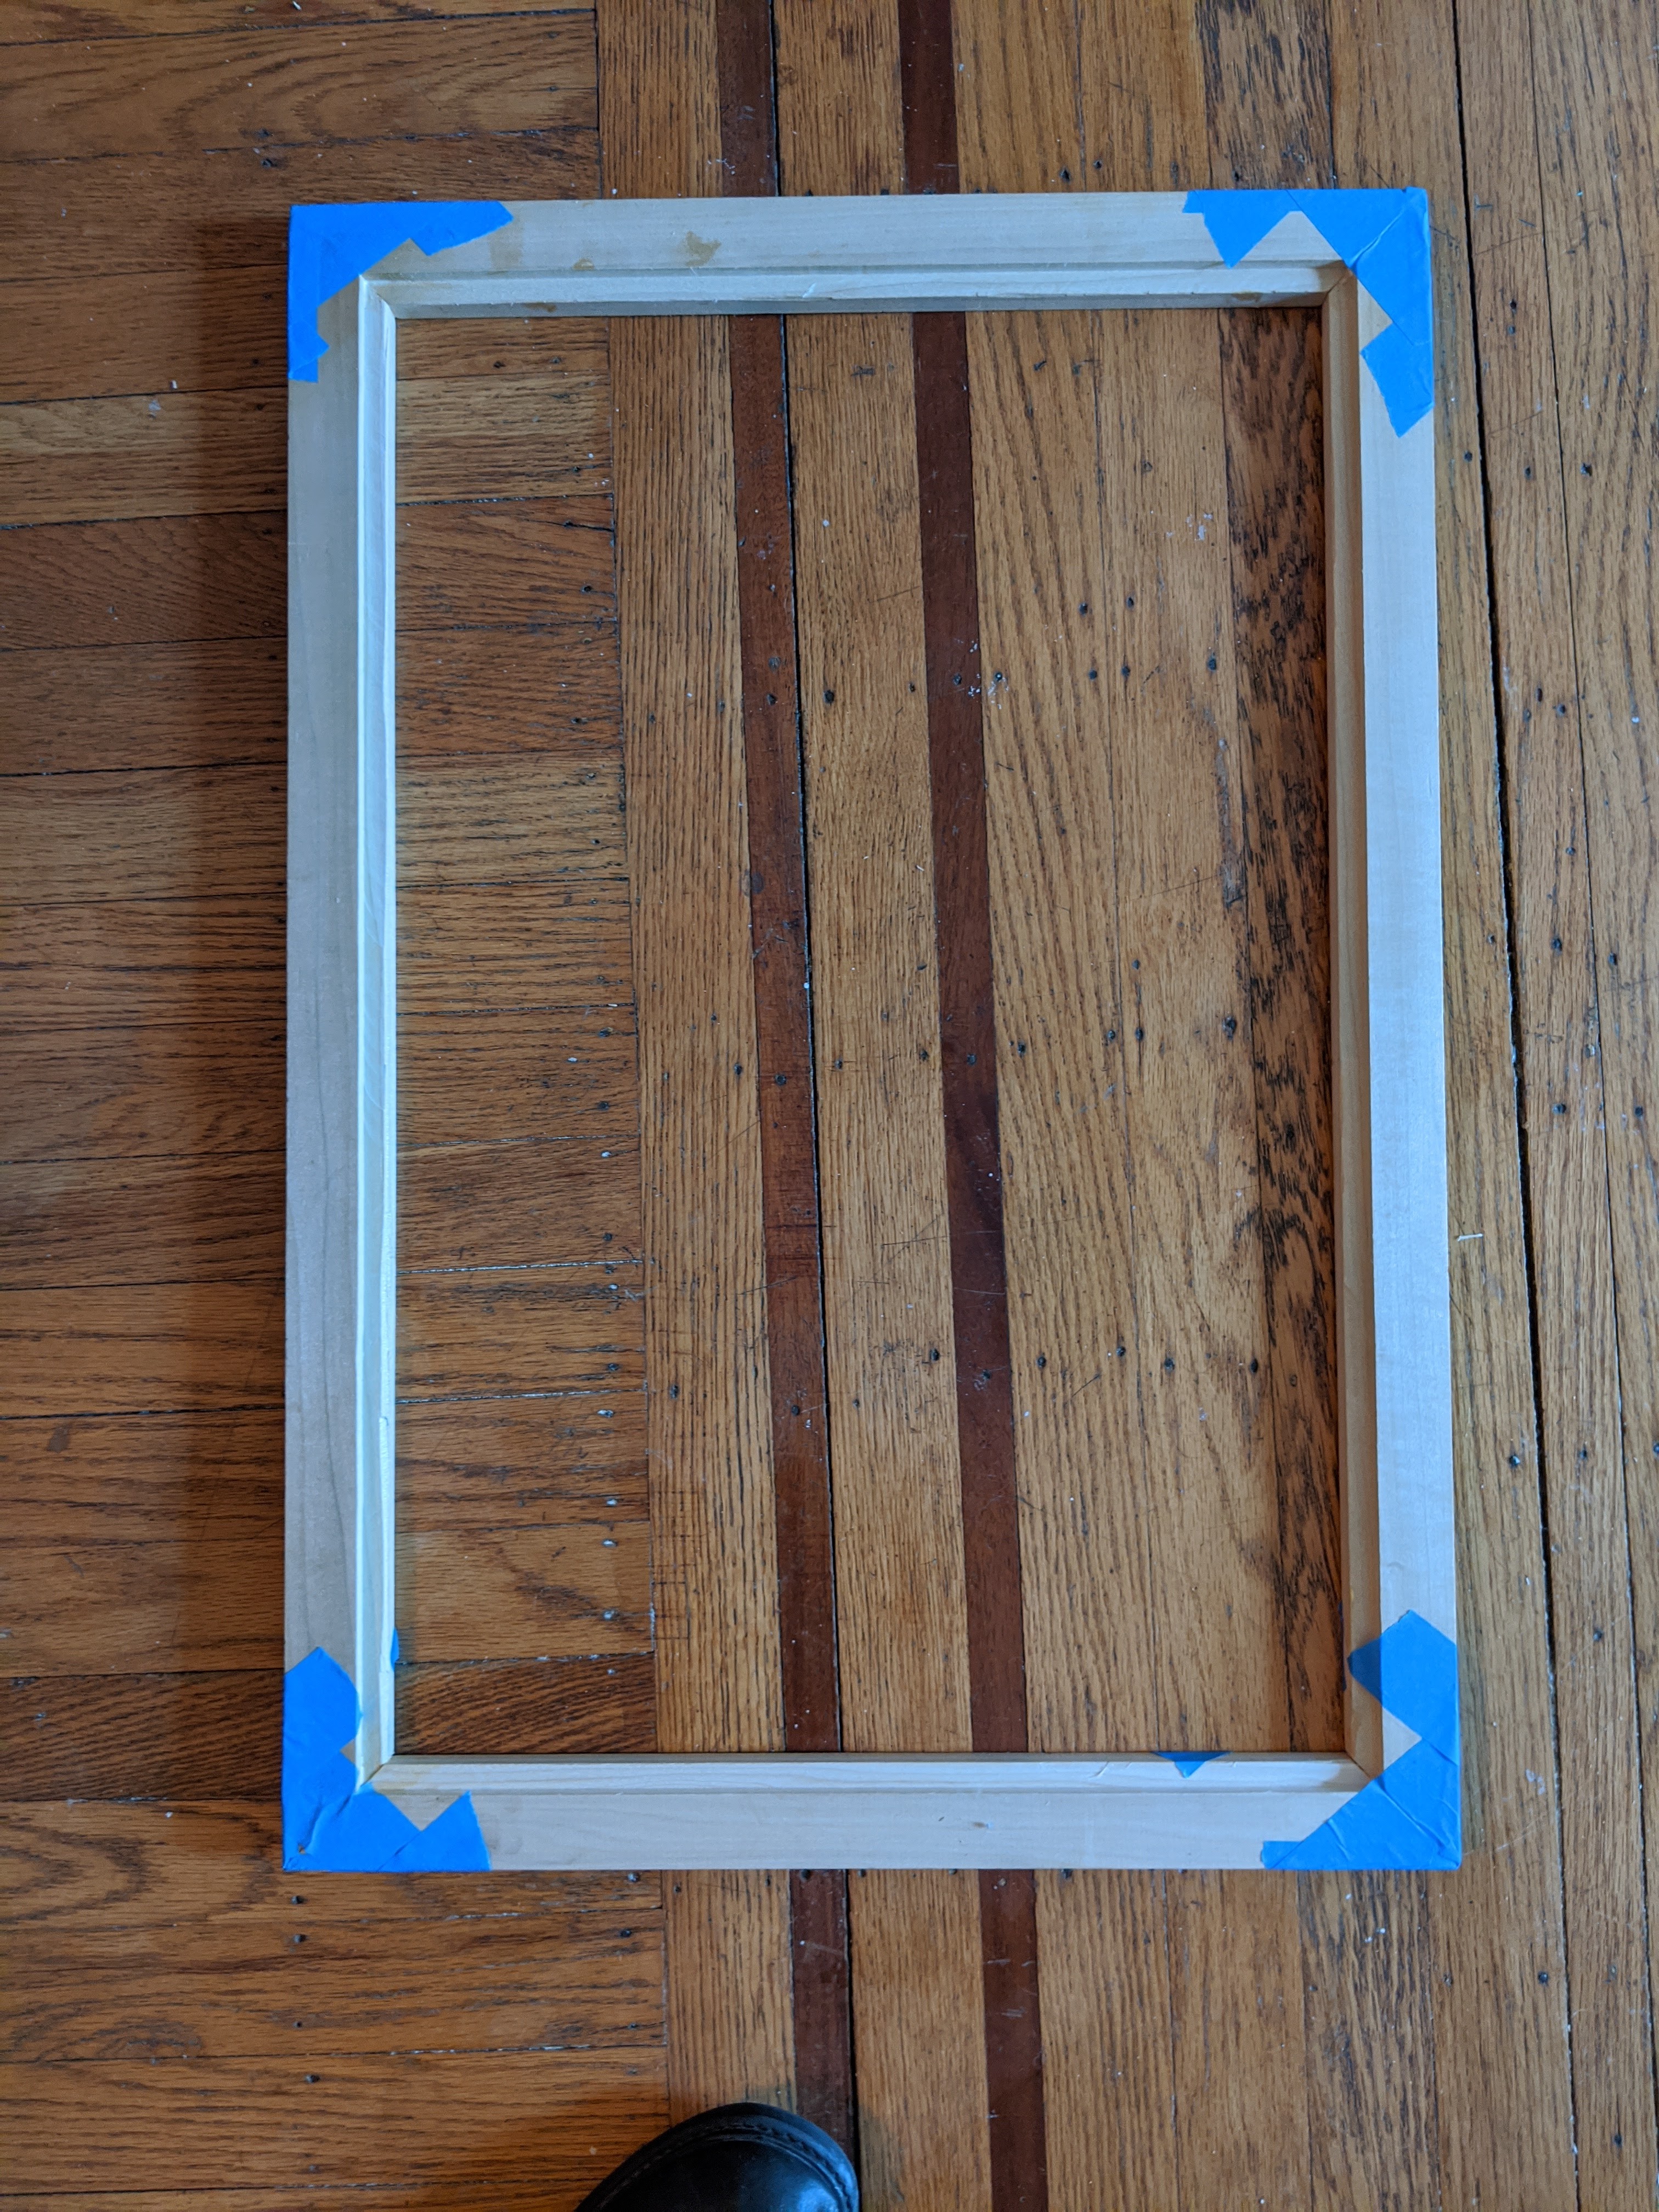
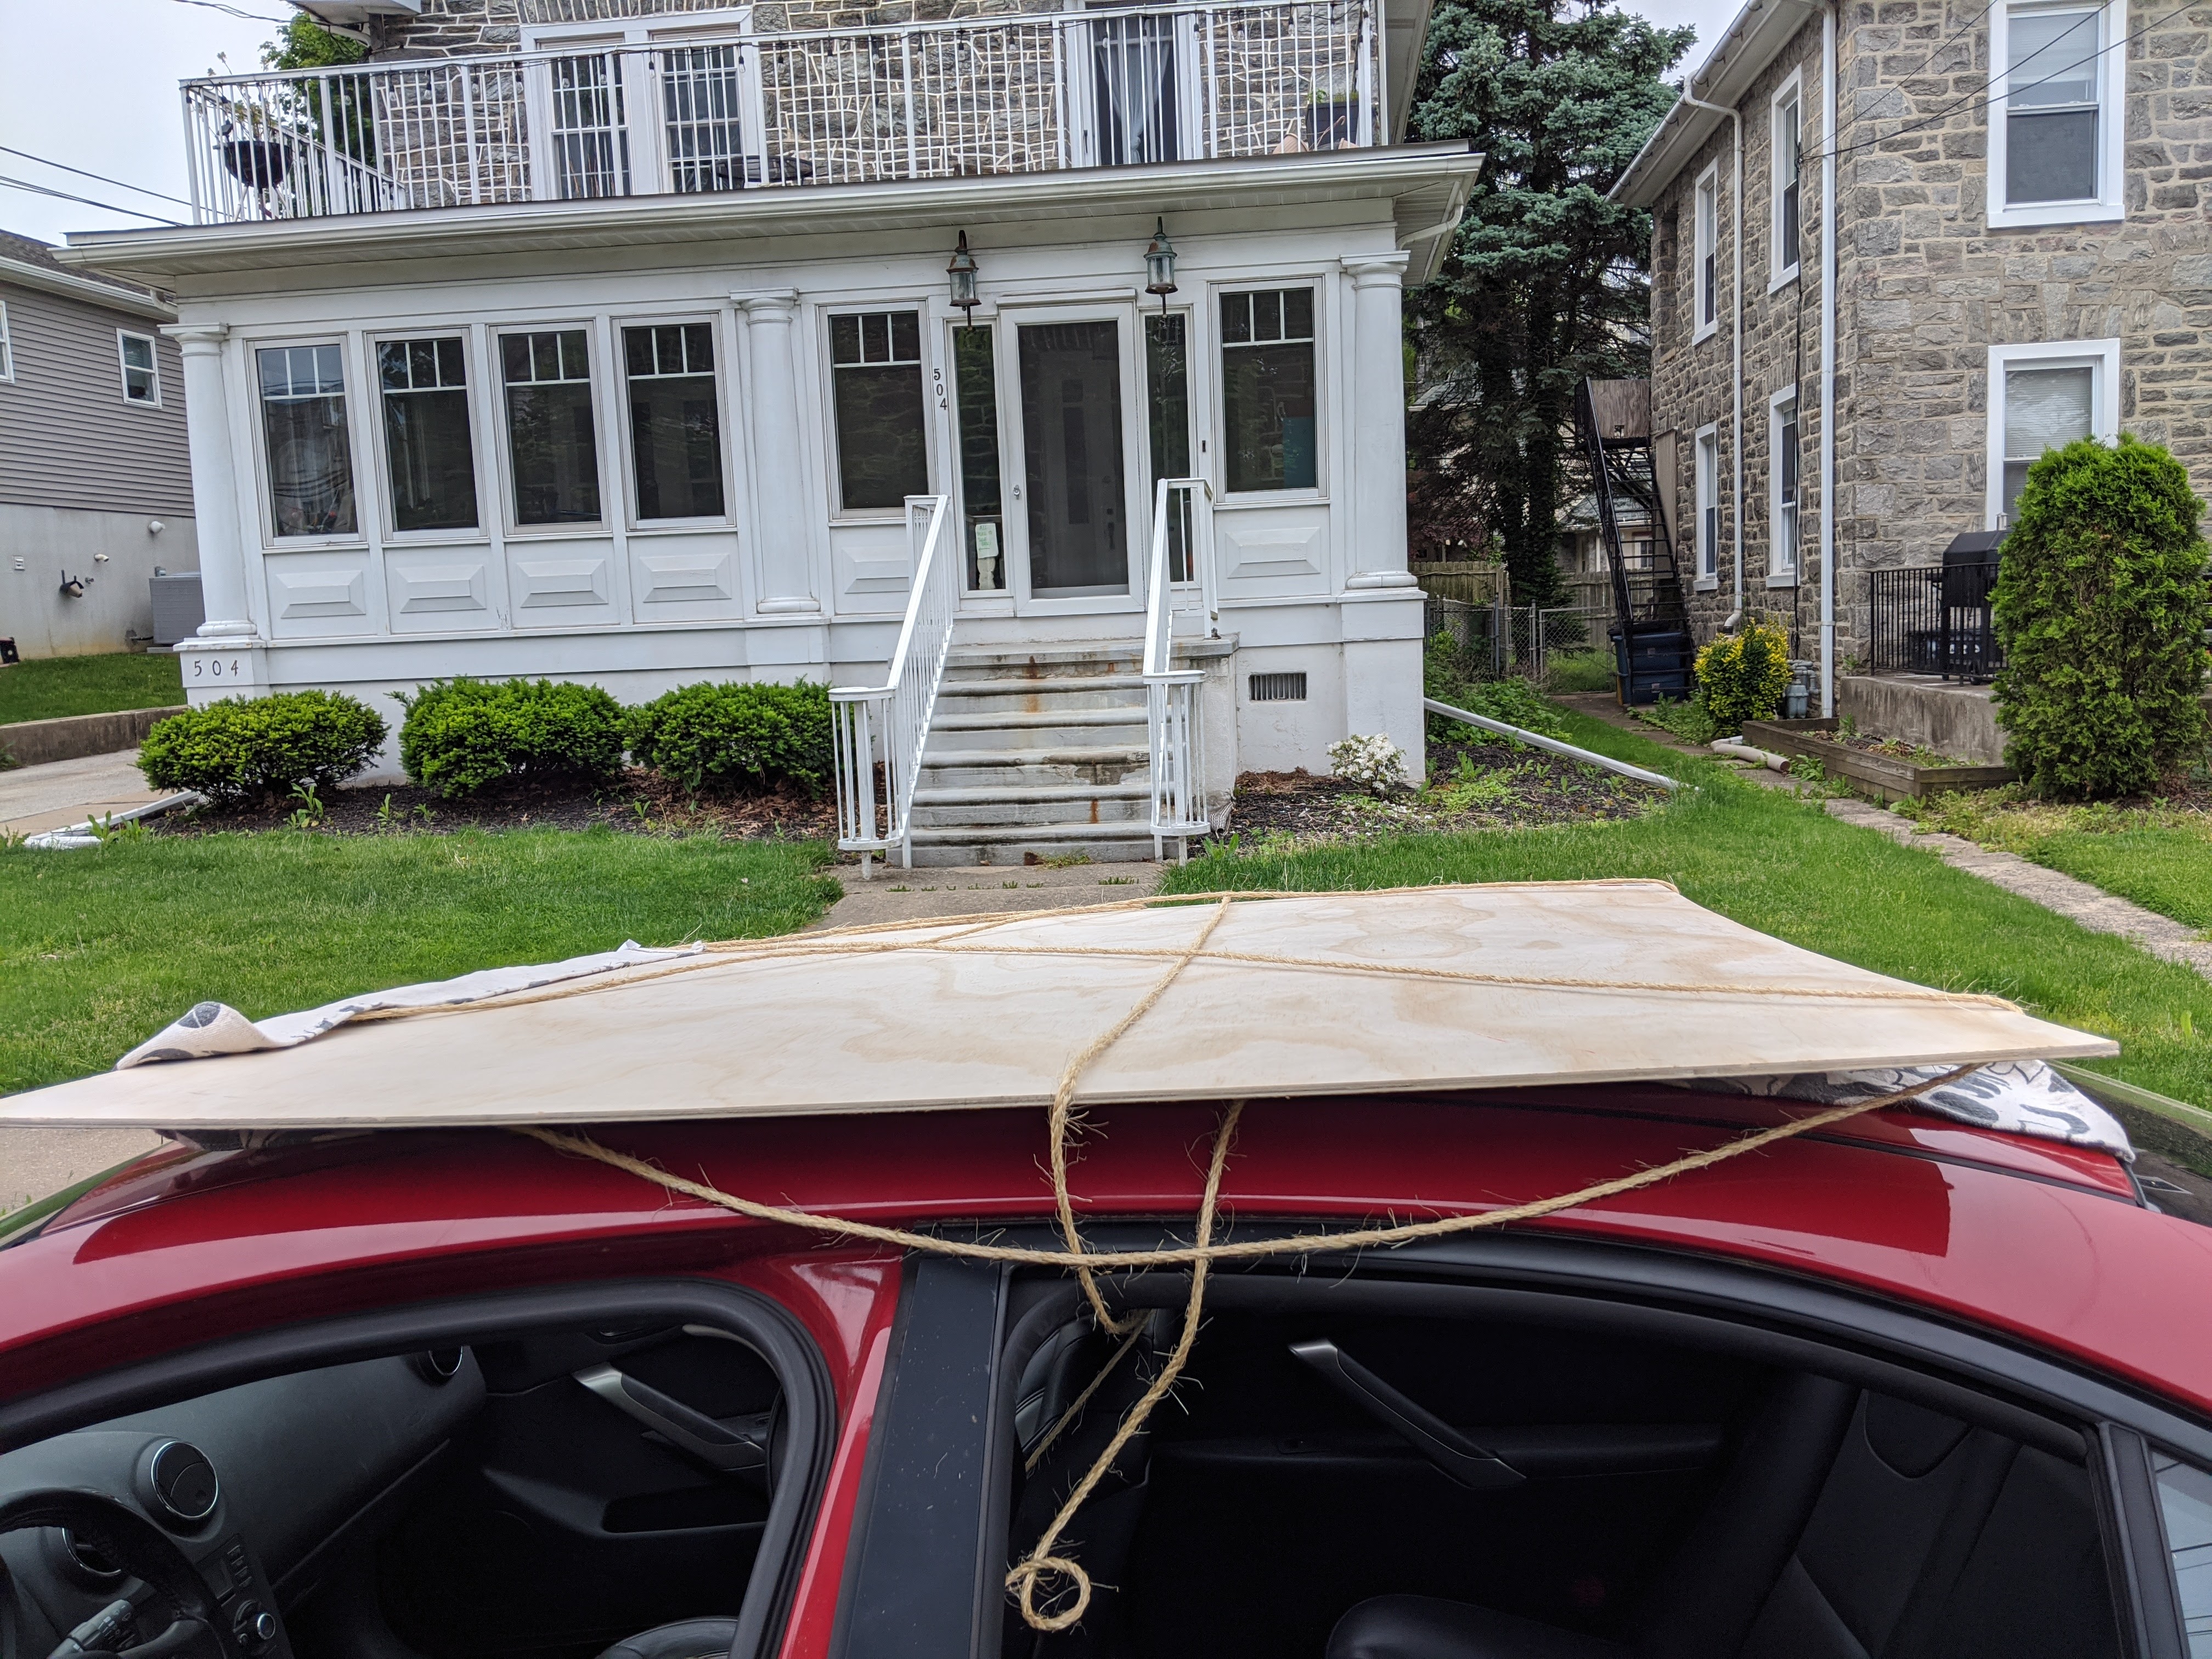
SUCCESS! I had a frame!! I snagged a sheet of 4 by 4 plywood from Ace, only to discover it will not fit in my car. Had to strap it to my roof. THAT WAS A FUN RIDE HOME. Thankfully a short one! I joked with my wife that it was the “sail” of the boat as it was definitely getting air on the way home. I cut the back of the frame out of it and used a large section of the reminder as a floating blank in the base of the trunk (as noted in the assembly section above).
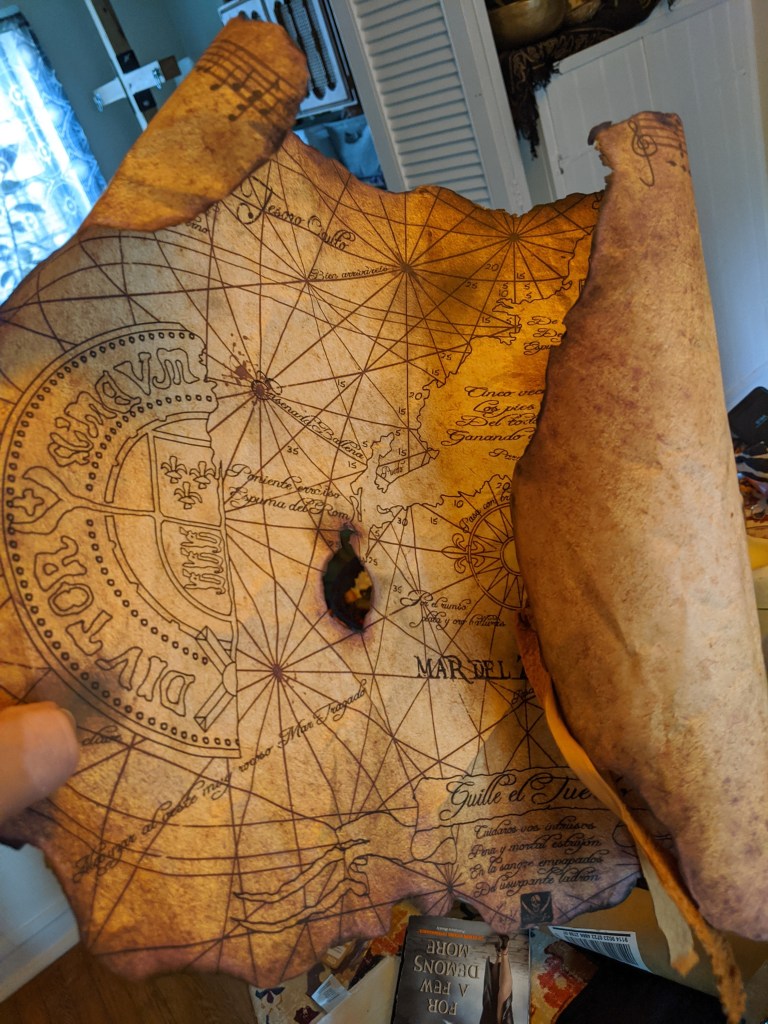
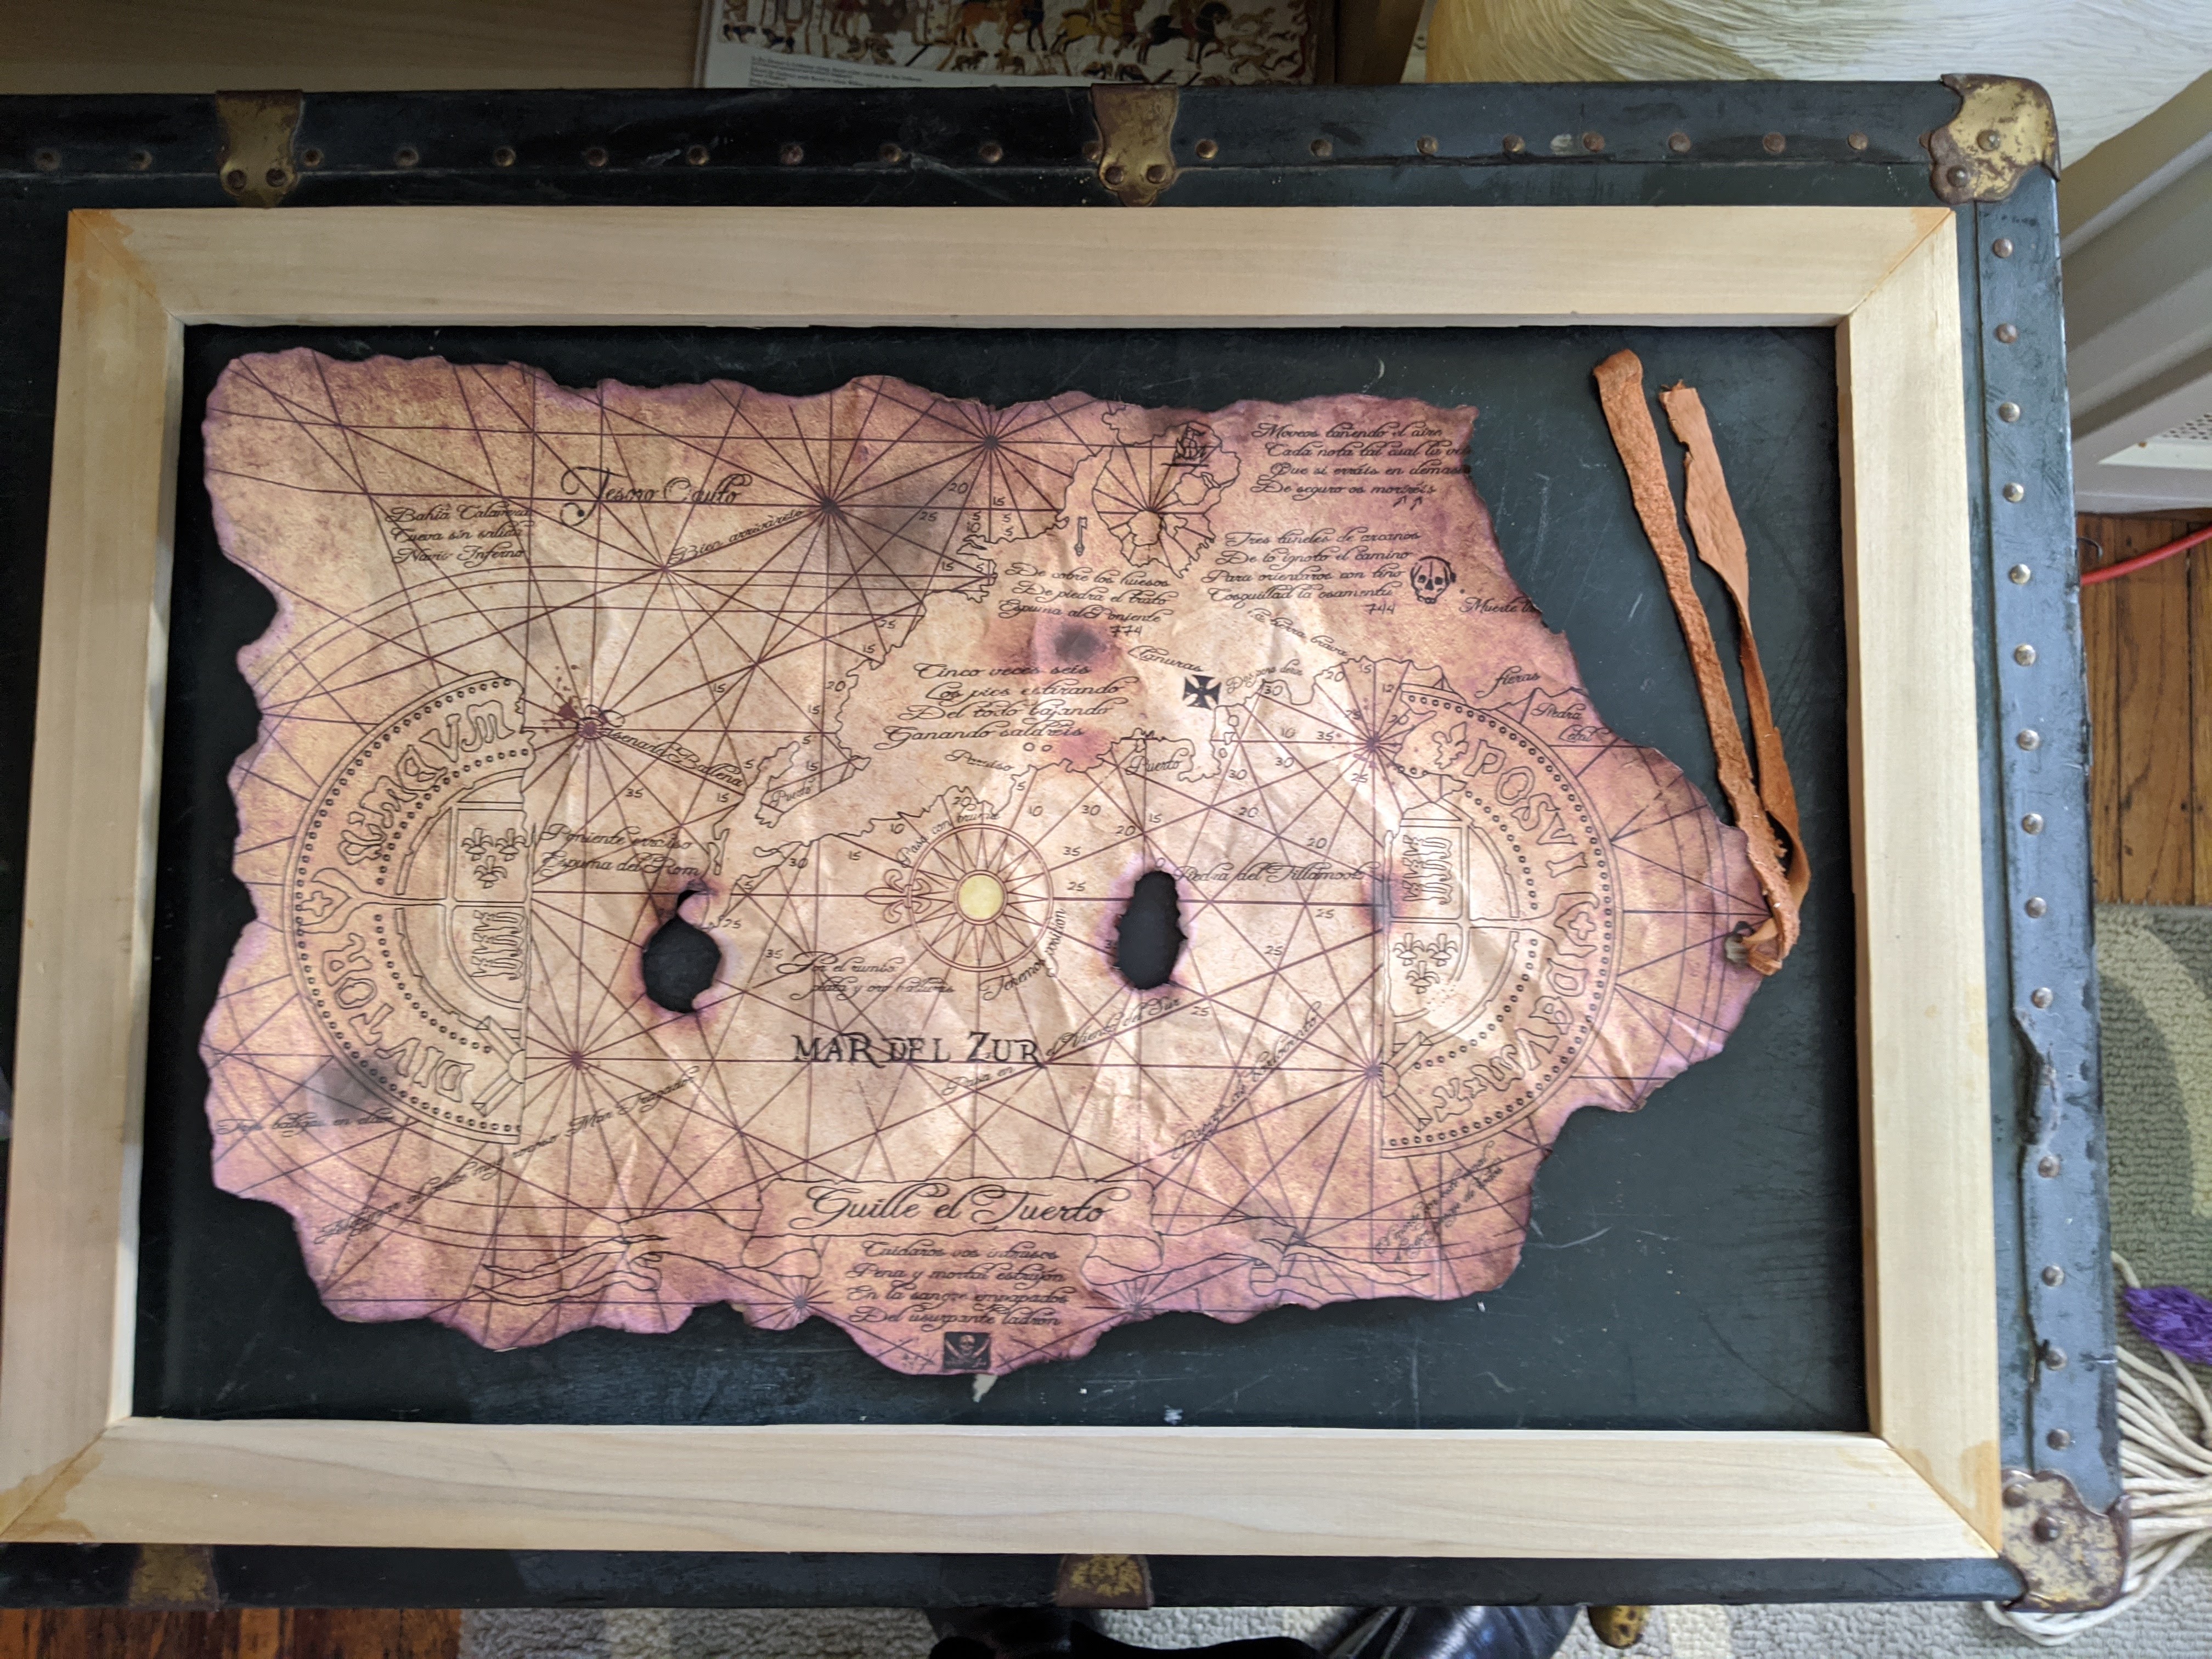
I dry fit the map in it and nearly clapped my hands! It was so close!! I nearly removed the leather strap but it would have lost it’s punch. And the holes wouldn’t be as potent flat. I would have to float it somehow. Oh man, how to get it to float? Another Michael’s curb side visit and I had perfect piece of balsa wood. I outlined it to get the cut just right.
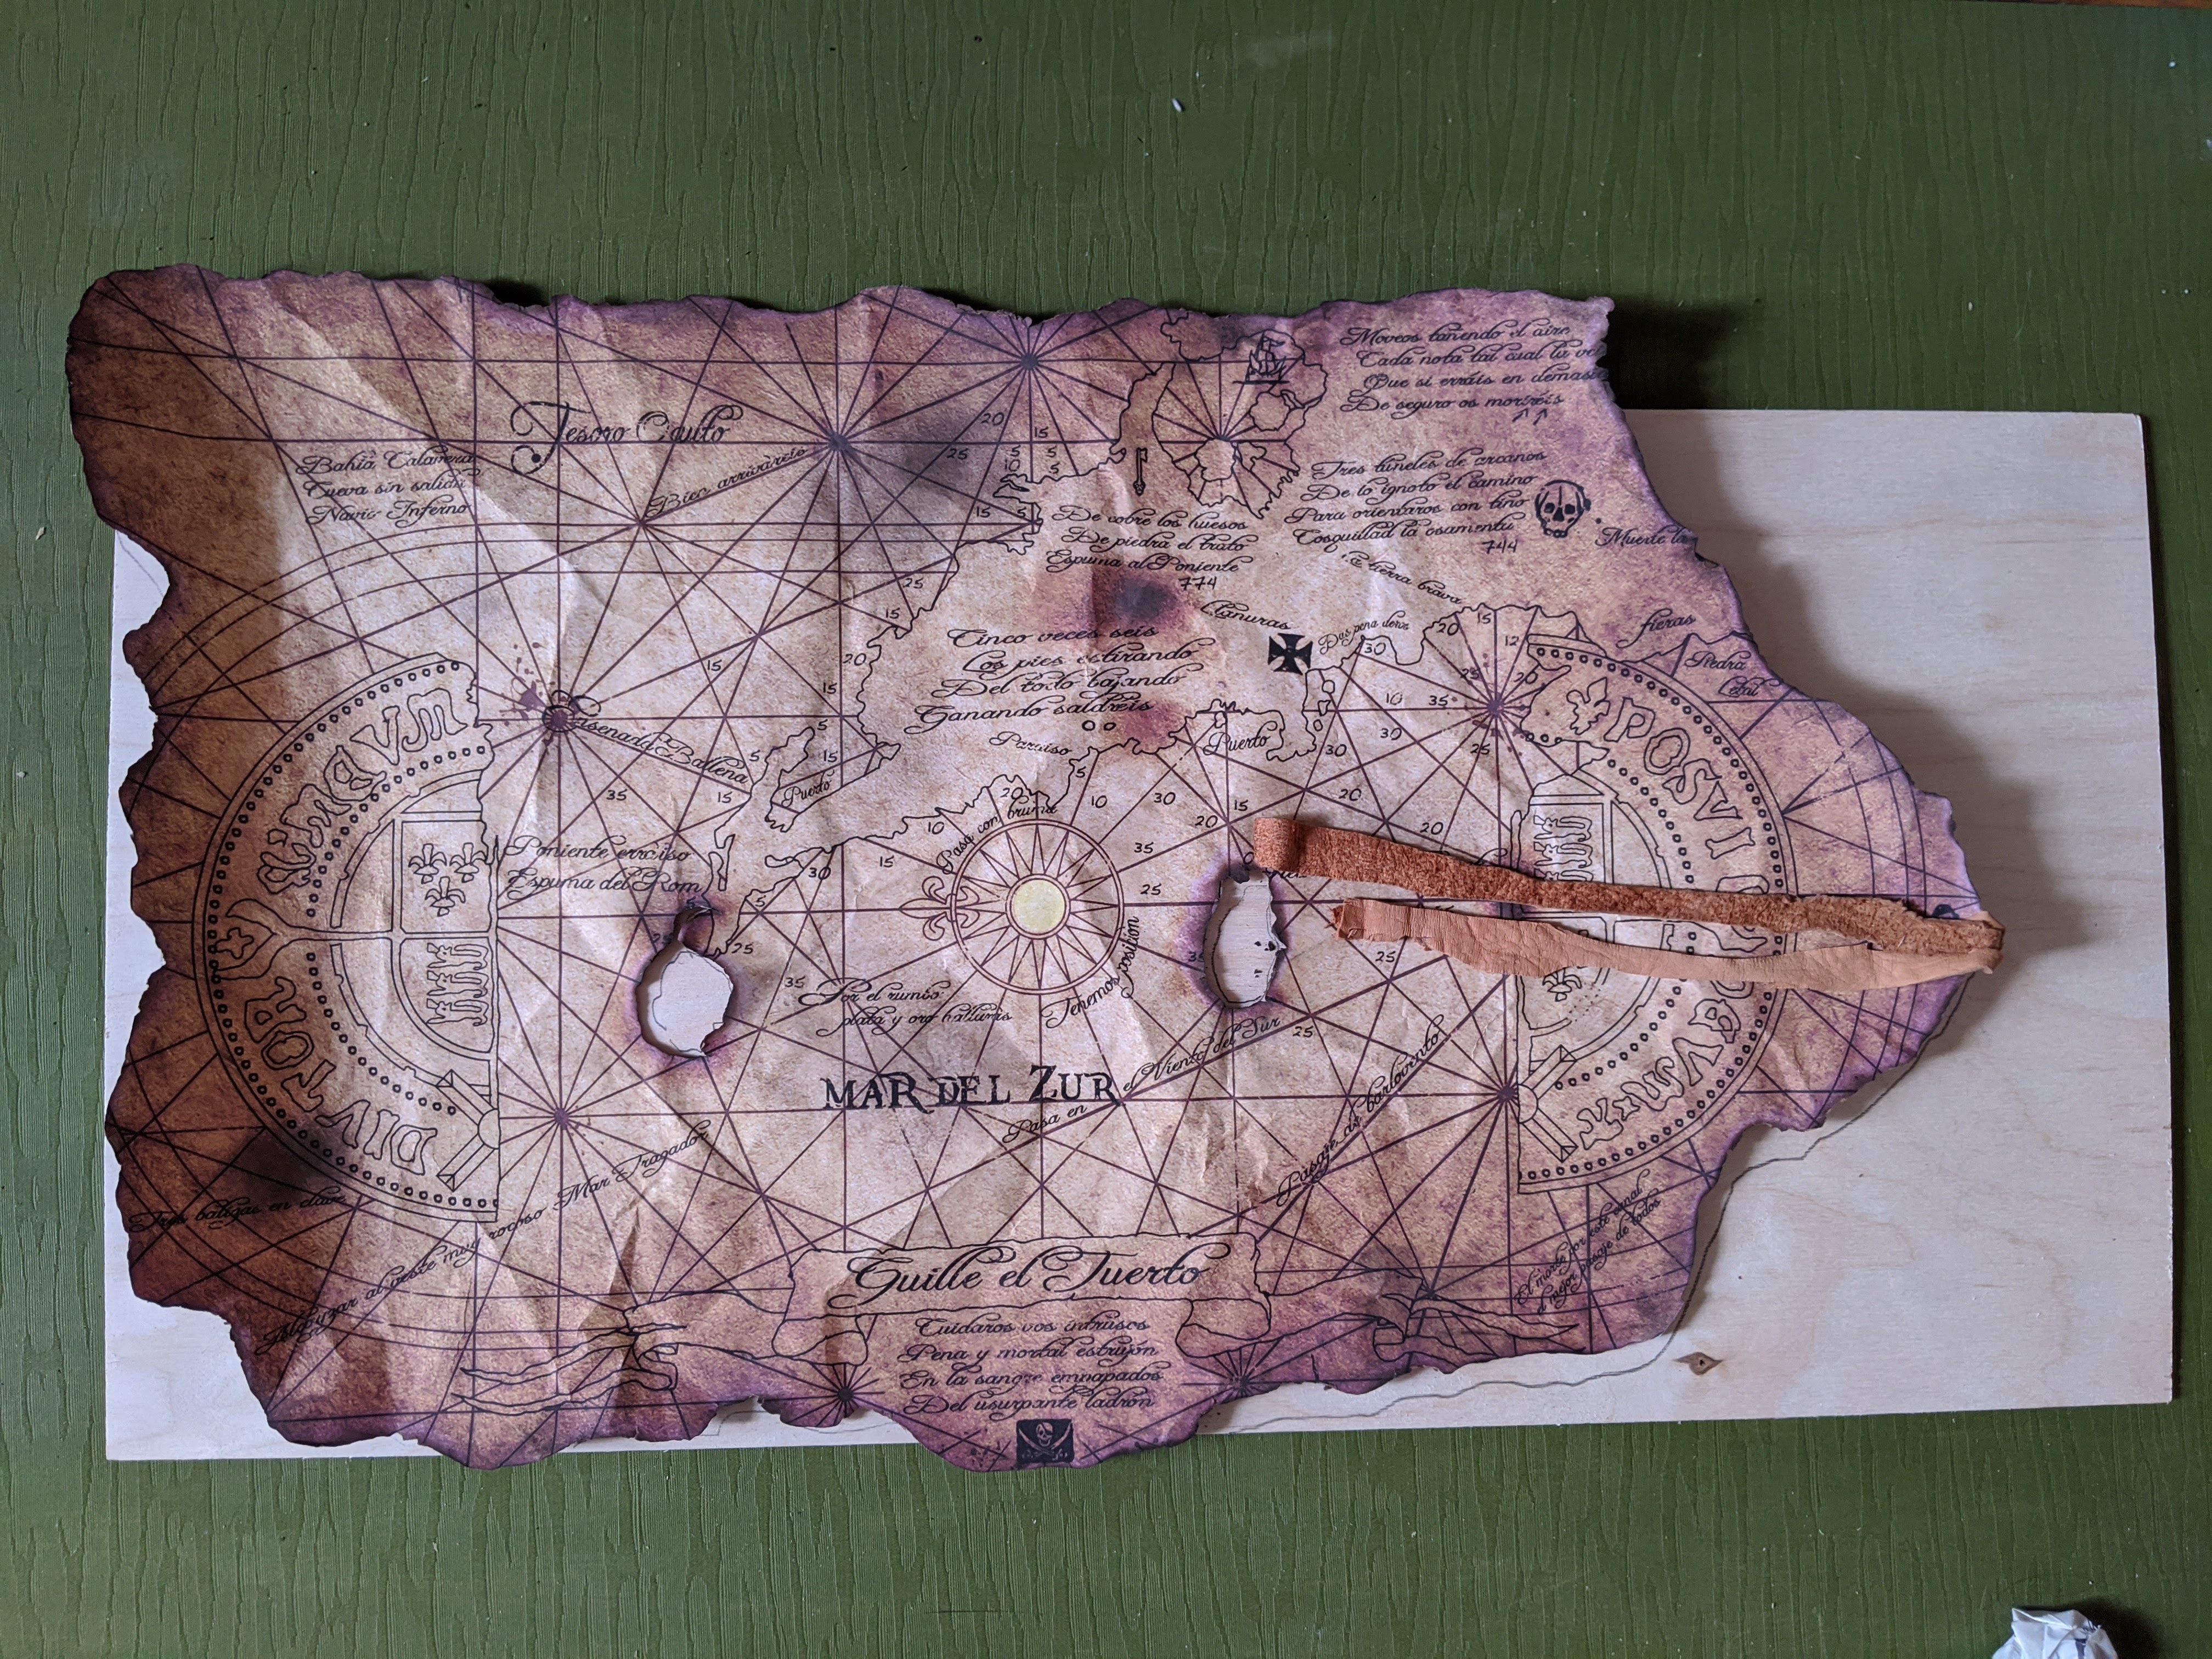
So I cut the balsa wood for the float piece, making sure to have the top of the map hang over (notice in the photo above the big margin between map and the balsa) for the notes to poke through. The balsa would be cut to give the shadowbox ‘feel’ (especially with the holes in the balsa to let the veneer sections through) but I would need to modify the picture backing to support it. I also cut a ‘window’ in the back of the picture frame so you could see the notes through the back. To do this right, I would need the painters tape again:

Shit, it was varnish time. NERVOUS AGAIN; it’s been several years since I varnished and getting the coats just right is a big deal since this is the center piece of my work. No stress right? No one is going to really look at the frame below – this was front and dead center.

Two and half days later, everything was varnished. With baited breath, I dry fit the frame. BRILLIANT. I got a piece of plexiglass from Ace Hardware and had the distinct pleasure of having it cut to fit before taking it home. Had a lovely chat with the chap who cut it at a safe distance and it made all the difference. I got it all home, screwed the frame together, and nearly got teary eyed. Okay, I did.
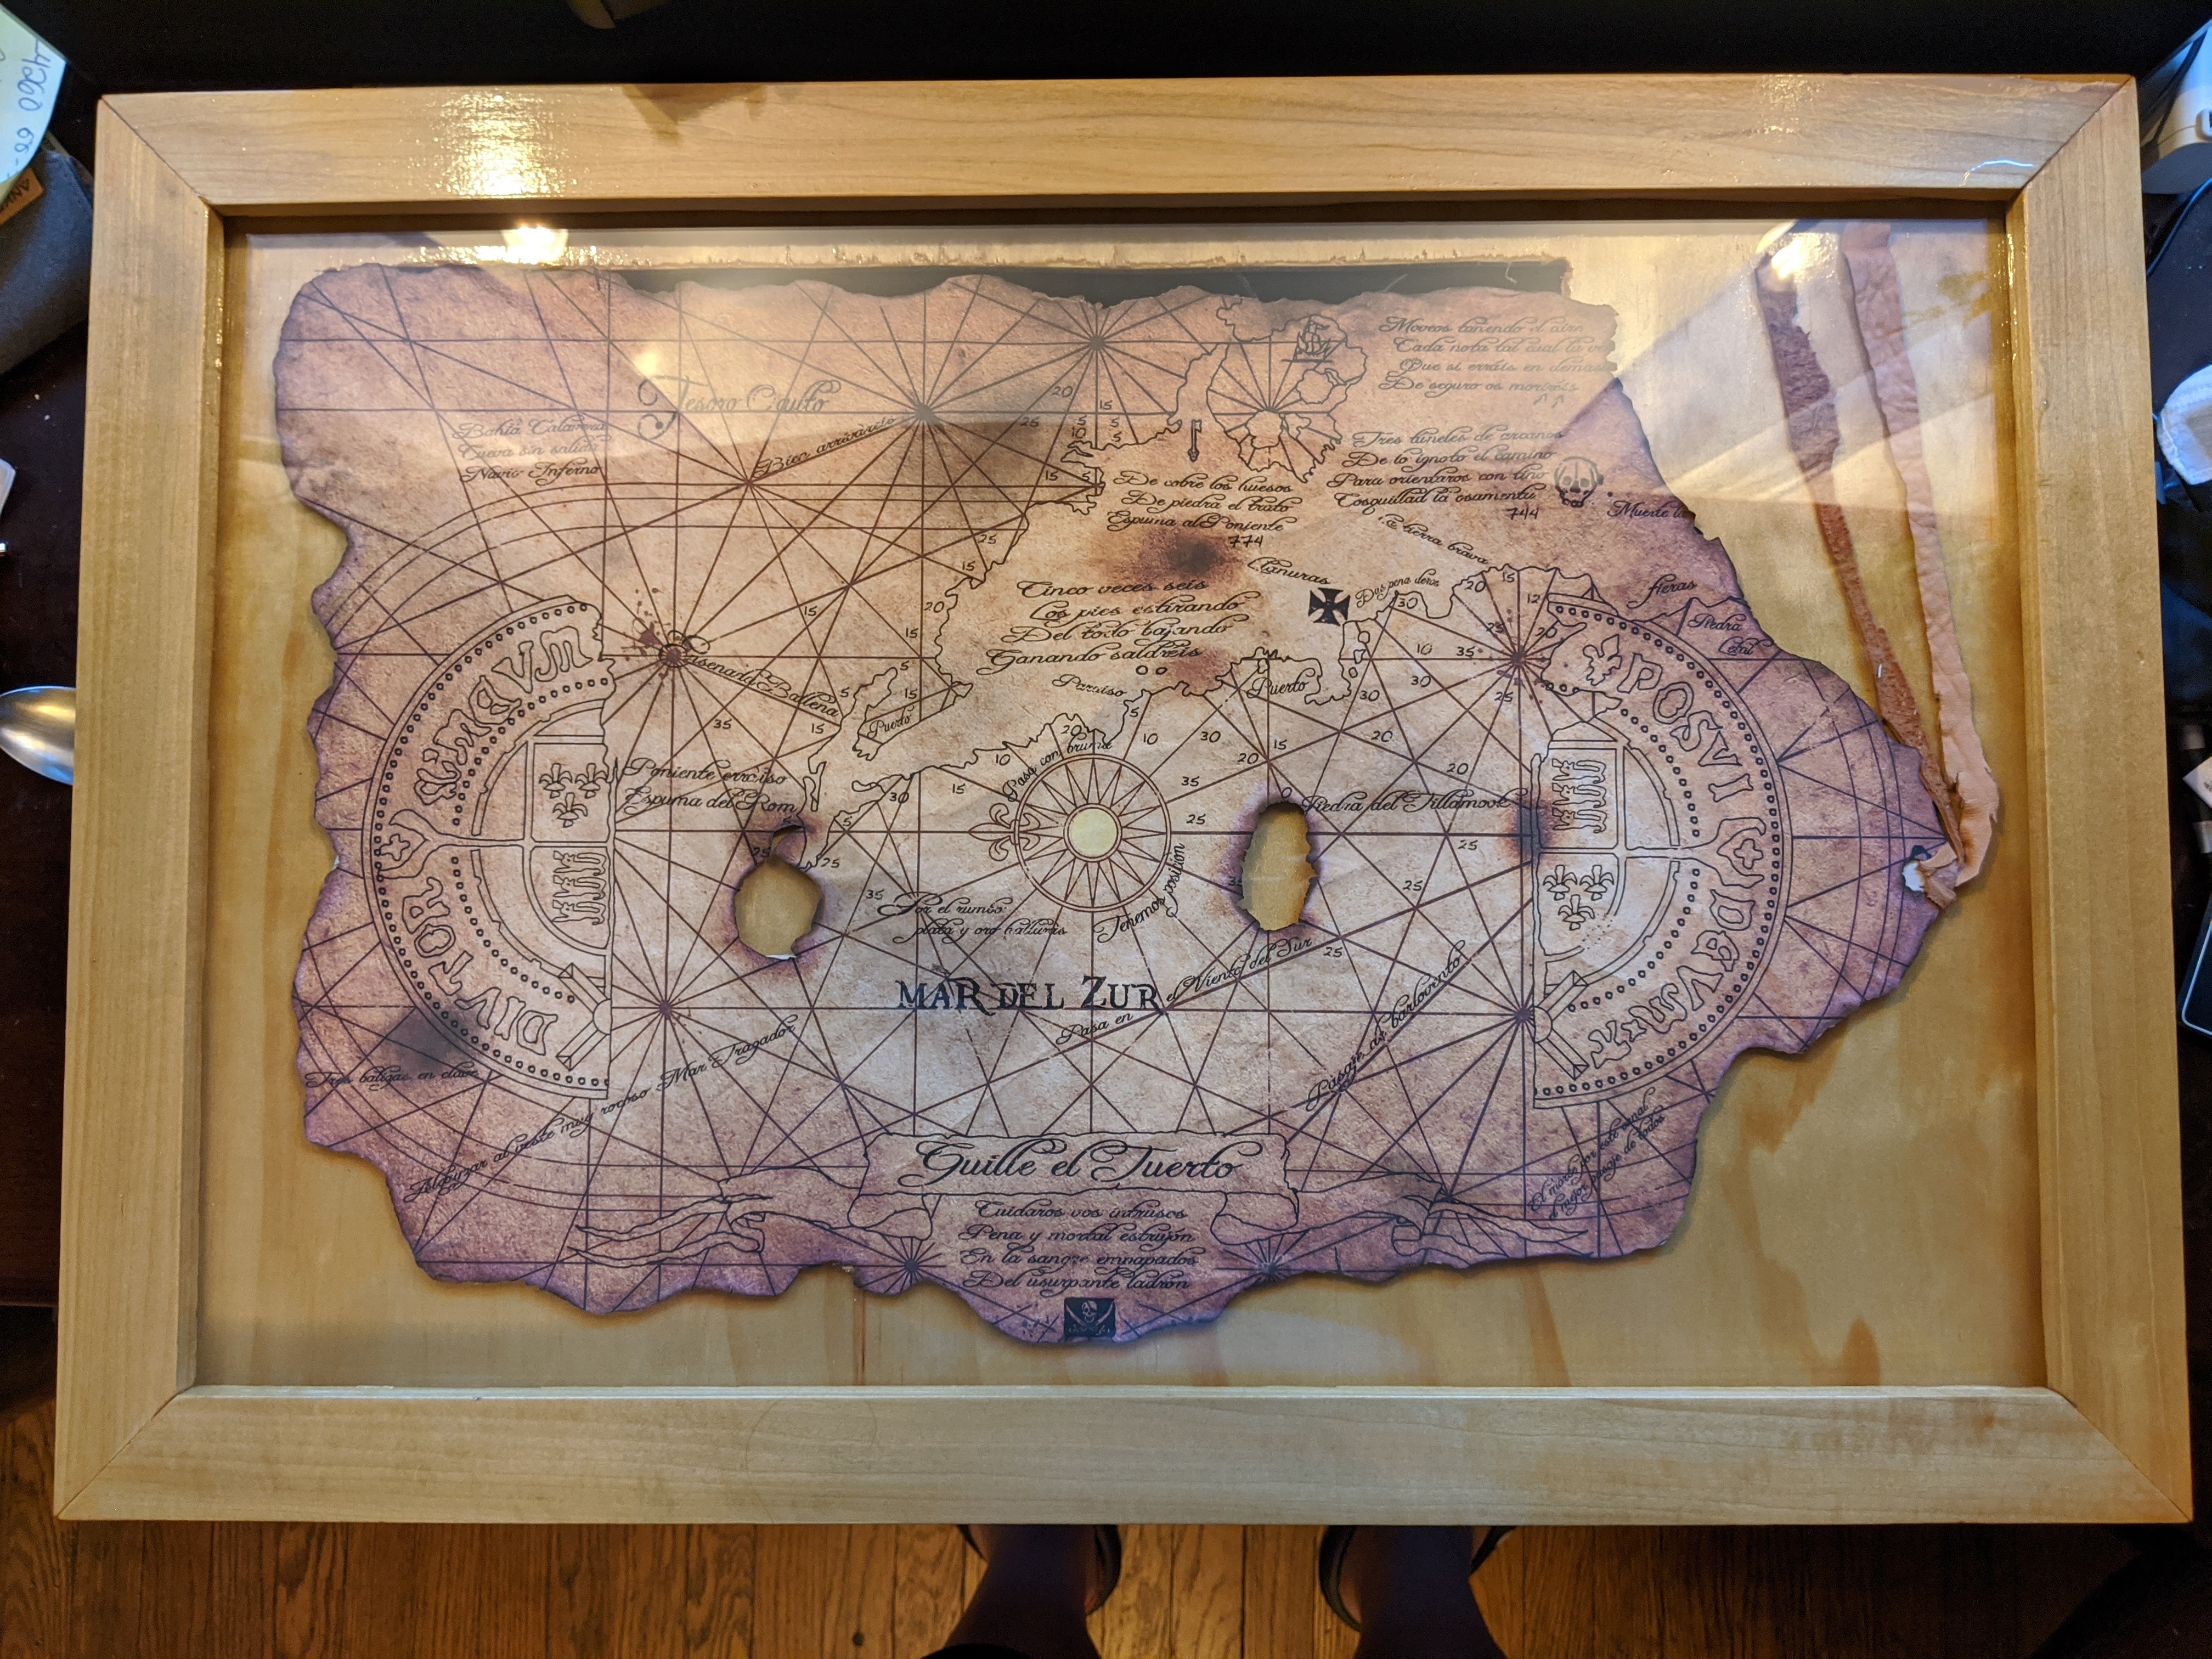
I was blown away how it turned out. I could have purchased a frame but it would have not nearly gotten the same results and the high grade boat varnish Cassie got me MADE IT SHINE. To keep map and leather pieces where I wanted them but still adjustable, I used more of the double sided tape. But how the hell was I going to frame this thing? And make it so it can be removed? I had some ideas with flush mount brackets but the spacing…

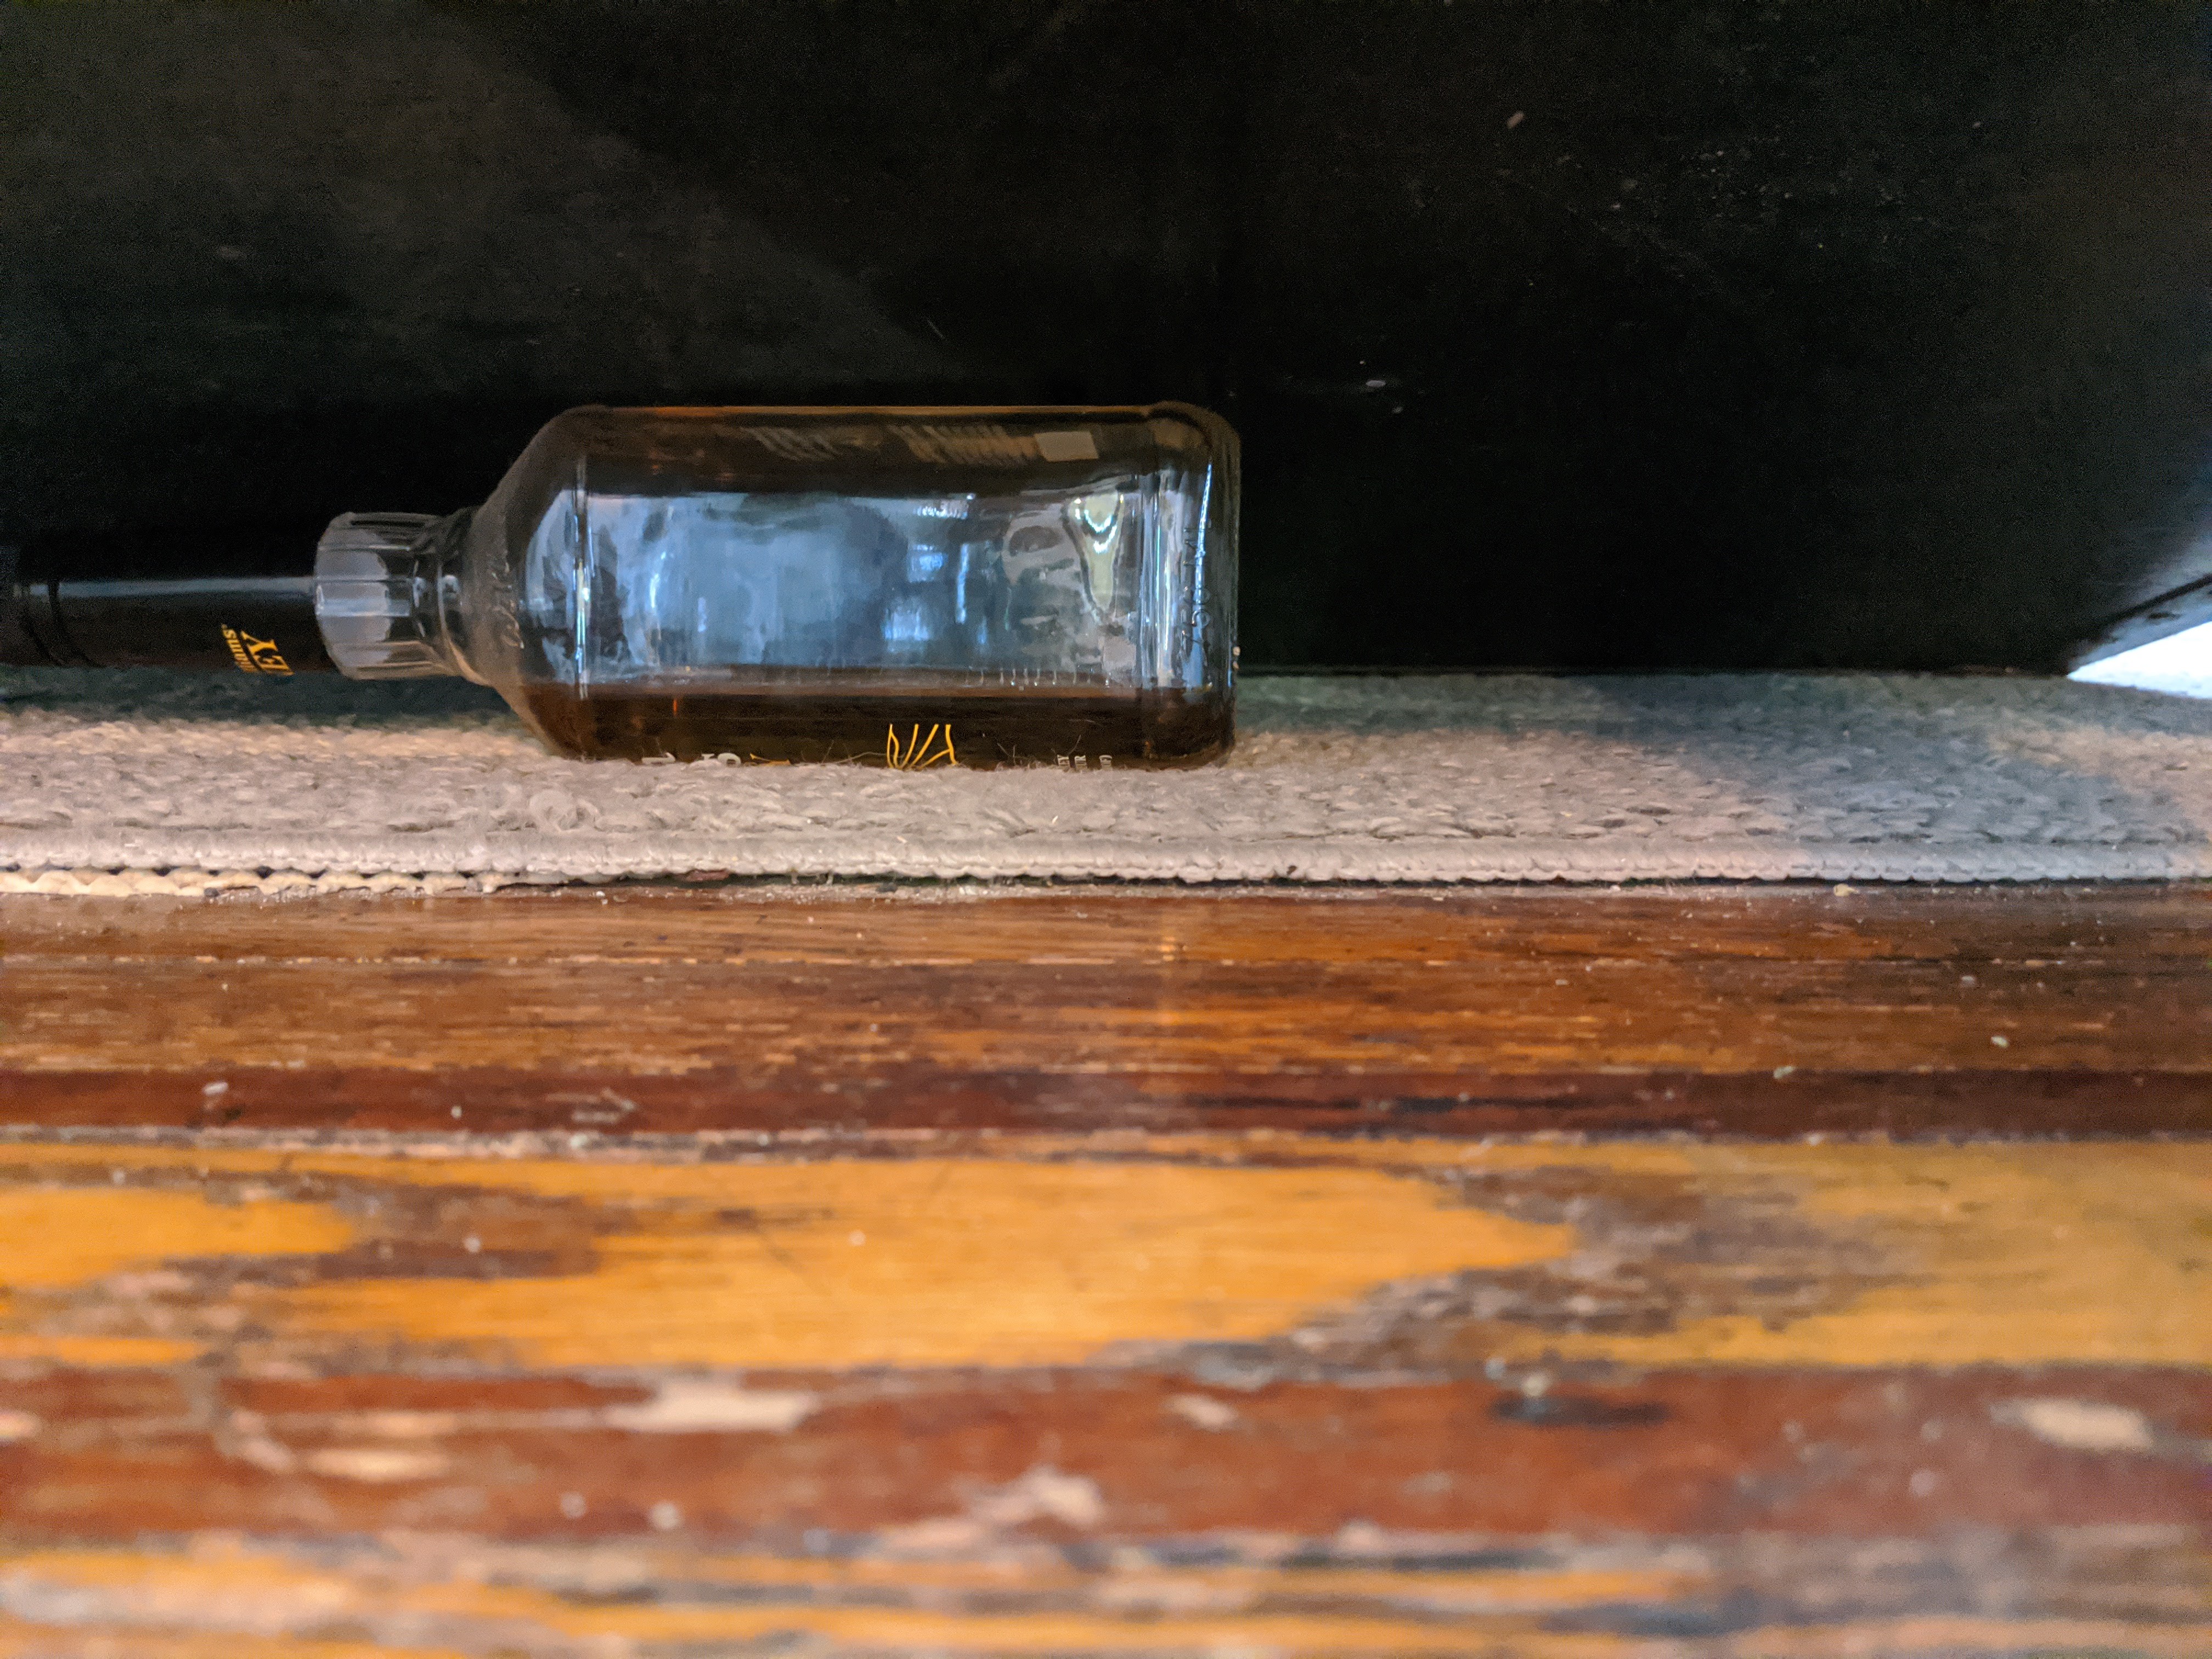
I used the excess wood pieces from the frame and cut blocks out of them as spacers. I got flush mount brackets from Ace Hardware and pain staking measured the living shit out of the whole process. A pencil, a bottle of honey whiskey (not drank, just used), and lots of patience paid off. I mounted the blocks in to the lid and after a thousand micro adjustments, my frame was in the lid.

There were three more things to address for this phase; somewhat minor but high detail. Okay, I can do this. I needed to address what I call the “finger plate” on the front inside of the trunk (really a bolt plate for the lock hasp but I digress), I needed to do something about the fabric around the lid arm, and naturally, don’t freak out kid, getting the key mounted with some level of artistic value on the back plate. Removable if possible, but still secure. I also put on the casters (actual trunk casters), trimmed the structural bottom with a router so it’s ‘hidden’ and painted it black (no photo sadly!).
The finger plate was oddly almost the easiest to address. Using some of the fabric tricks I had learned and some brass hob nails I had acquired, I slowly but surely put in the fabric on the finger board. I really wish I took more time lining up the hob nails but it still came out rather well so I was happy with it.

Stealing another idea from my friend Nick, I used double sided scotch tape to help “set” the edges of the fingerboard fabric so I could get it set into place. I also used some double sided tape to help set the finished fabric section to the trunk temporarily so I could nail them into place. The hind sight suggestion would be to not nail the hob nails looking down – get a prop for the lid and lay it on it’s front so it’s right in front of you and take the time to get them PROPERLY lined up – don’t be as sloppy as me! 😀
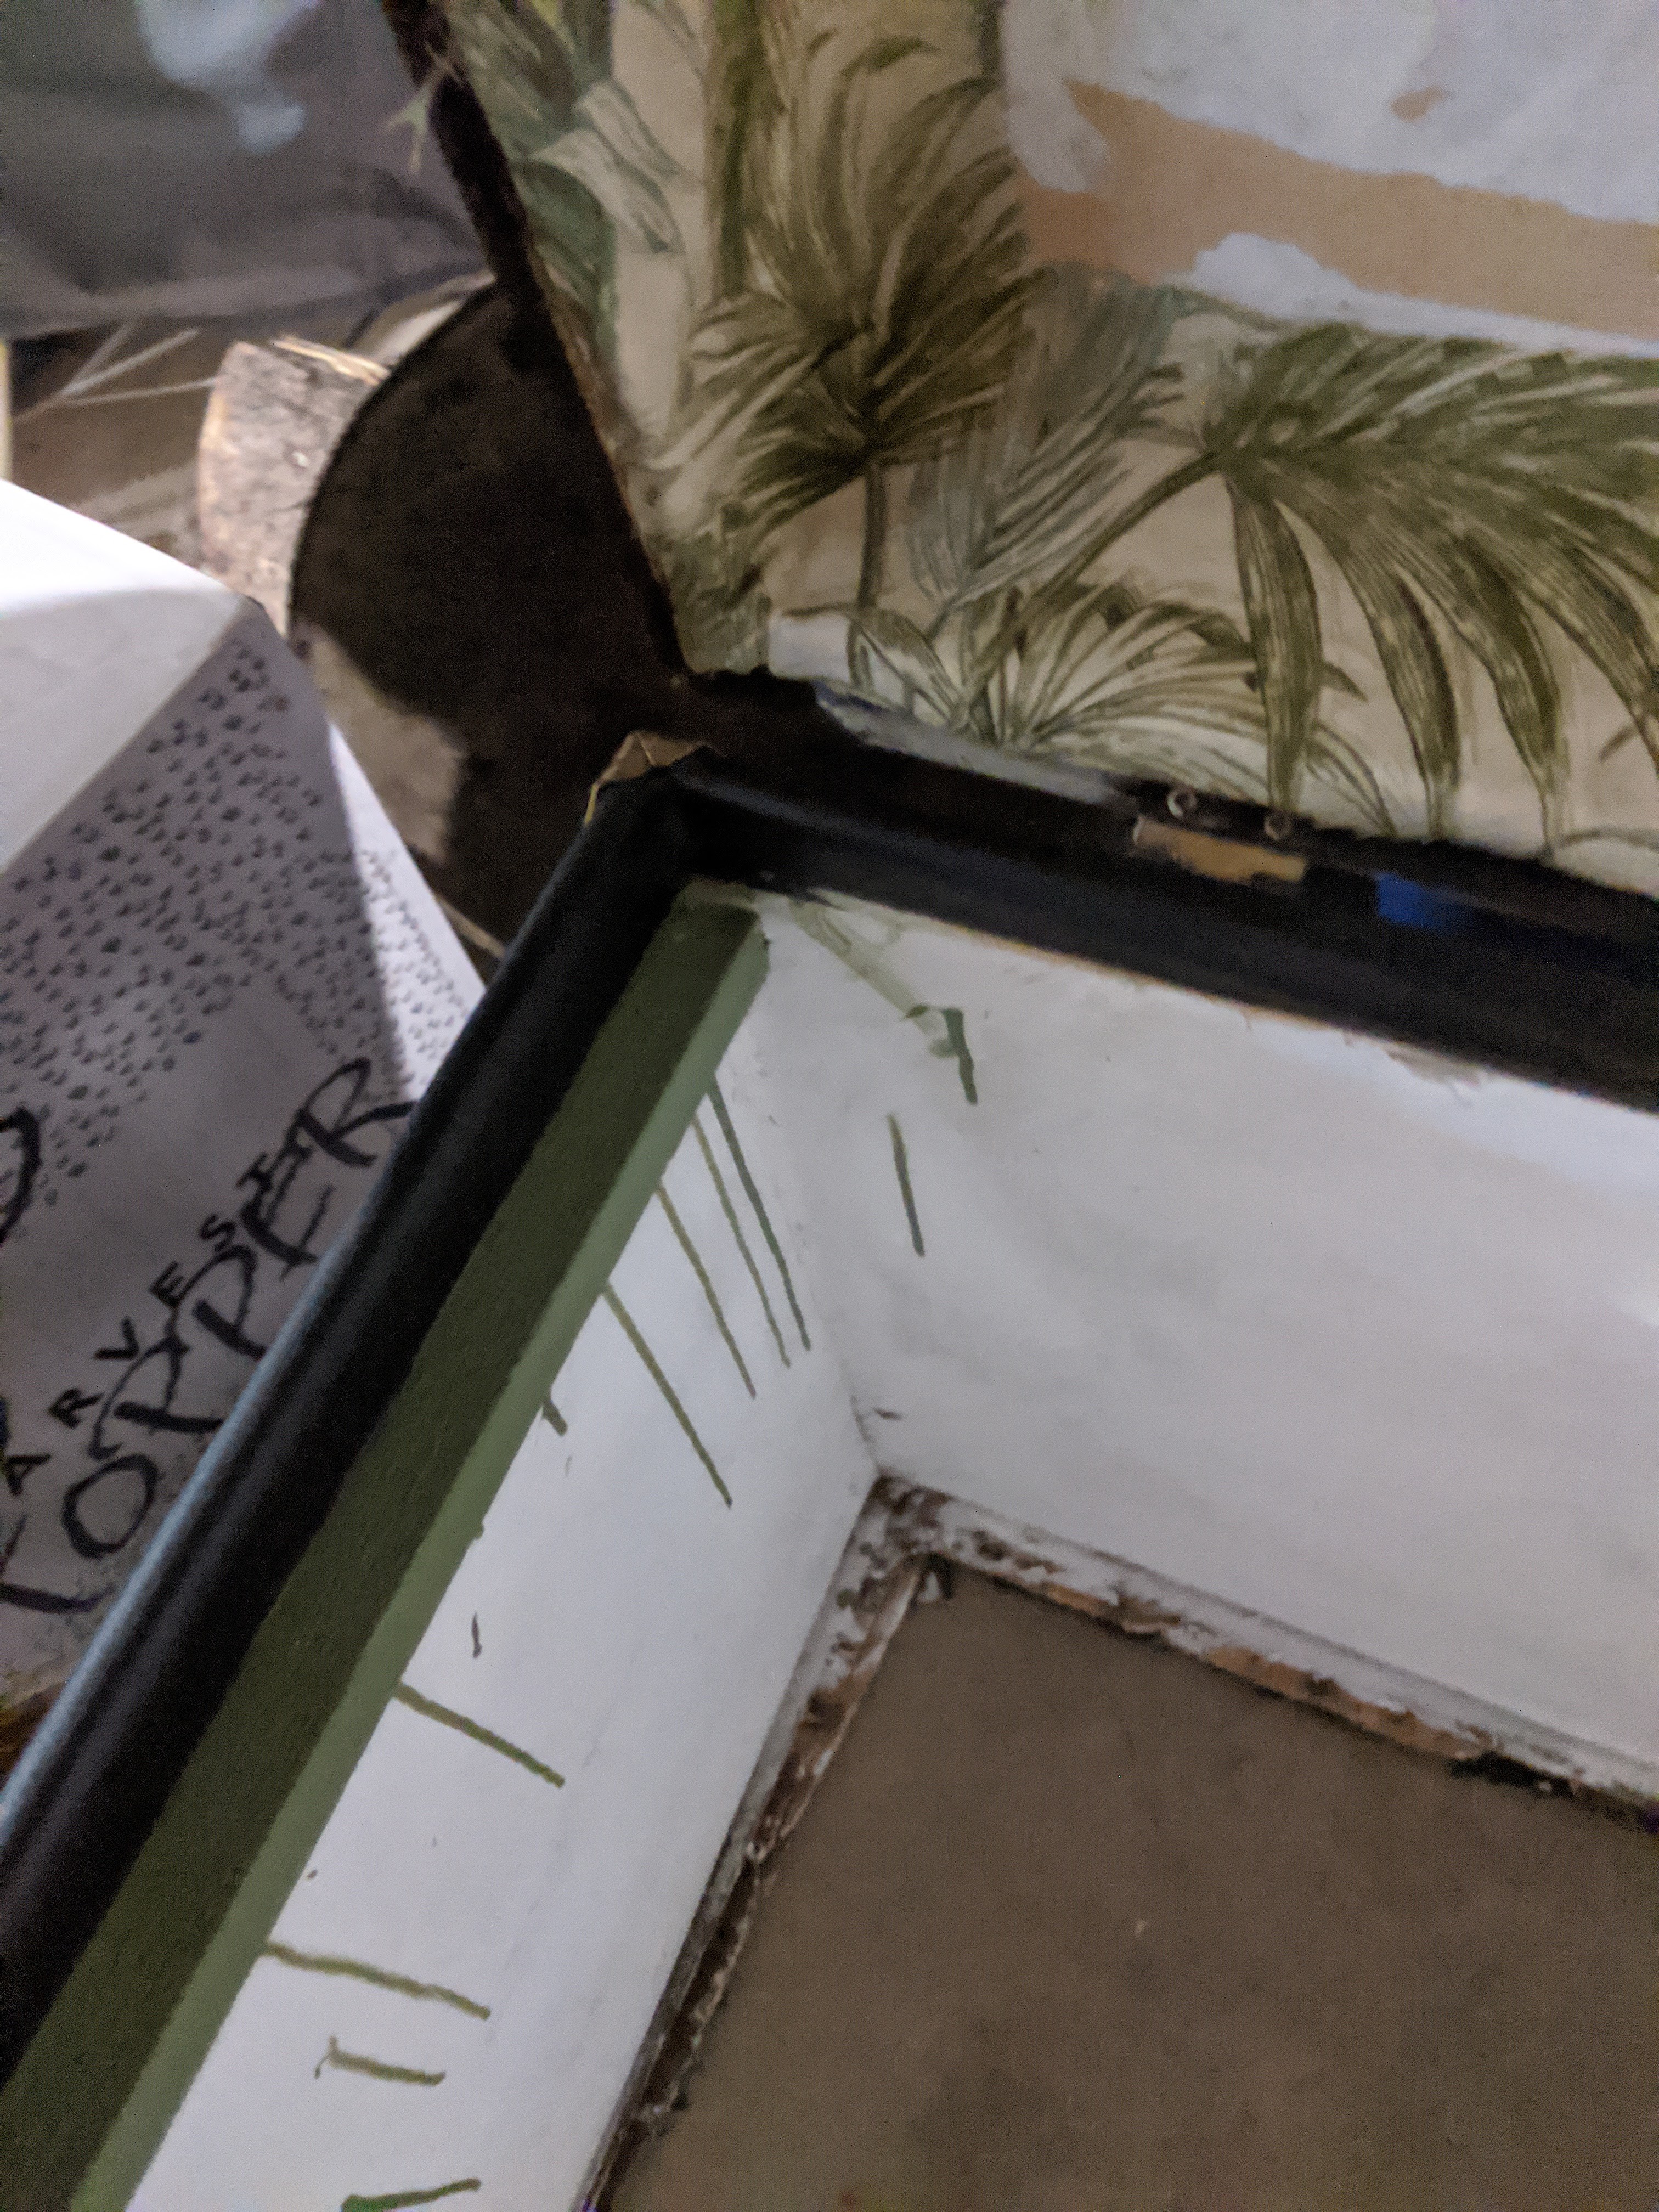
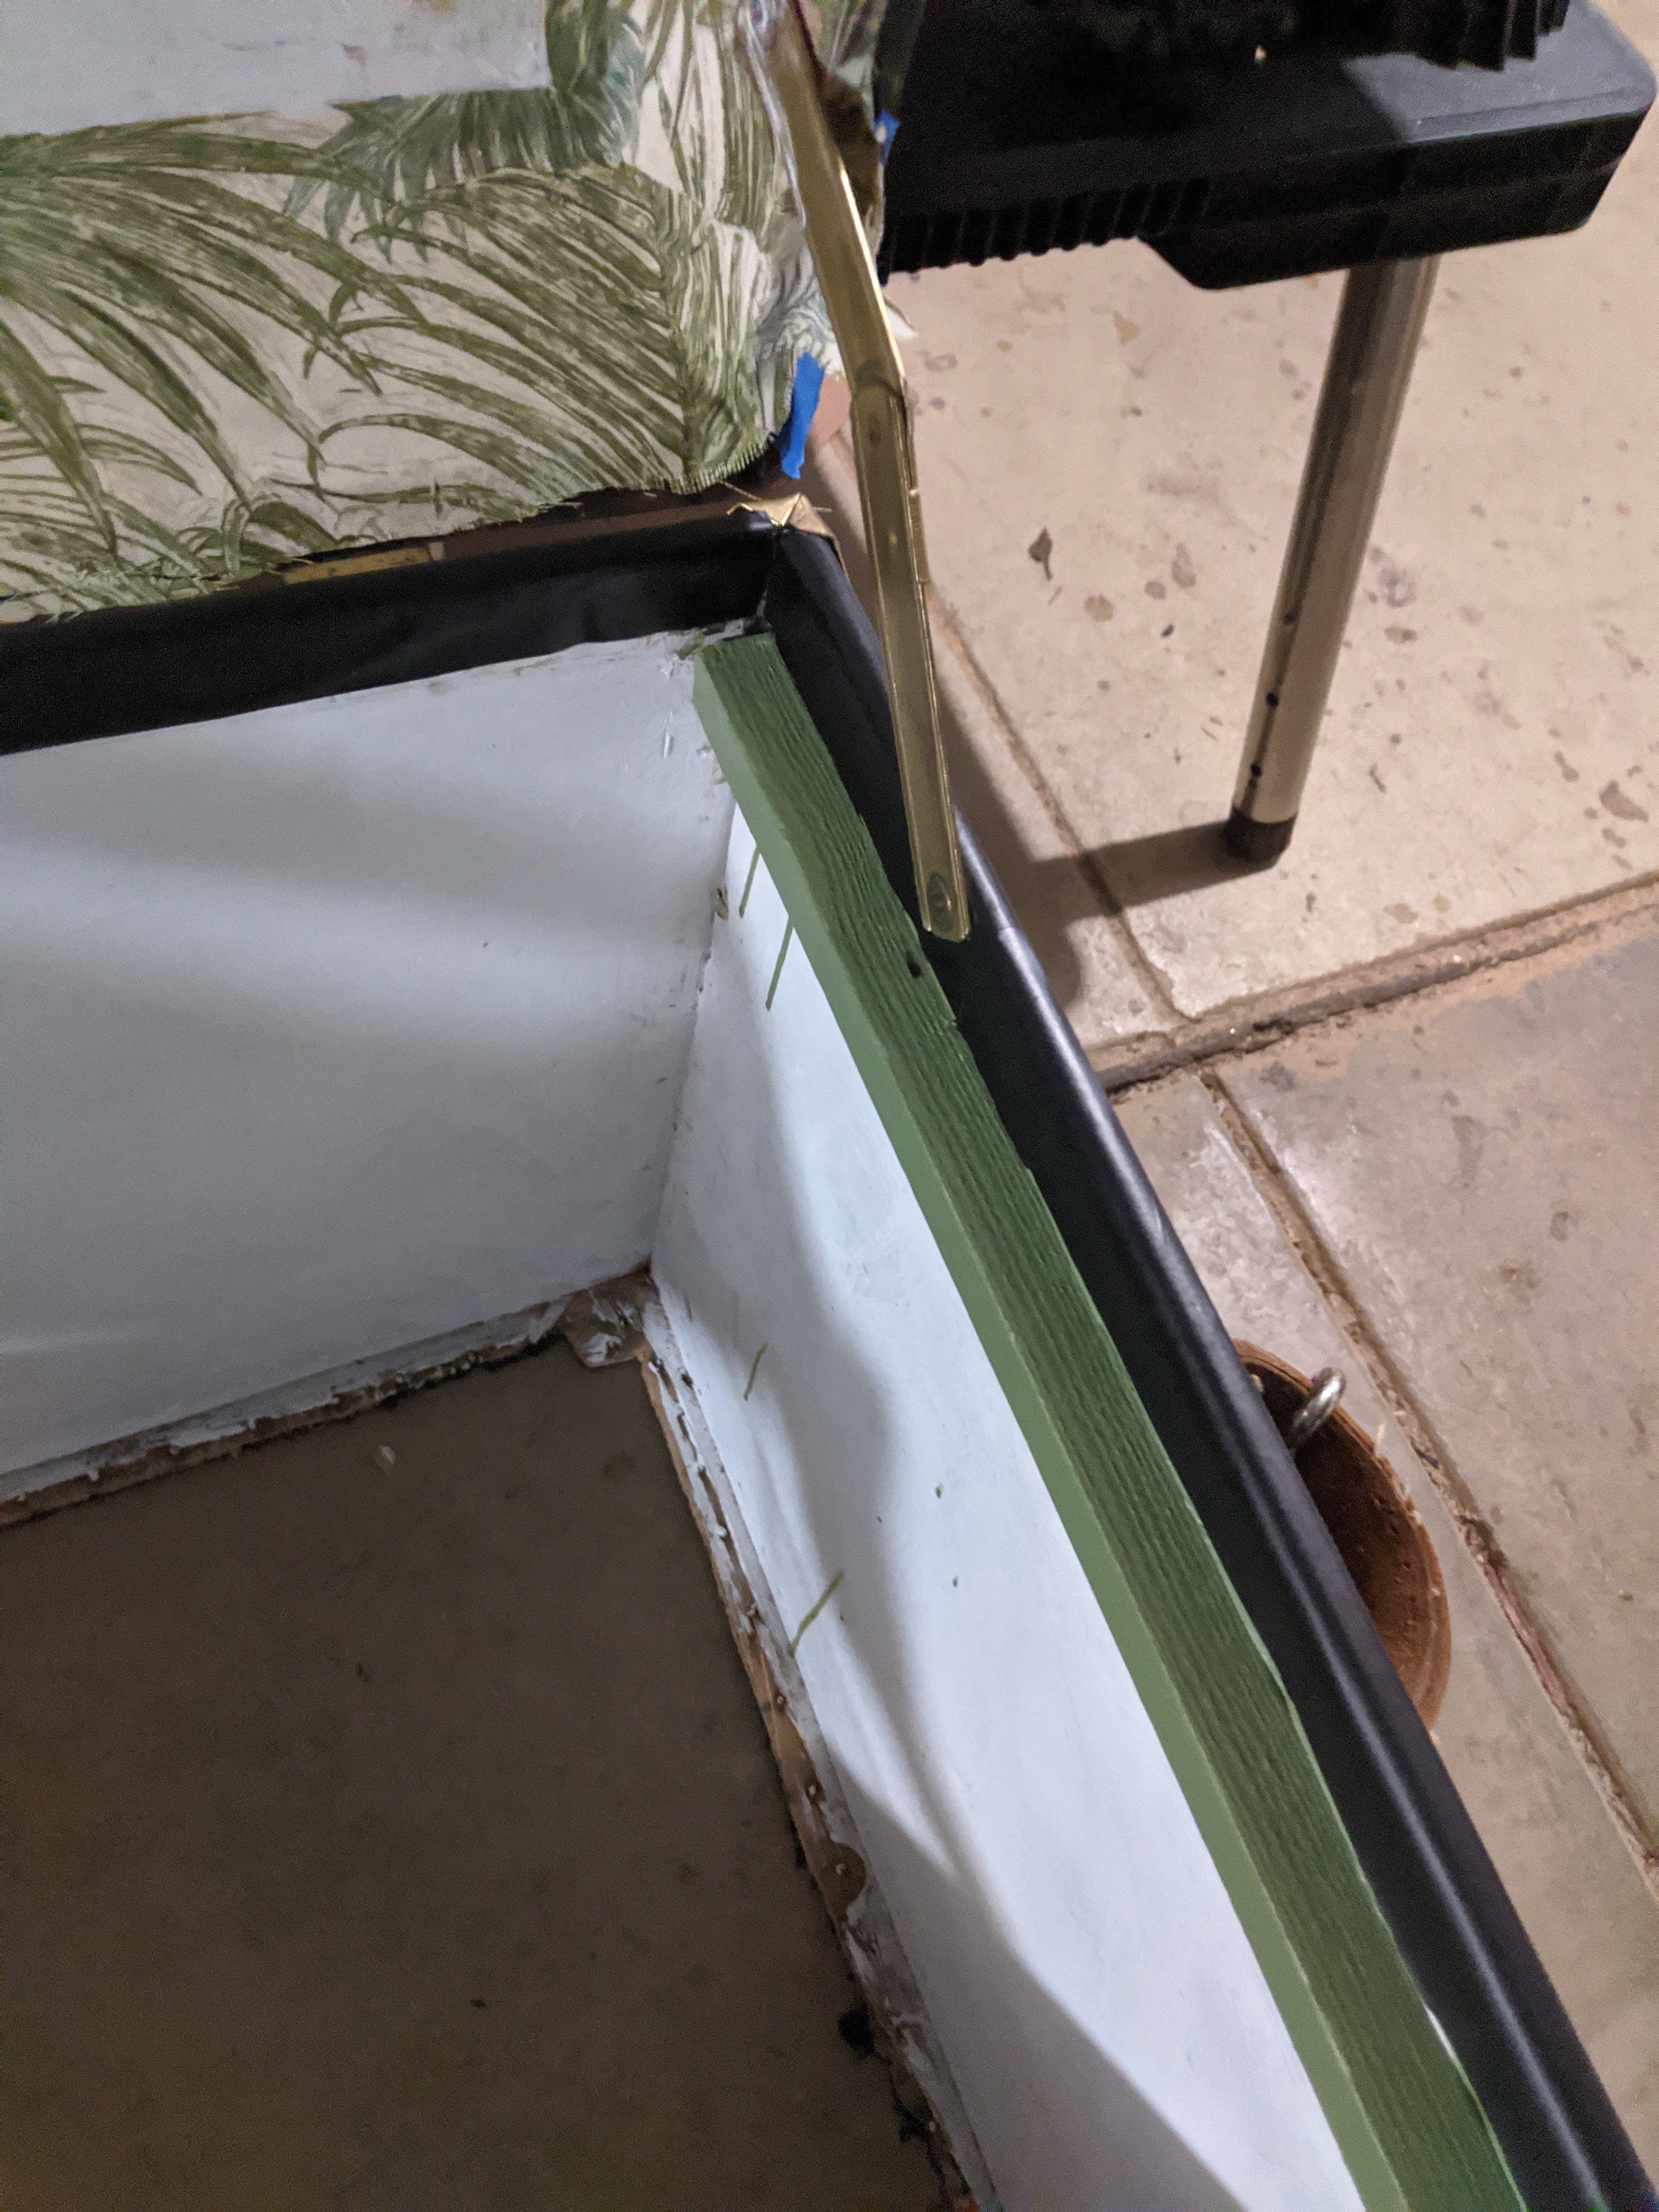
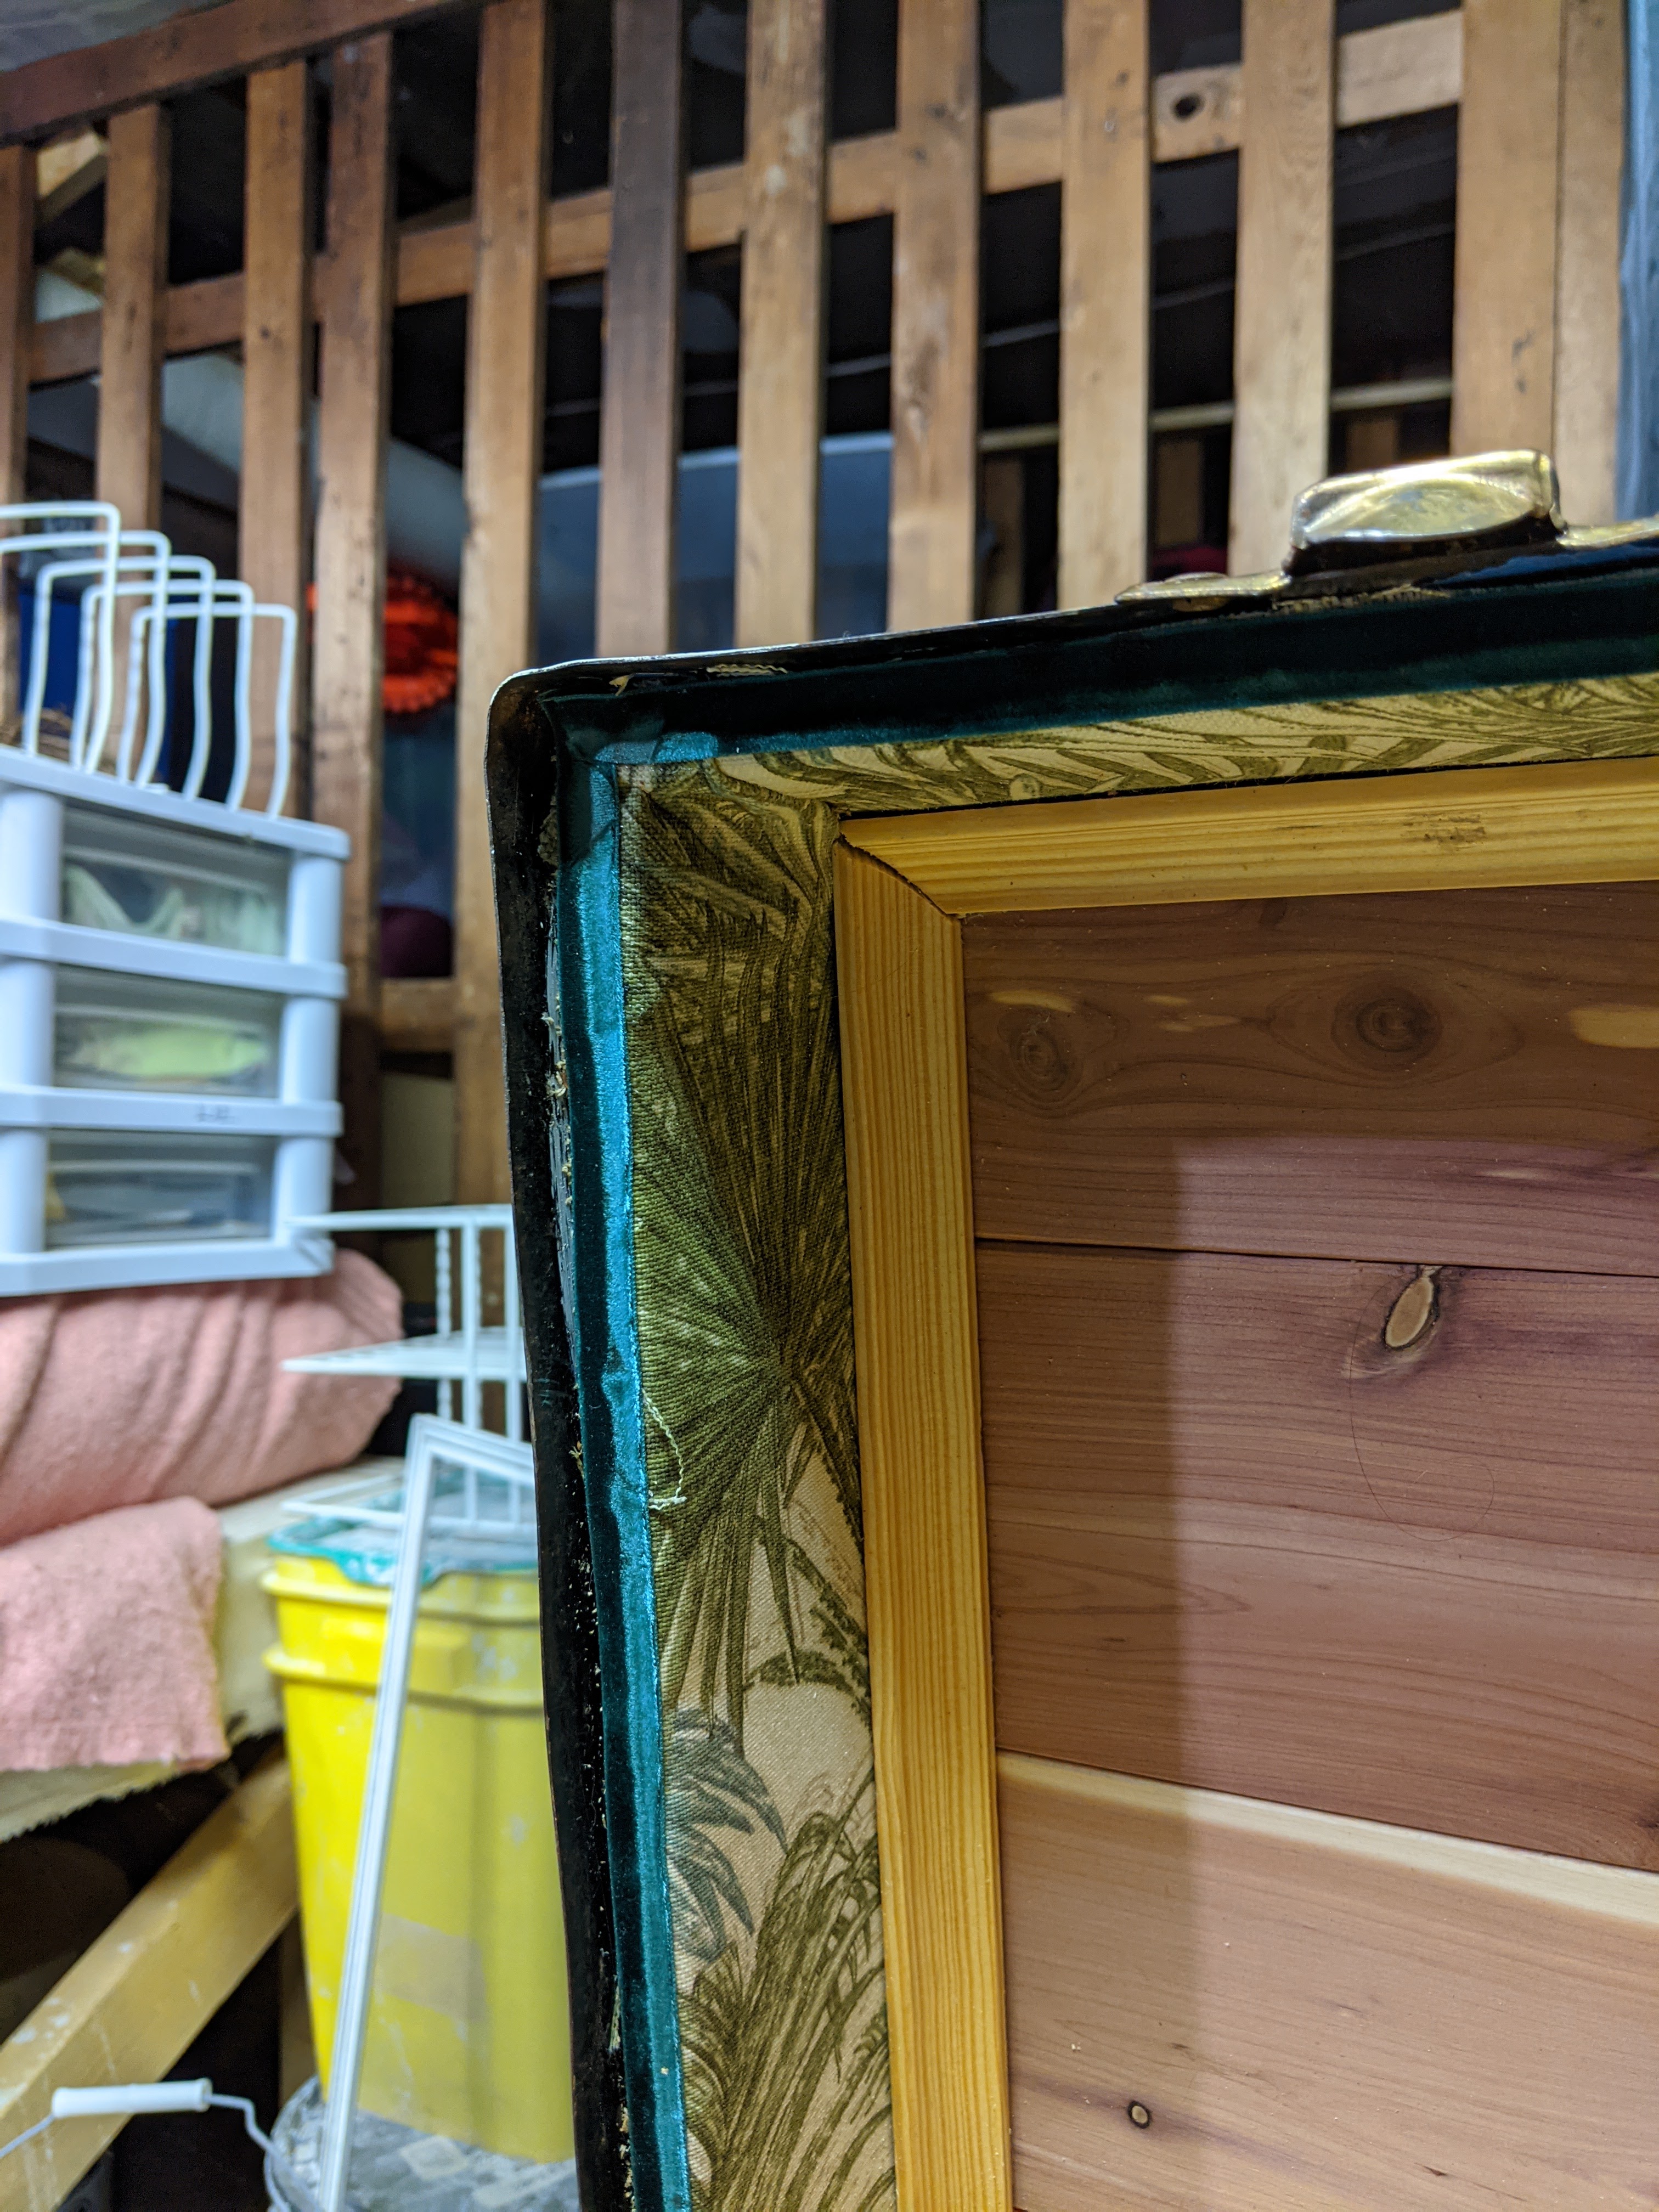
Next was addressing the fraying on the fabric liner. This is my fault – I should have used a better knife to cut the fabric; it was tearing in places and the wood was just absorbing the adhesive it was so dry. I first tried to tack the loose pieces with copper boat nails (I’m holding onto that ascetic like a life preserver) and it helped but it was lacking the “umph” of a proper treasure chest, you know? I ended up getting green velvet ribbon and fabric glue from Michaels and it was the missing piece!

Next was addressing that pesky hinge arm. TPC did a great job with the pocket move they pulled off but I didn’t think I had the finesse to pull it off; moreover, with the fabric I was using, unless I got the exact pattern section for the pocket area, it would stick out even worse because it’s so busy. Had to pivot again but that’s okay, that’s one of my strong suits. Dancing is just falling into place to the beat, right? Okay, maybe an small octopus? Like a tiny idol? But bronze. But how to get it to fit?
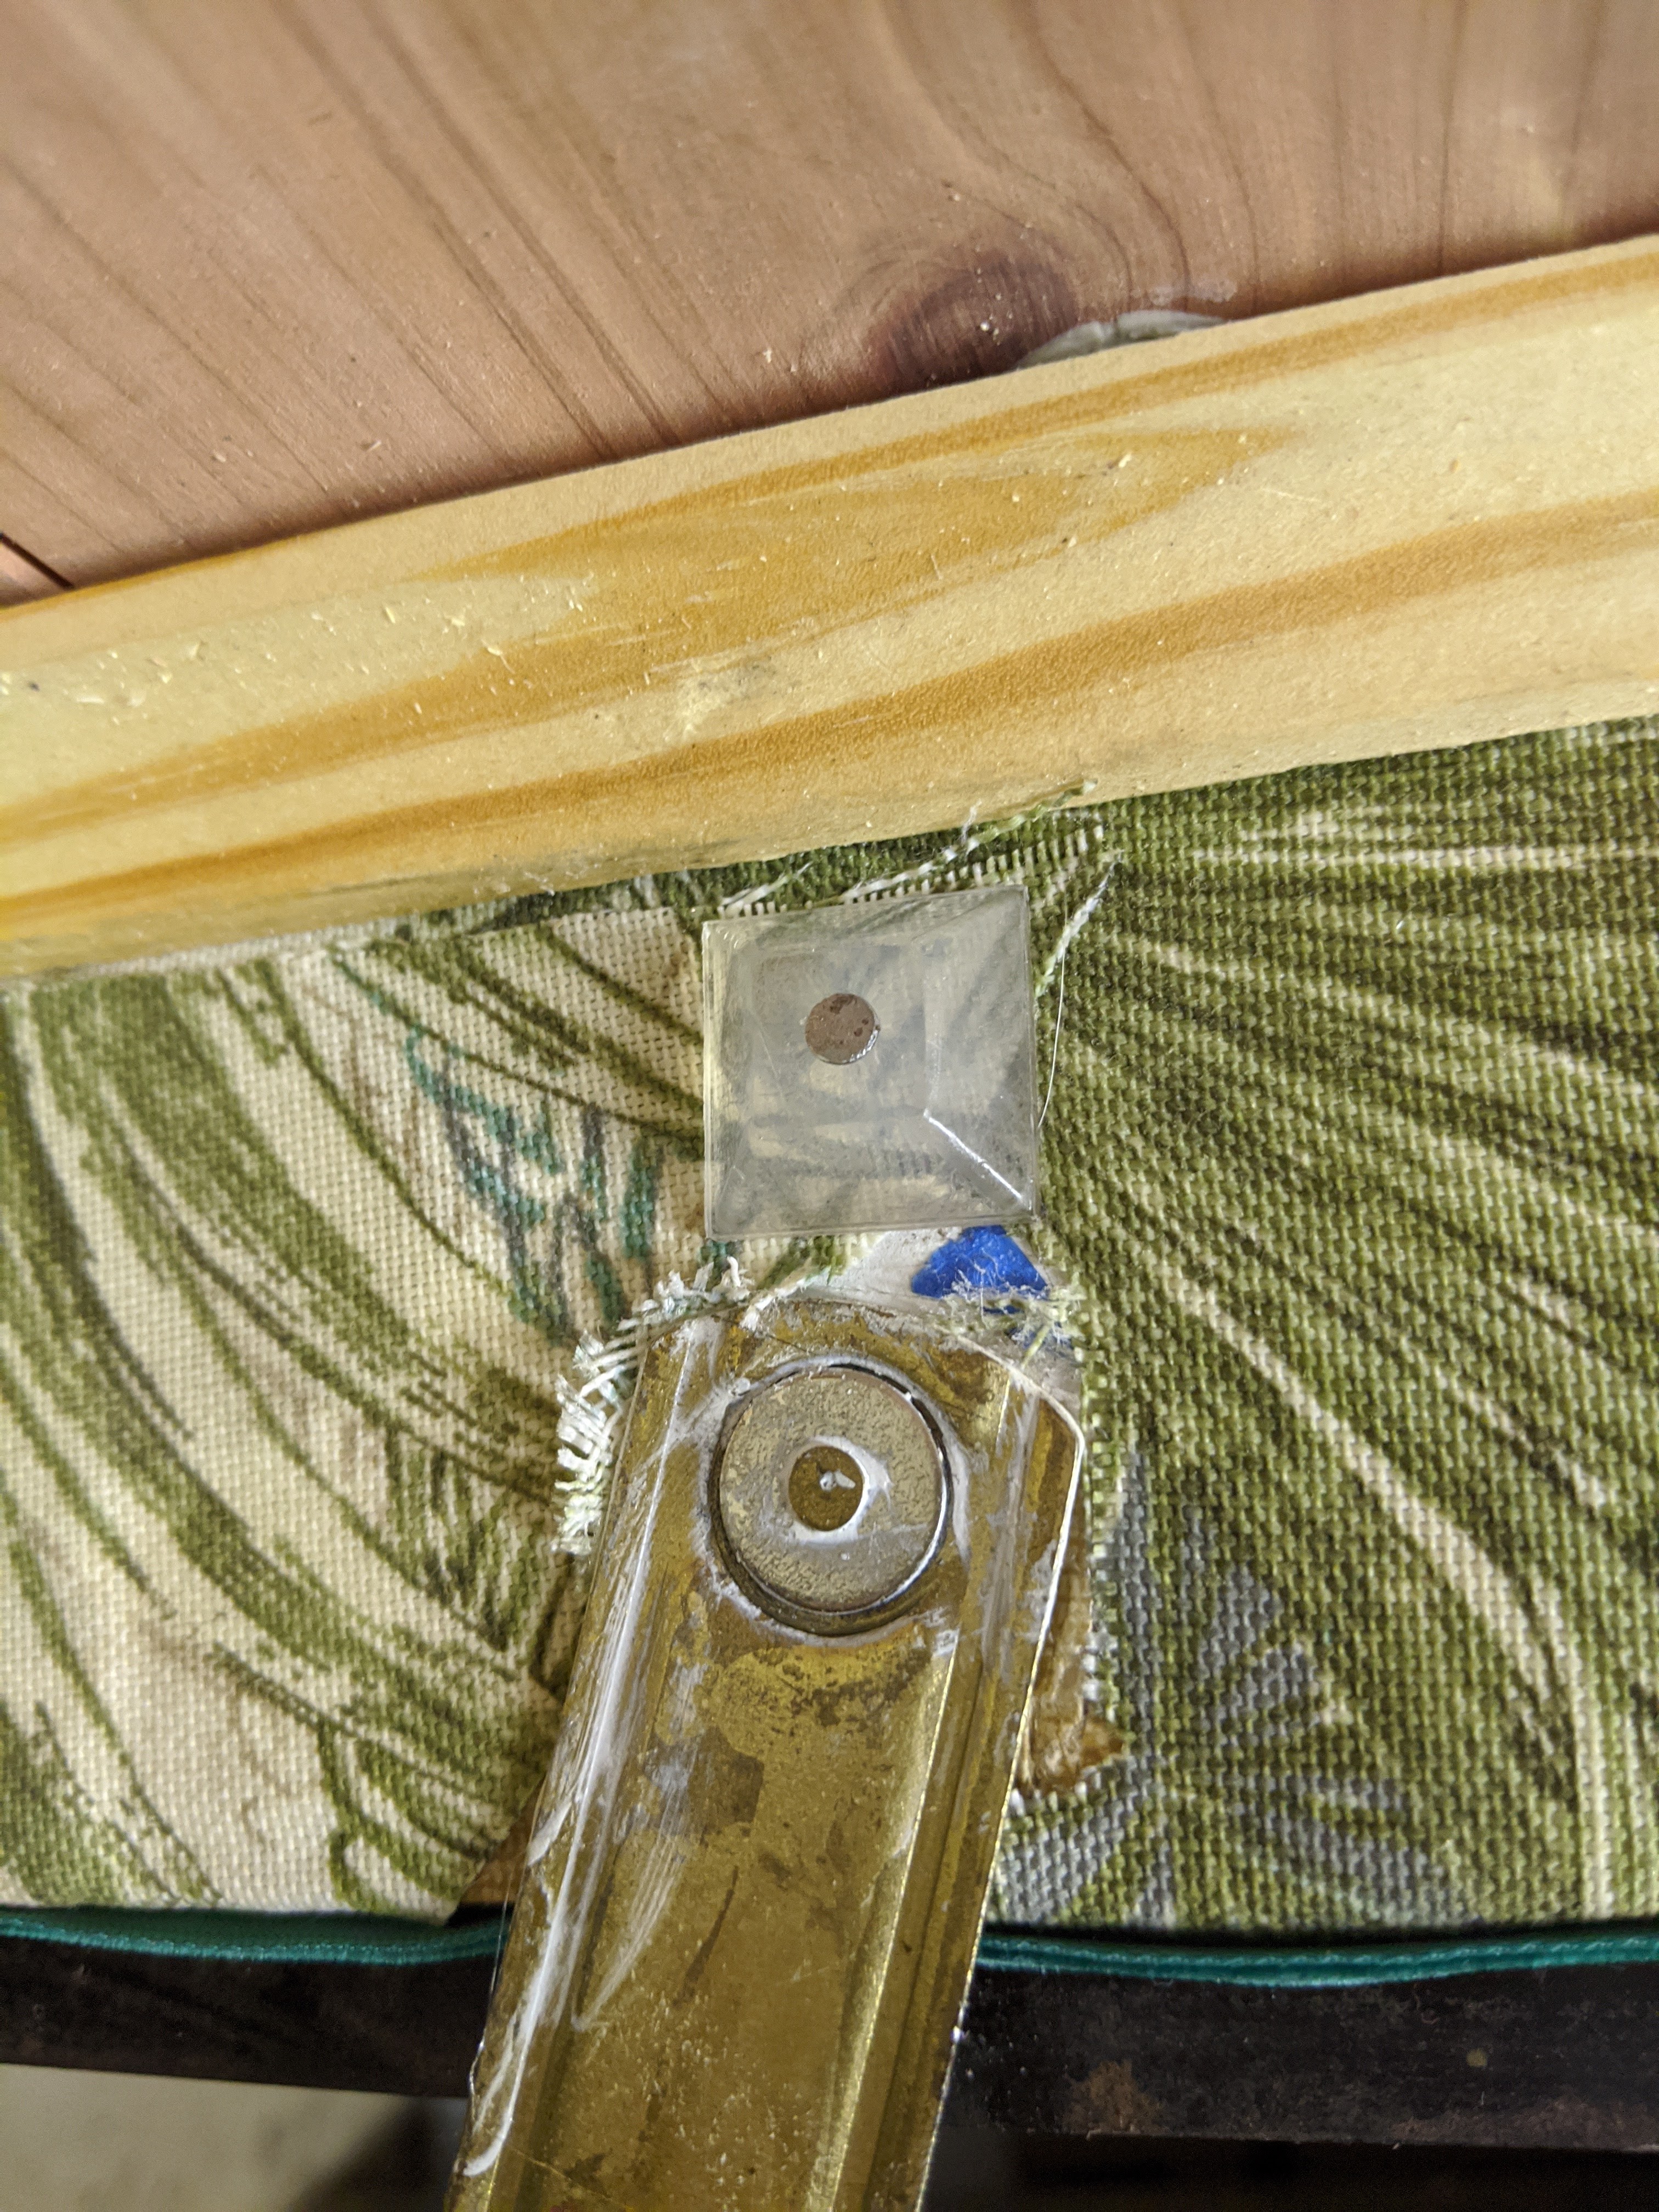


I found a well priced brass octopus with a hollow body which was PERFECT; I was able to get a vinyl bumper that was very ideal as a mount for the octopus. I nailed the bumper into the lid, then super glued the octopus over the hinge so it could continue to operate without getting nicked off. Finally, I put two bumpers on the right side of the trunk to keep the table from crowding the hinge space.
Finally we were onto the key mounting part of the project. It was going to be especially tricky because I needed to find a way to mount the key in the back of the lid without a), piercing the lid, b), keeping it from falling out at the drop of a hat, and c), if was even remotely possible, make it so the key could be removed and handled so just nailing/screwing it into place was fresh out. Good times.
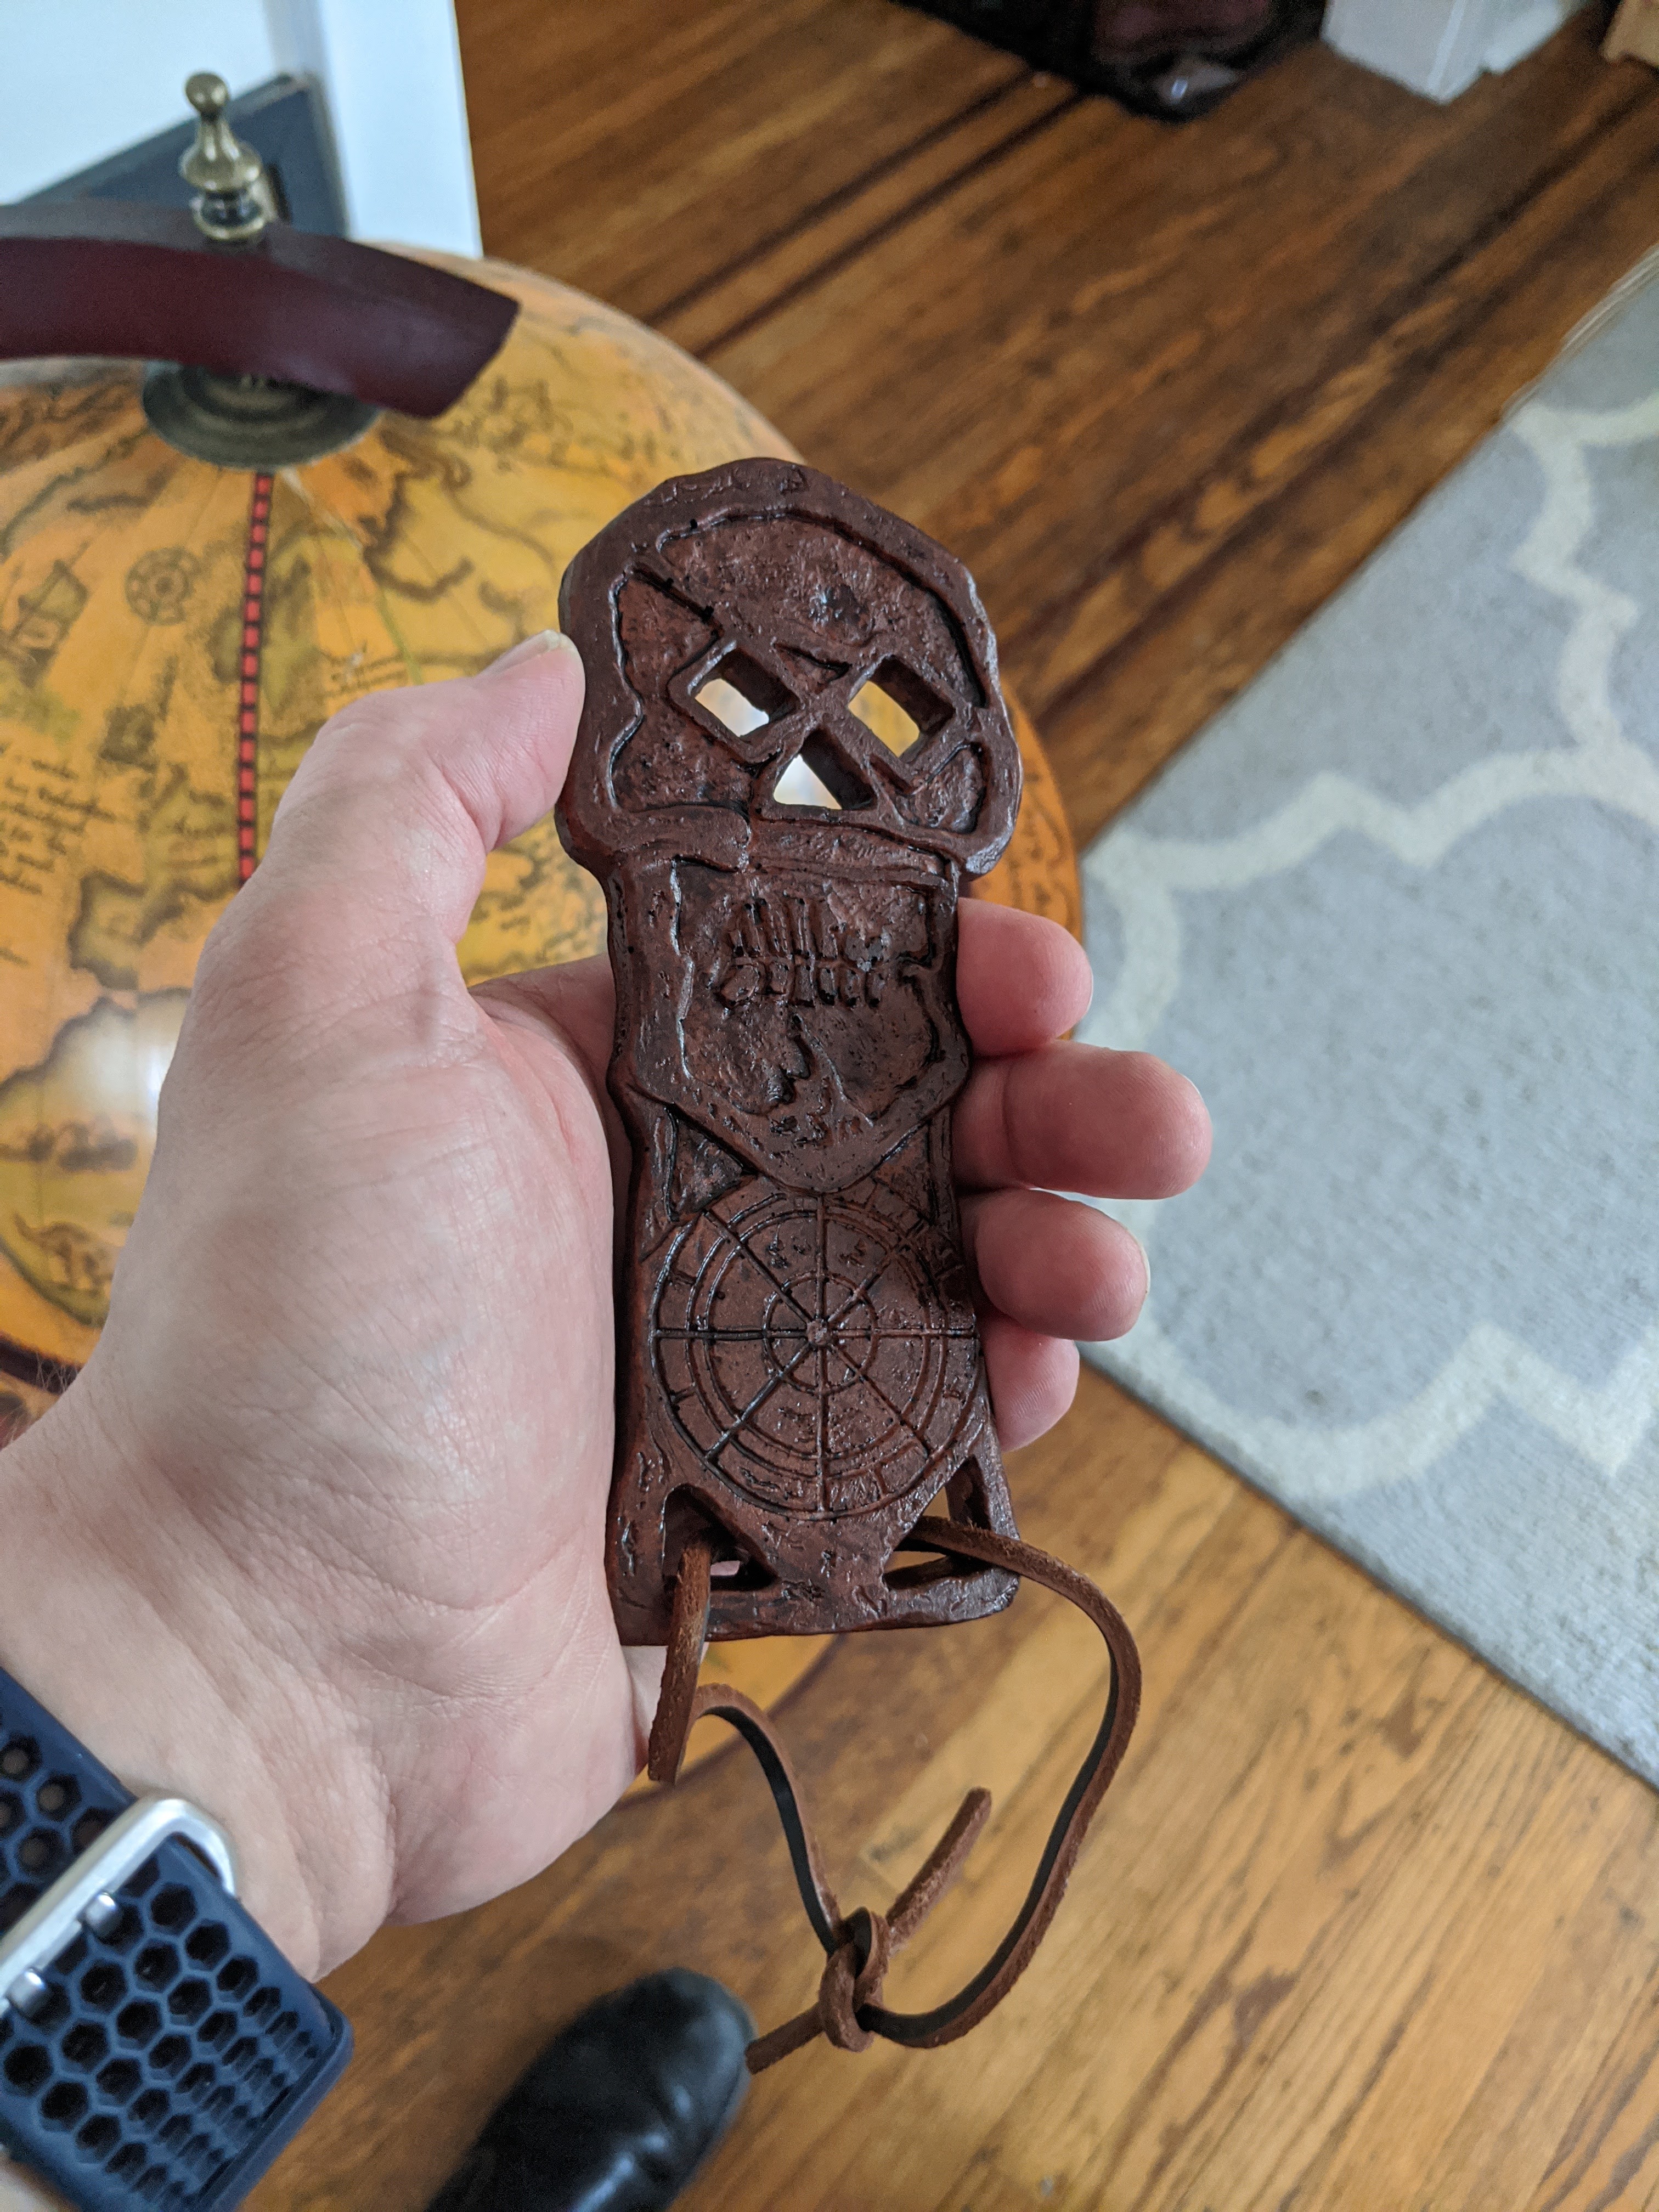
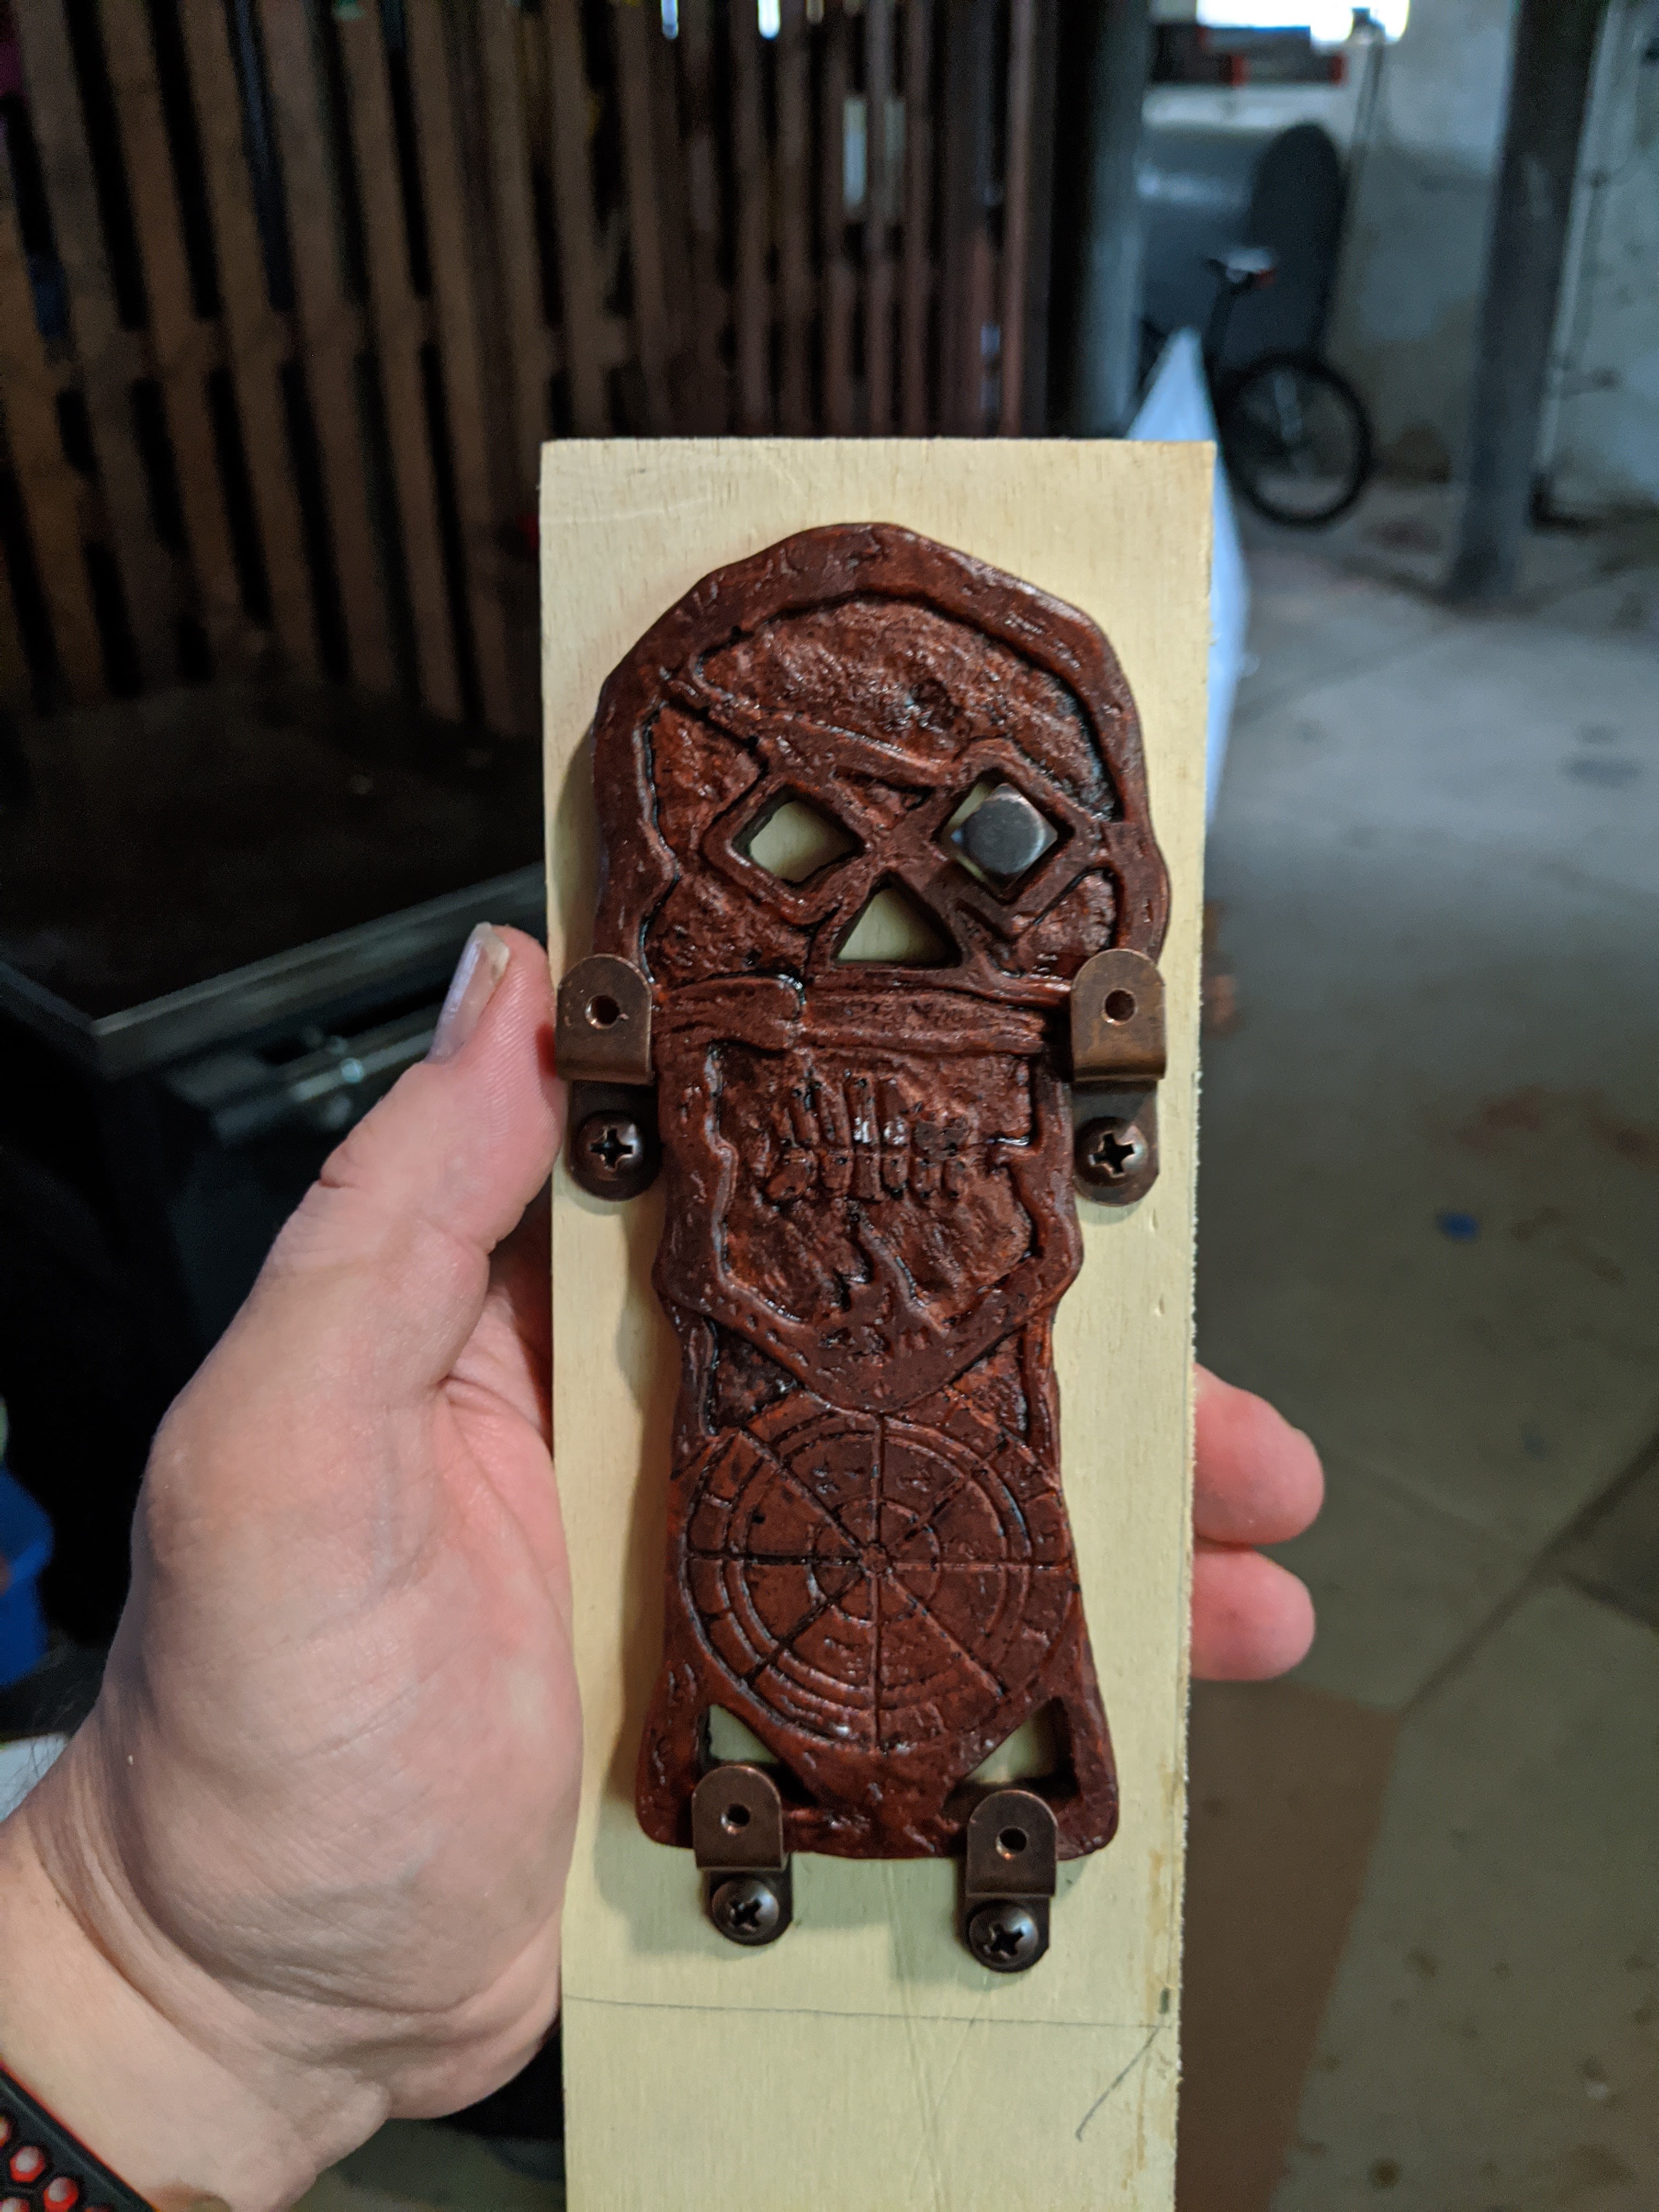
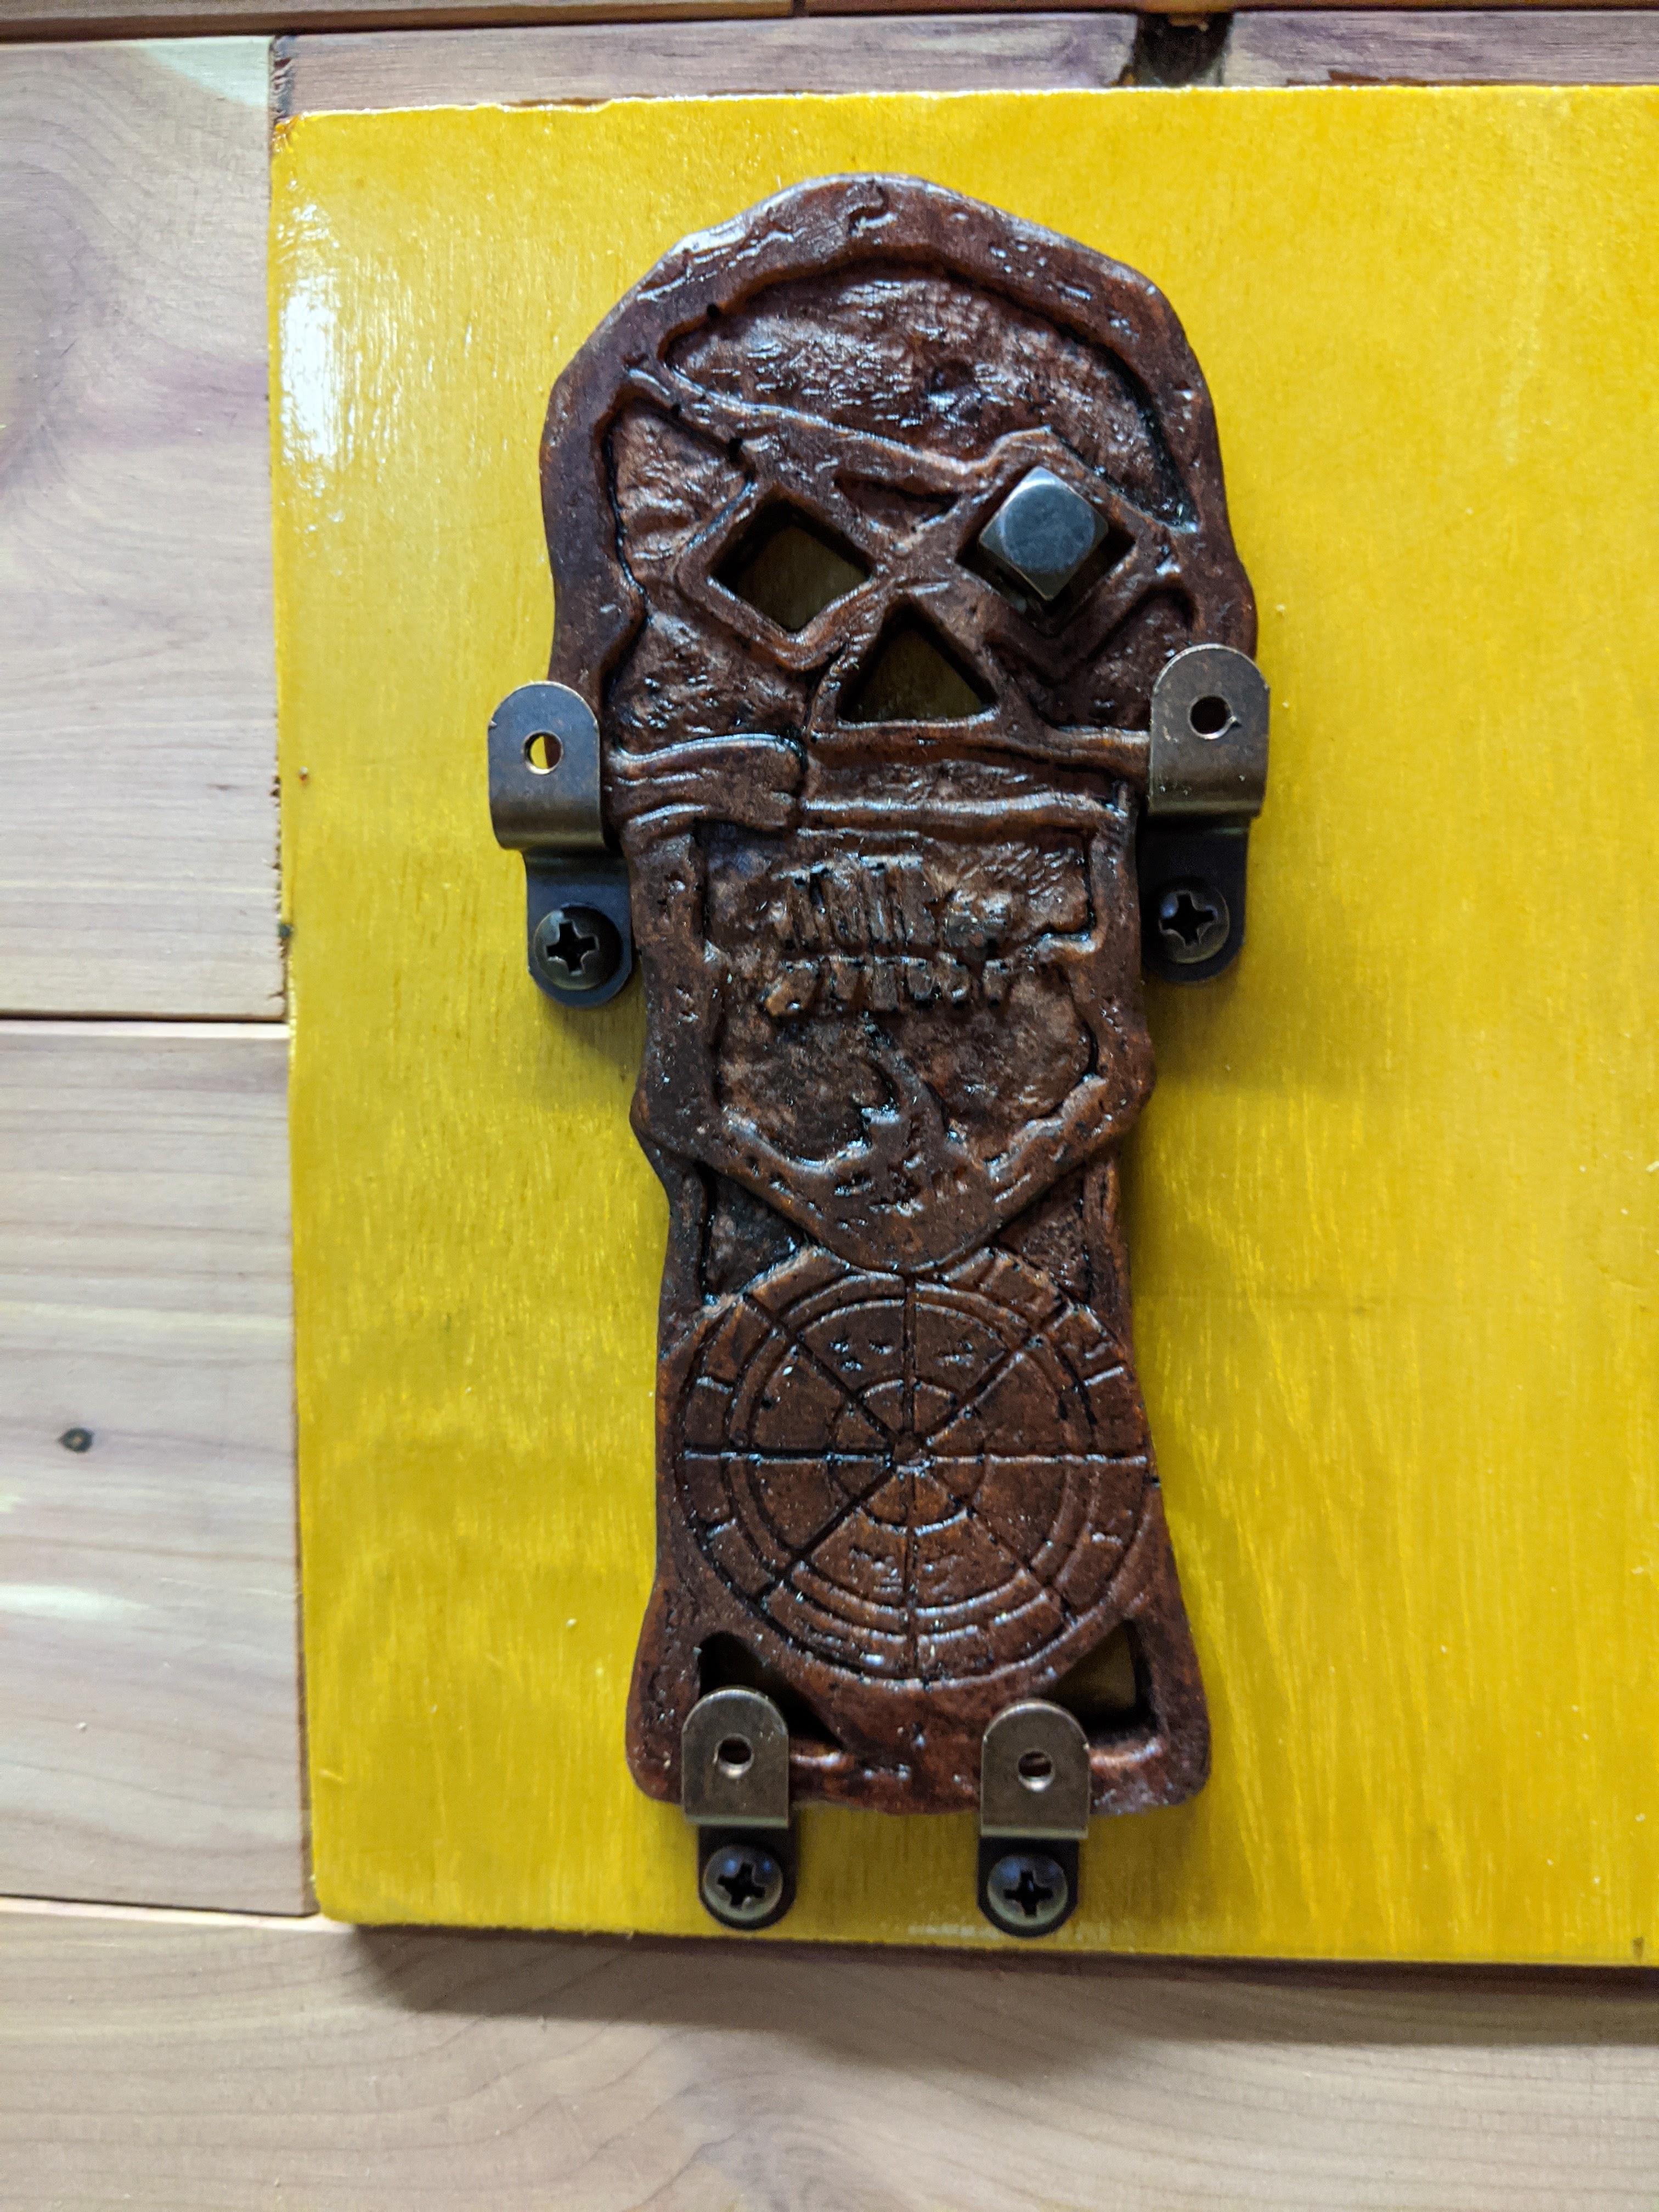
After some digging around, I settled on using two different kinds of hardware to pull this off. I acquired some mission screws (the square headed screw through the key’s right ‘eye’) and some brackets that are meant to be used for glass cabinet stays that I removed the screws out of – they would have stuck out just too far and been cumbersome to work to get the key out. I tried the mounting method first on a scrap piece of wood before the final mount was approached.
Now I was onto the final part of this project; which was going to be a project all of it’s own. In the process of making the steamer trunk, I decided that I wanted to make it my spelling trunk. No clue if this is a historical thing or not conceptually, but I doubt I’m the first person to cook it up.
A spelling trunk (to me) is a sacred, contained space in which a practitioner could work and contain some/all their working tools while maintaining limited space and keep things somewhat discrete. This has likely existed previously but naturally kept under wraps for survival purposes. To pull this off, I would need to be able to make a ‘working table’ that fit into the trunk but was still functional.

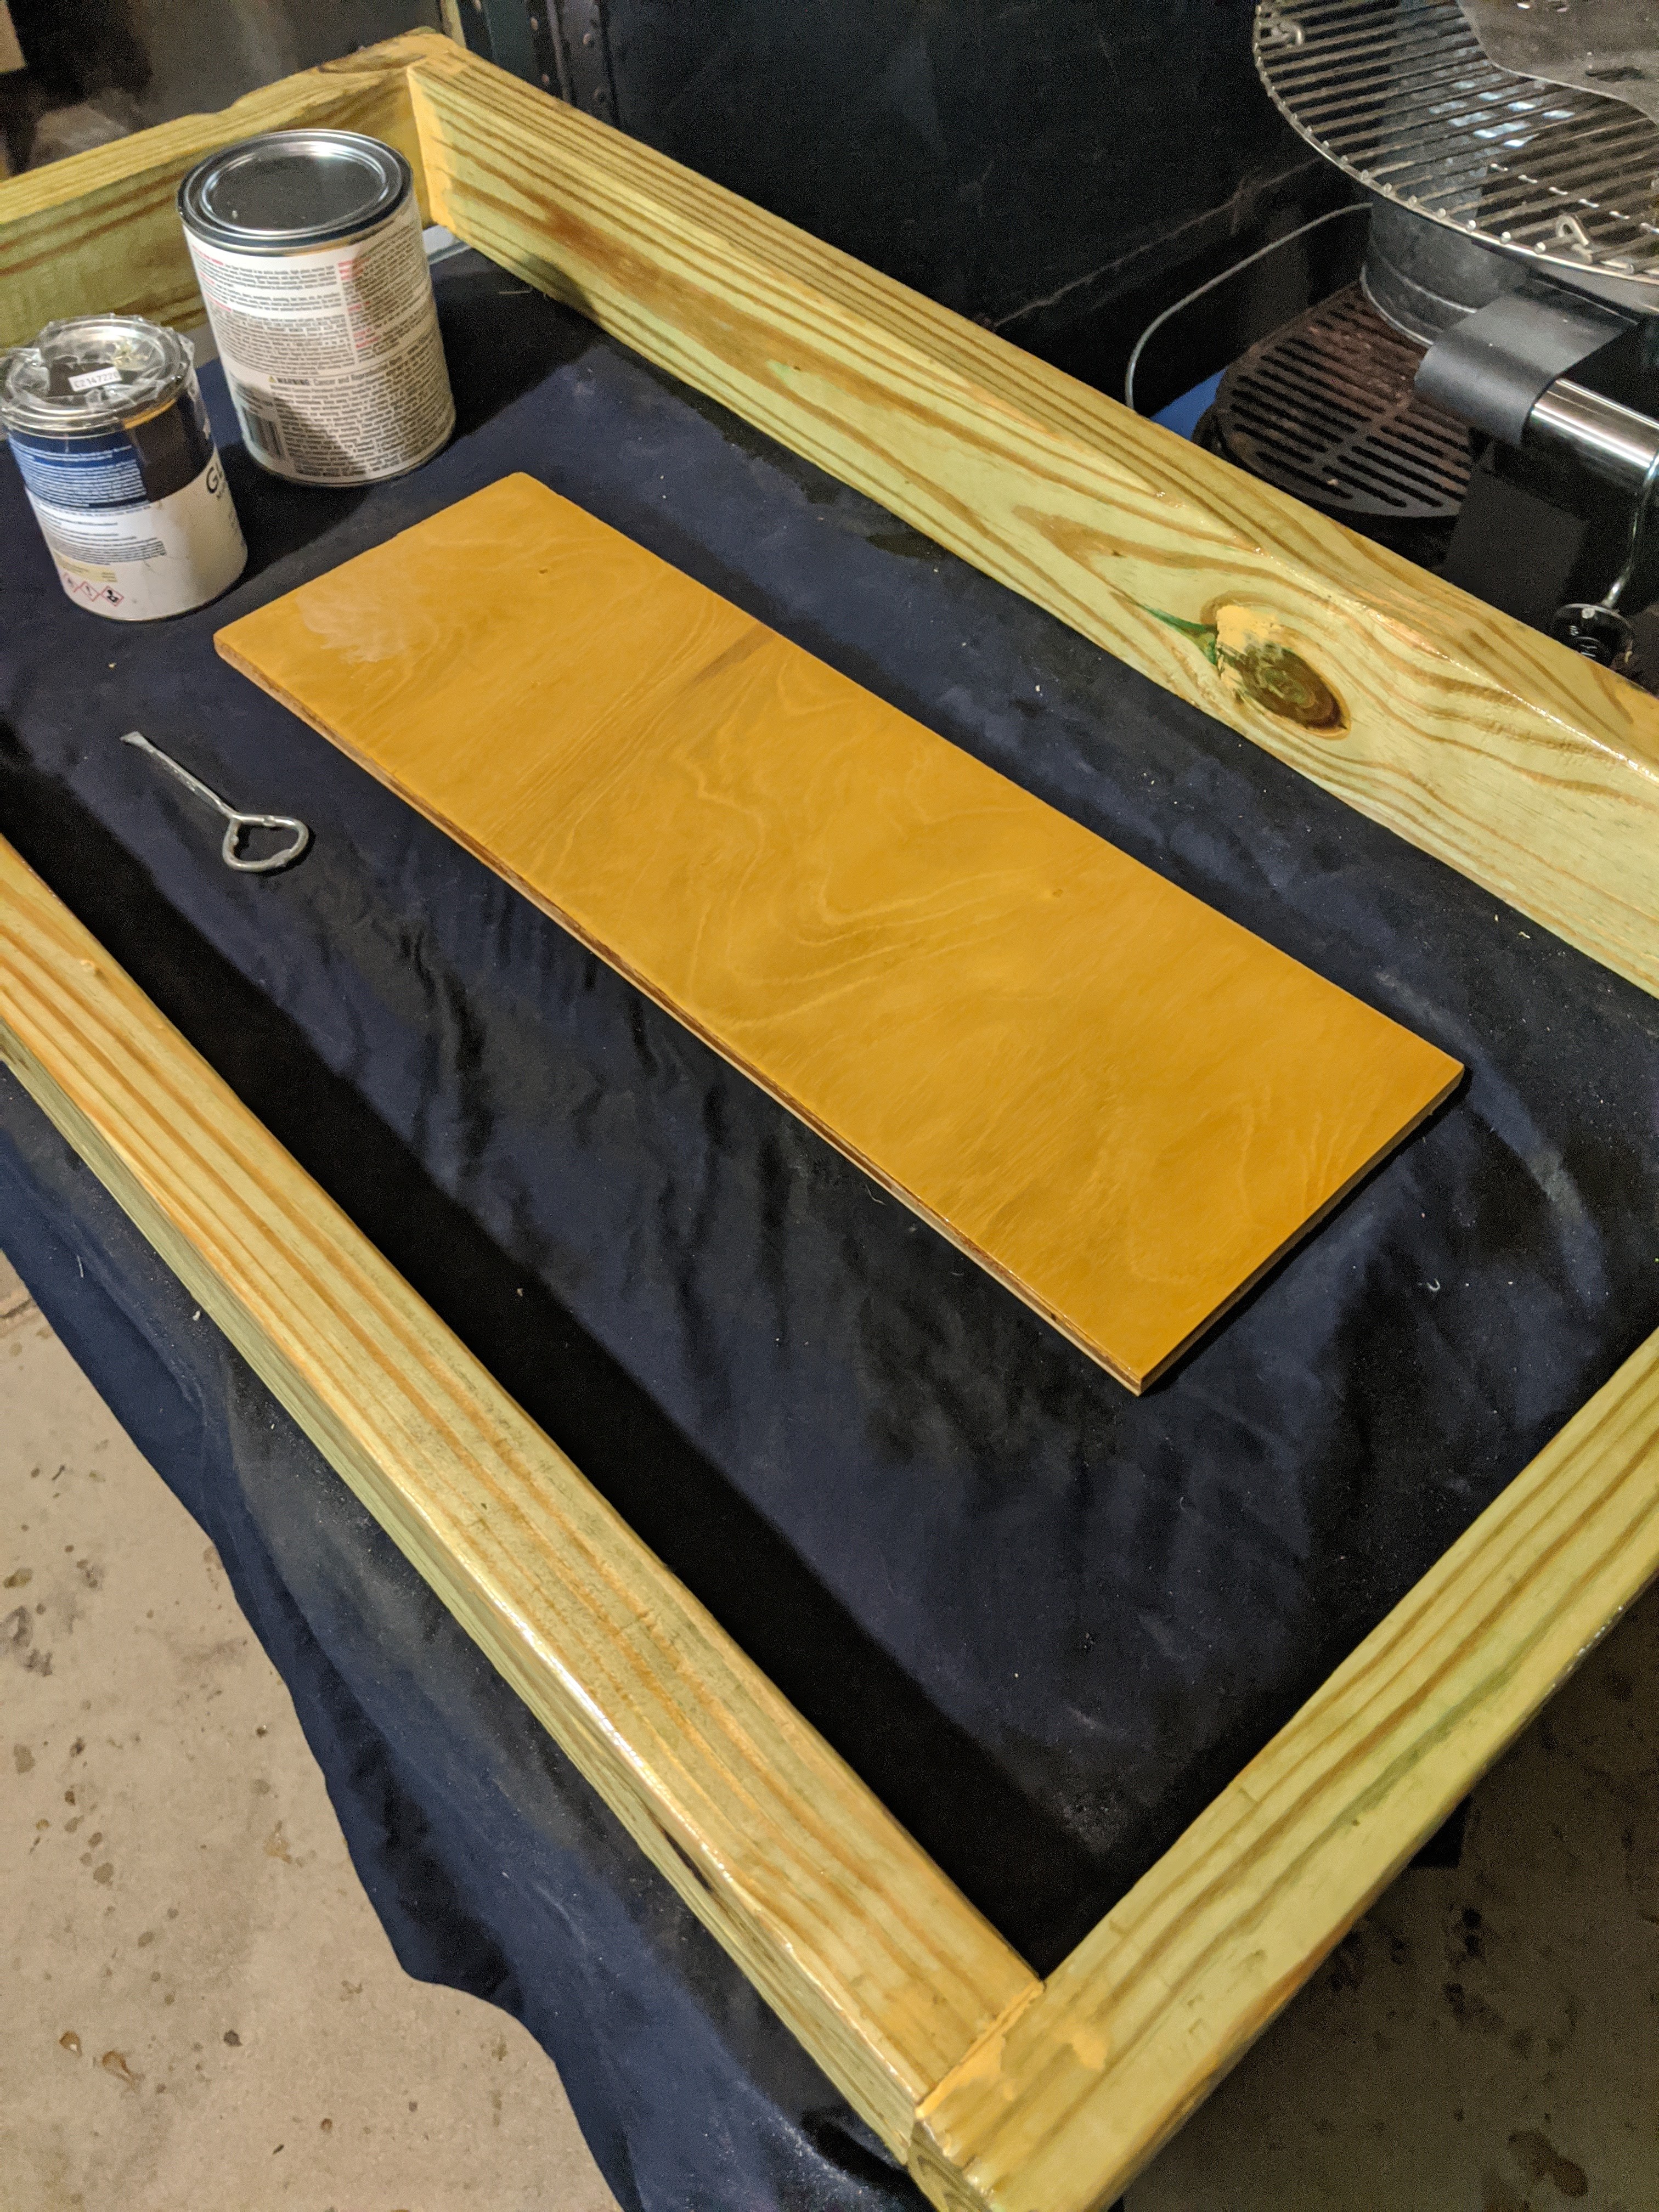
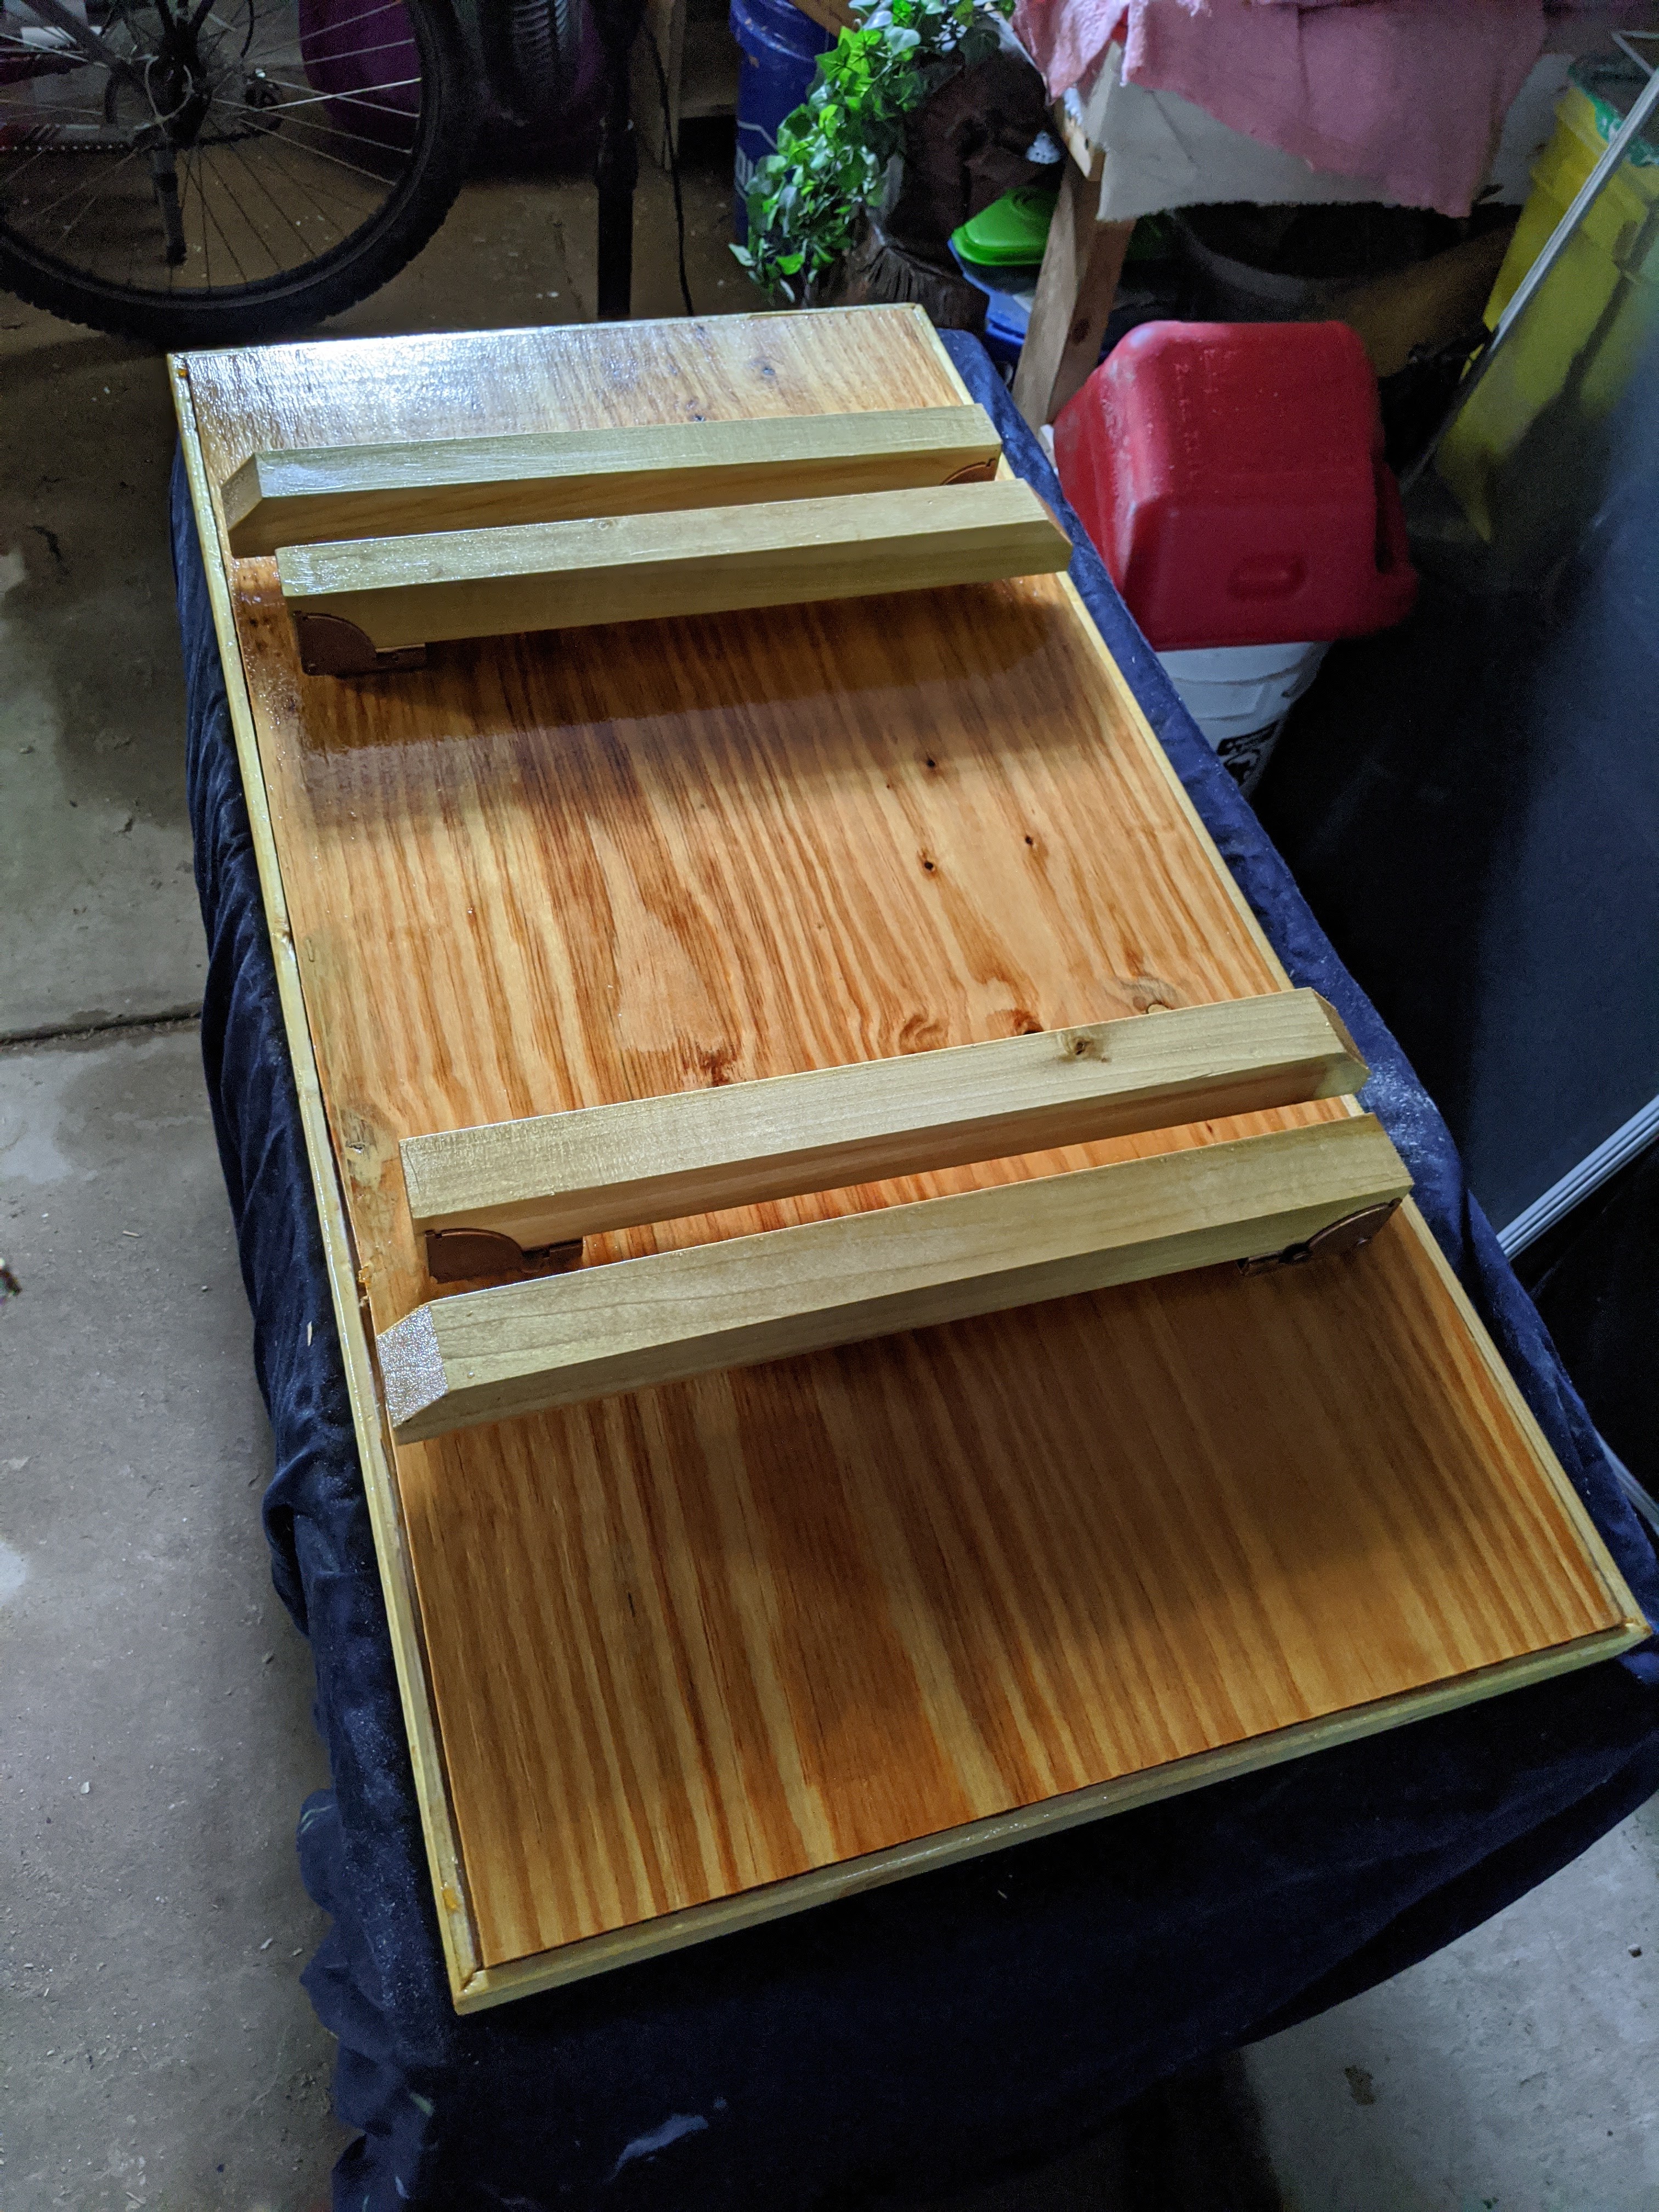
What came to mind conceptually was a table that had folding legs that was low profile enough to not interfere with the work in the lid but also still have some kind of lip to keep things from falling off of it. I would use the same boat varnish I used on the frame and the backing so it was consistent and frankly I was madly in love with it (and it’s not cheap so using it up was a good call). I found some inexpensive pieces of lumber at Lowe’s for the body, routed the trim pieces, and got to gluing.

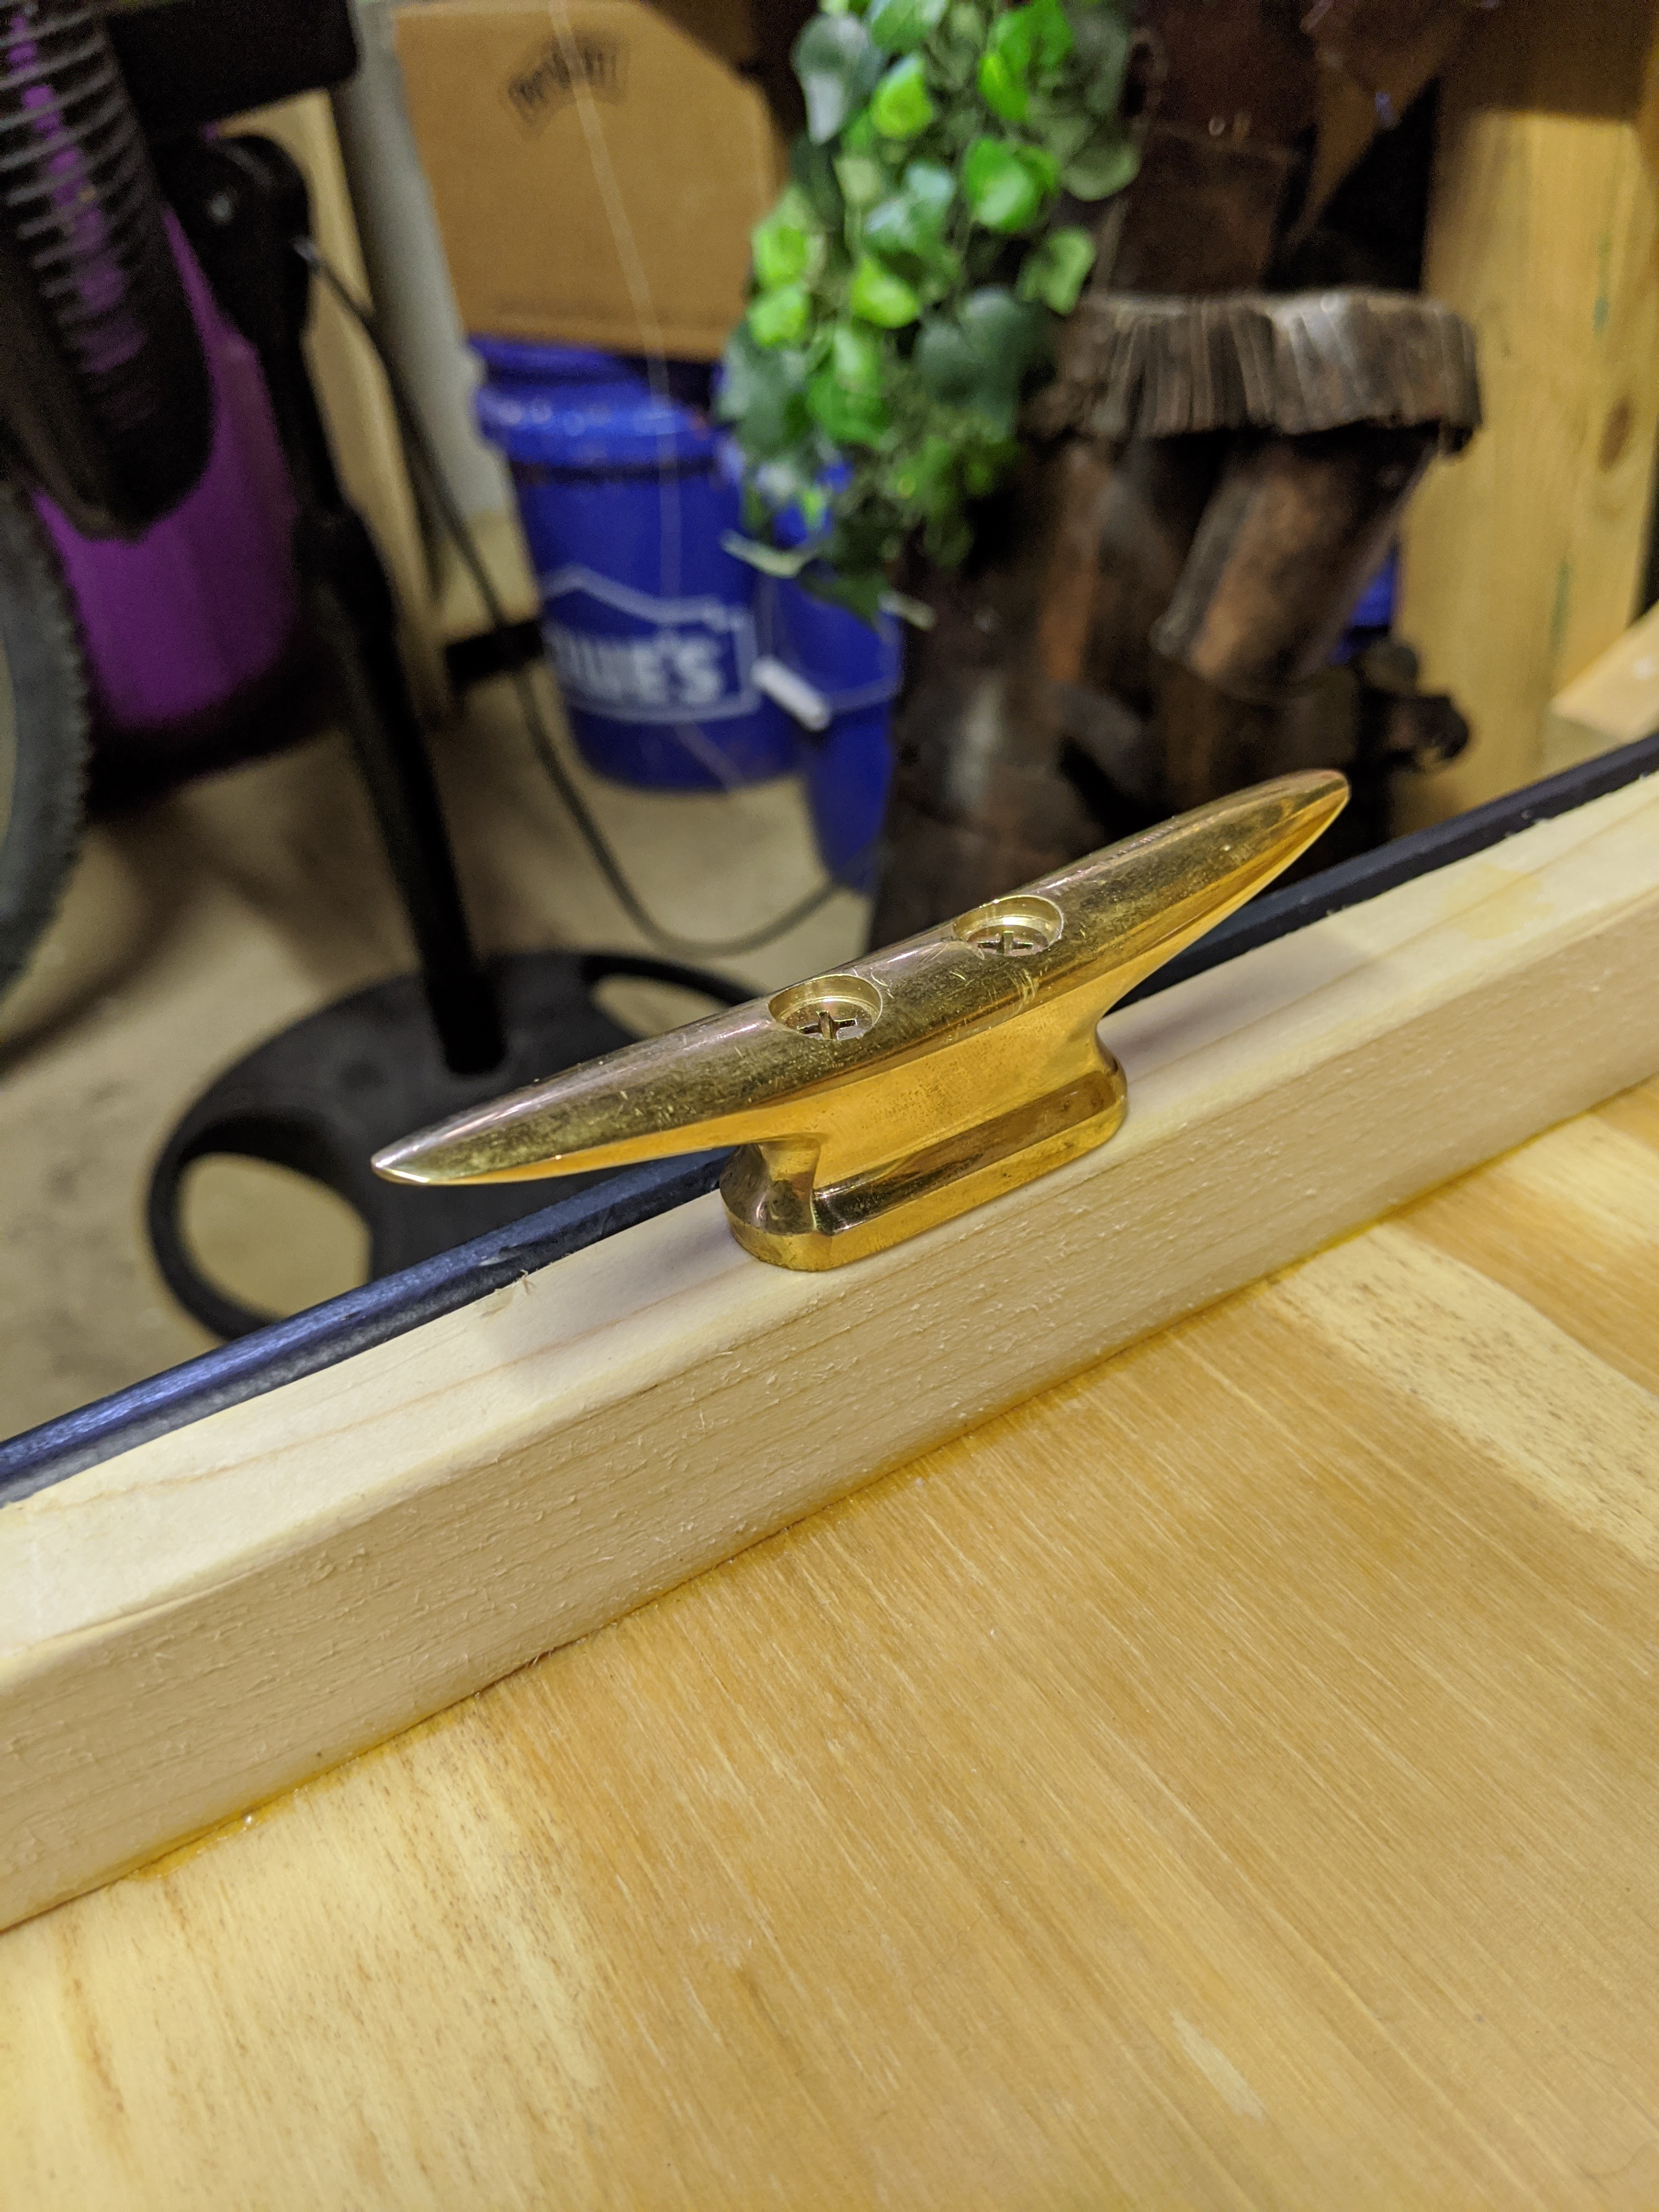
The next parts involved getting the legs and hardware for the legs and handles just right. I found some fantastic spring locking folding leg brackets on Etsy for the legs, and keeping to the nautical theme, I got a set of brass boat cleats for the handles. They would fit beautifully inside the lid without hitting the frame while being quite sturdy. I found some poplar legs at Home Depot, made a rough estimate on height, used a piece of spare wood to test, and trimmed accordingly.
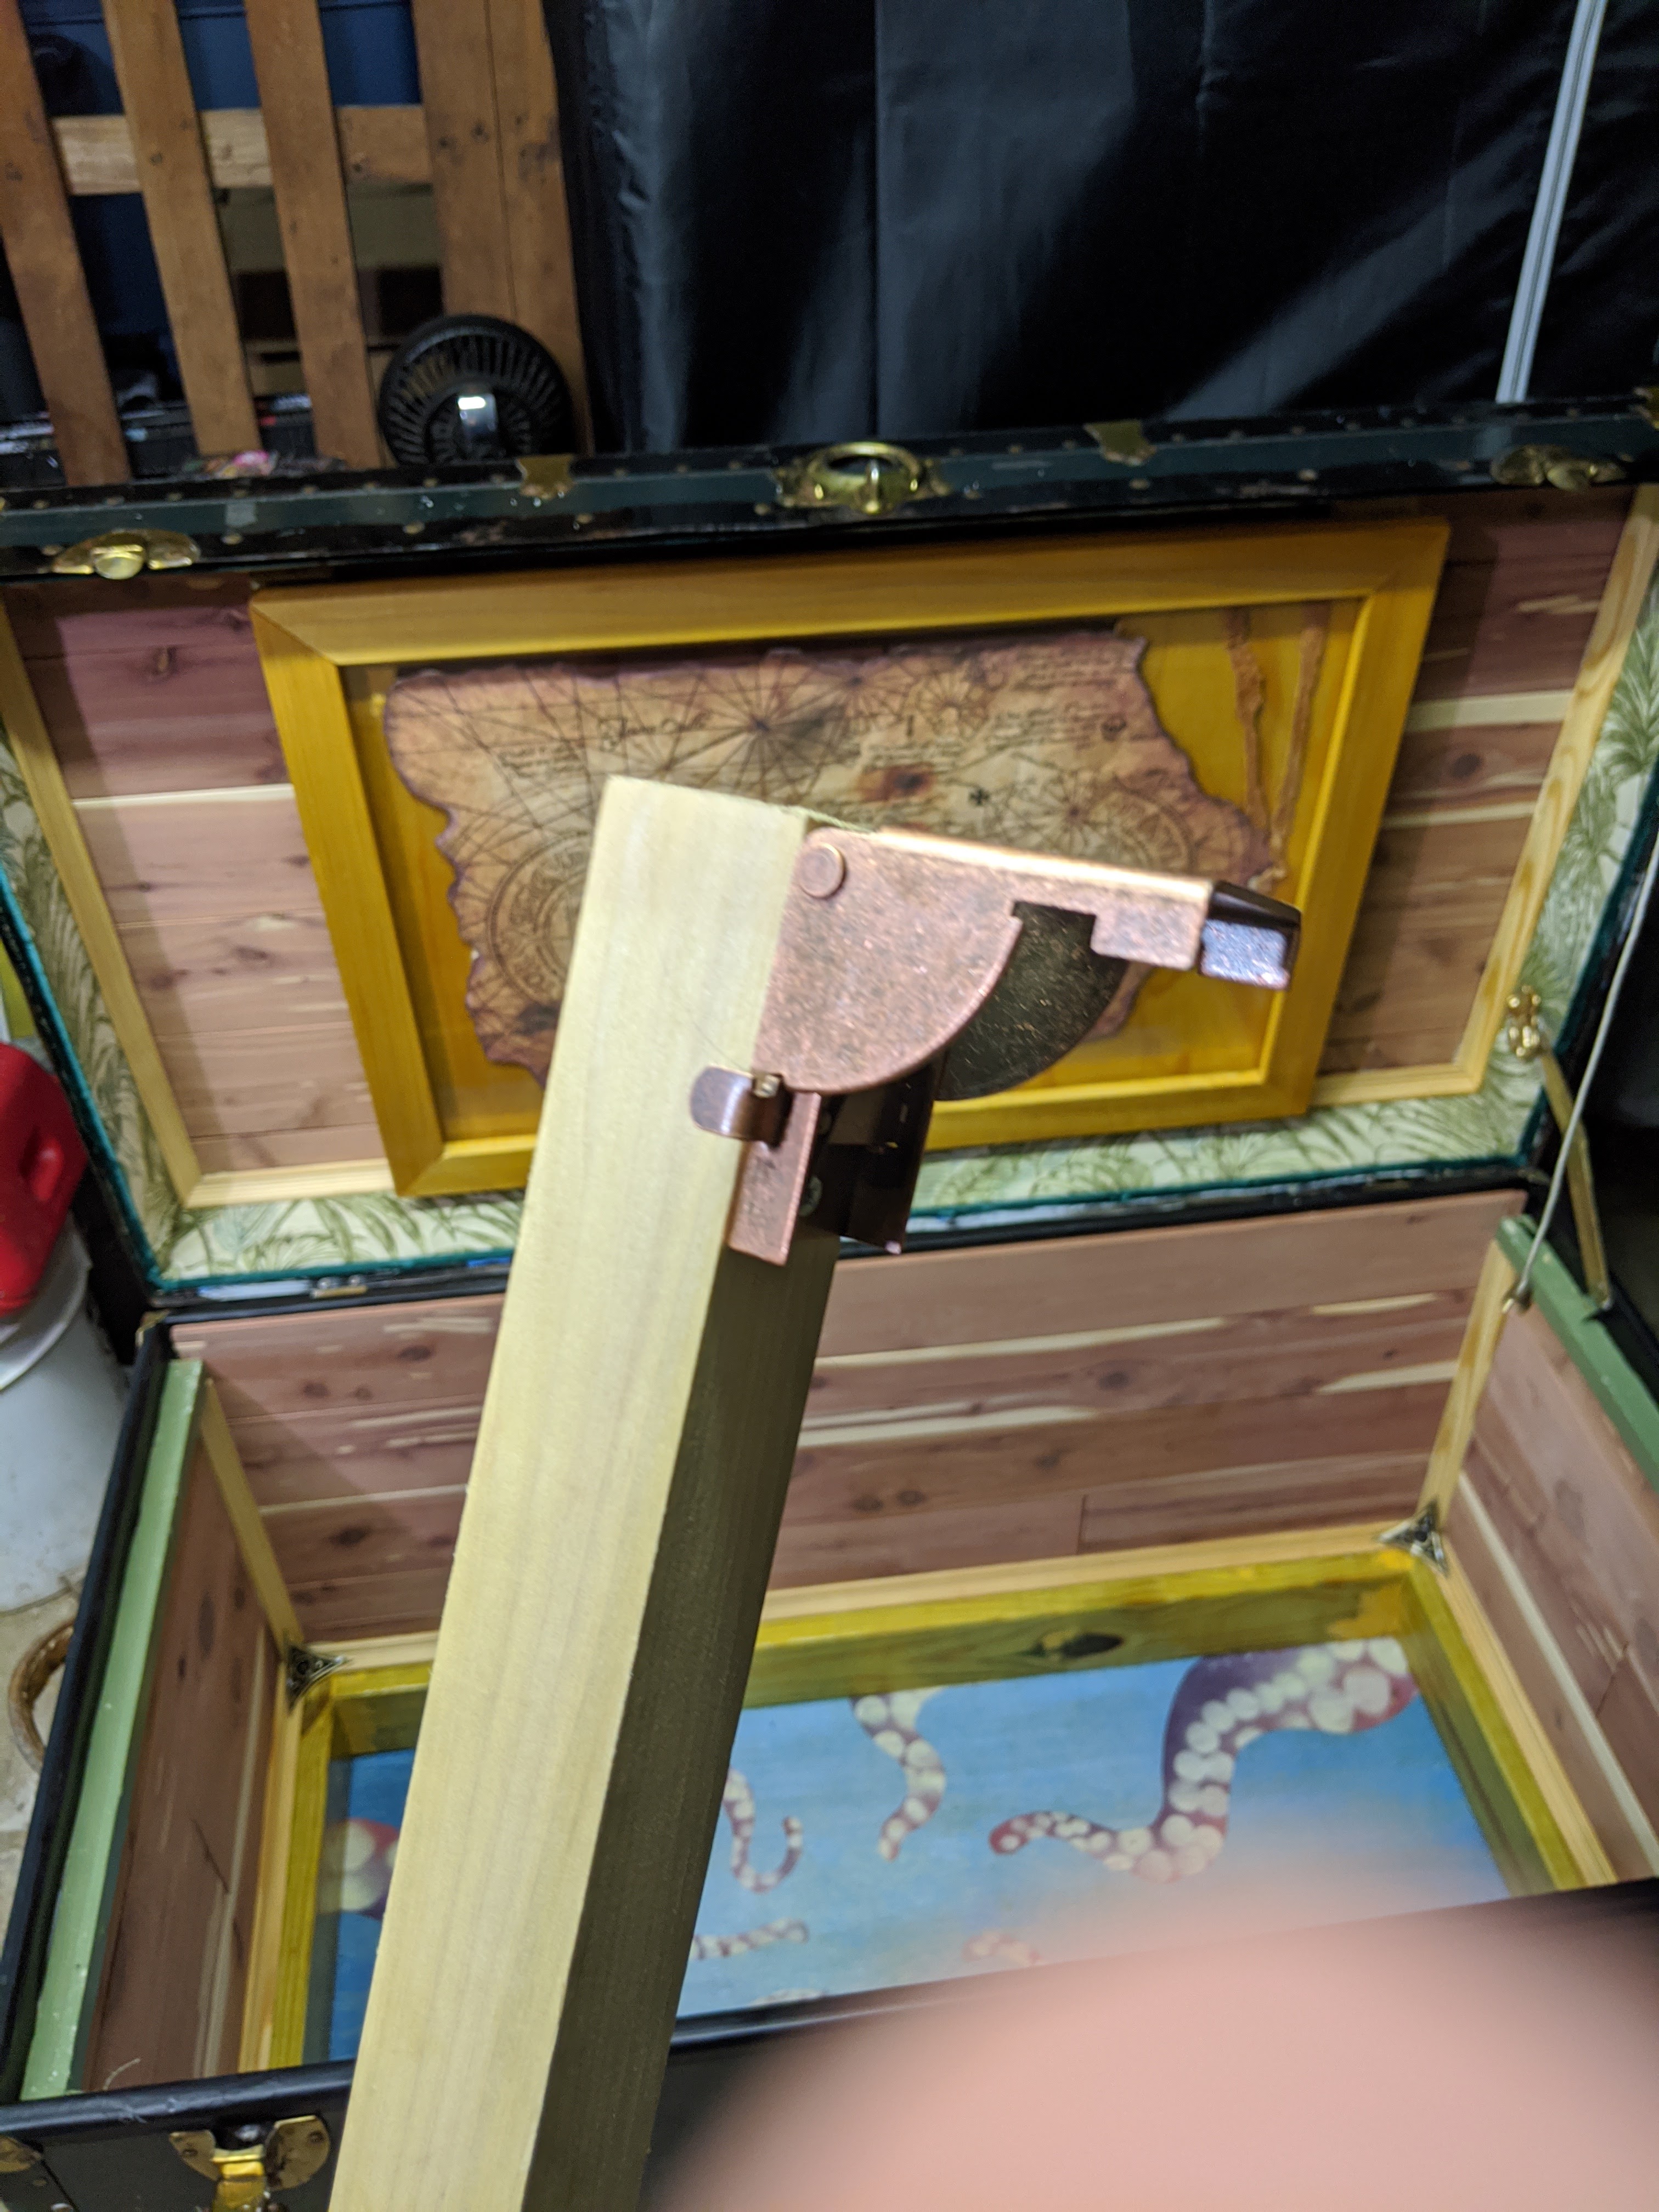
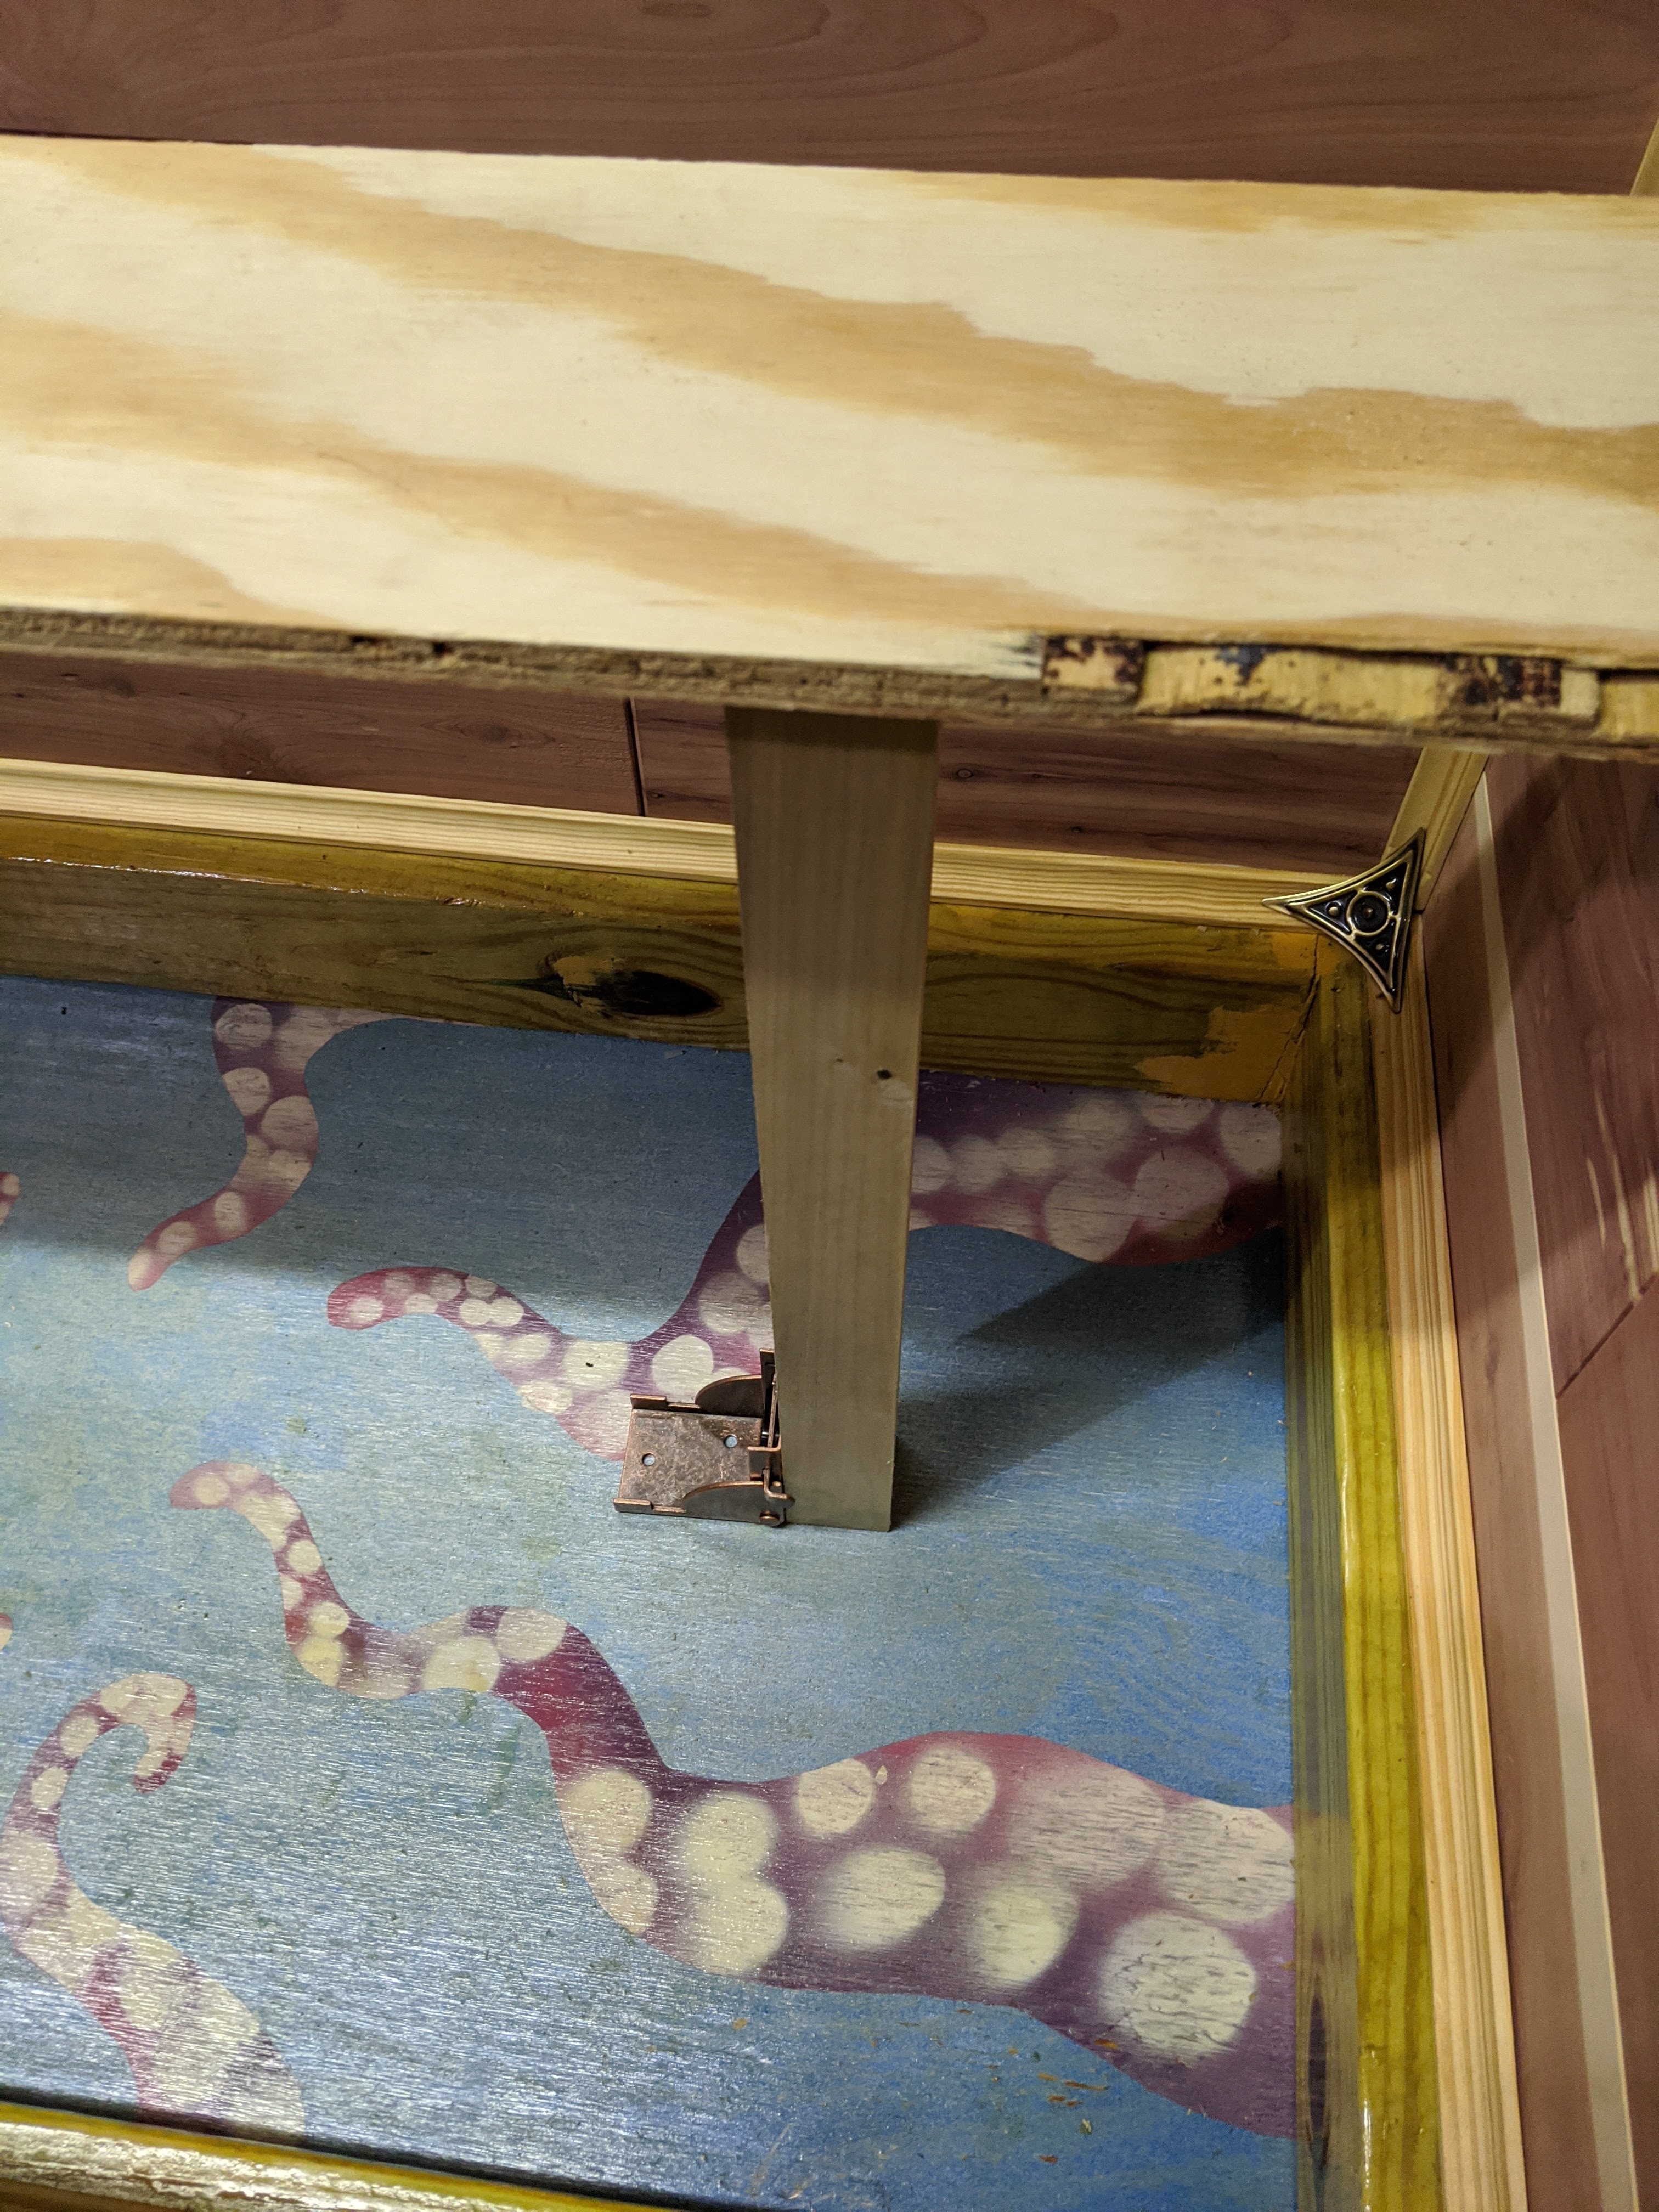
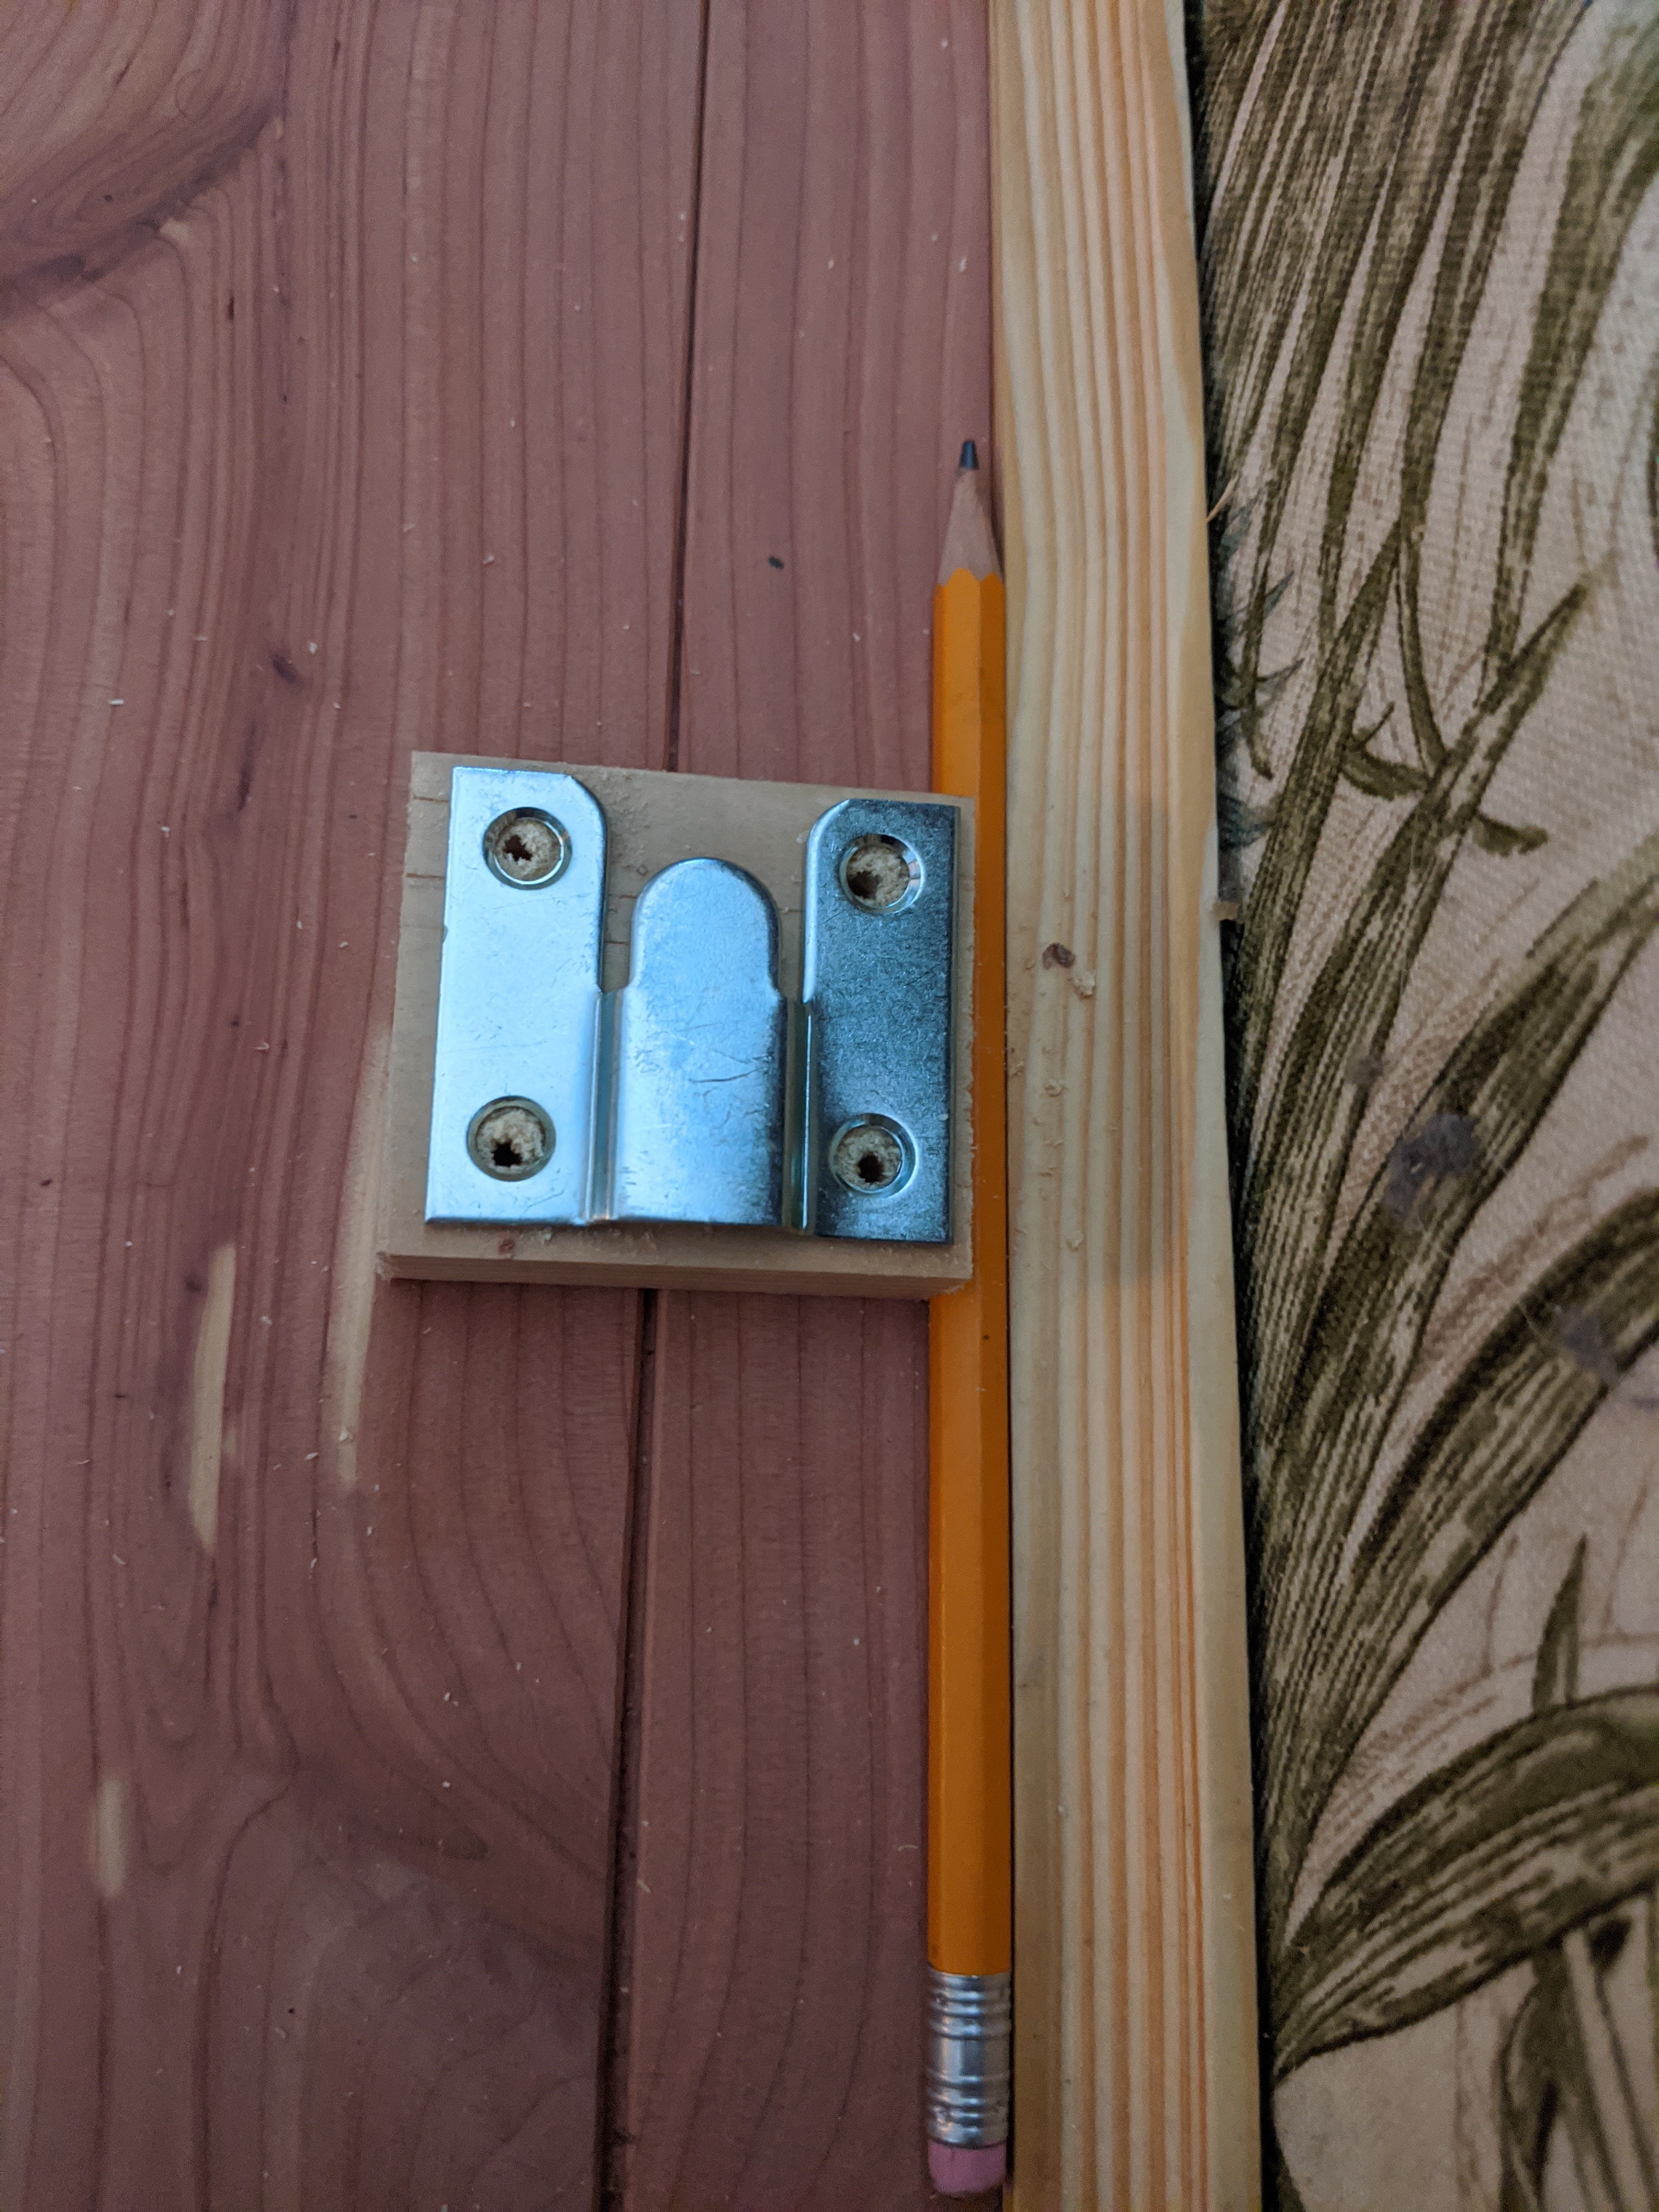
The next biggest trick was overcoming my own created obstacle – the wood trim pieces and the table legs. I couldn’t really move the legs further into the center of the table and not lose height of the legs as they would be too long to fit under the table. I could cut the trim pieces to let the legs fit but it was going to be messy and I had to hope to not nick or break anything while surgically doing so. Moreover, though the cuts would somewhat help stability, that would only be side to side, not forward, where if I didn’t lock the legs correctly, could mean falling candles and breakage of tools. I let this spin around in my head for a bit and after some research on hardware, I found a solution!
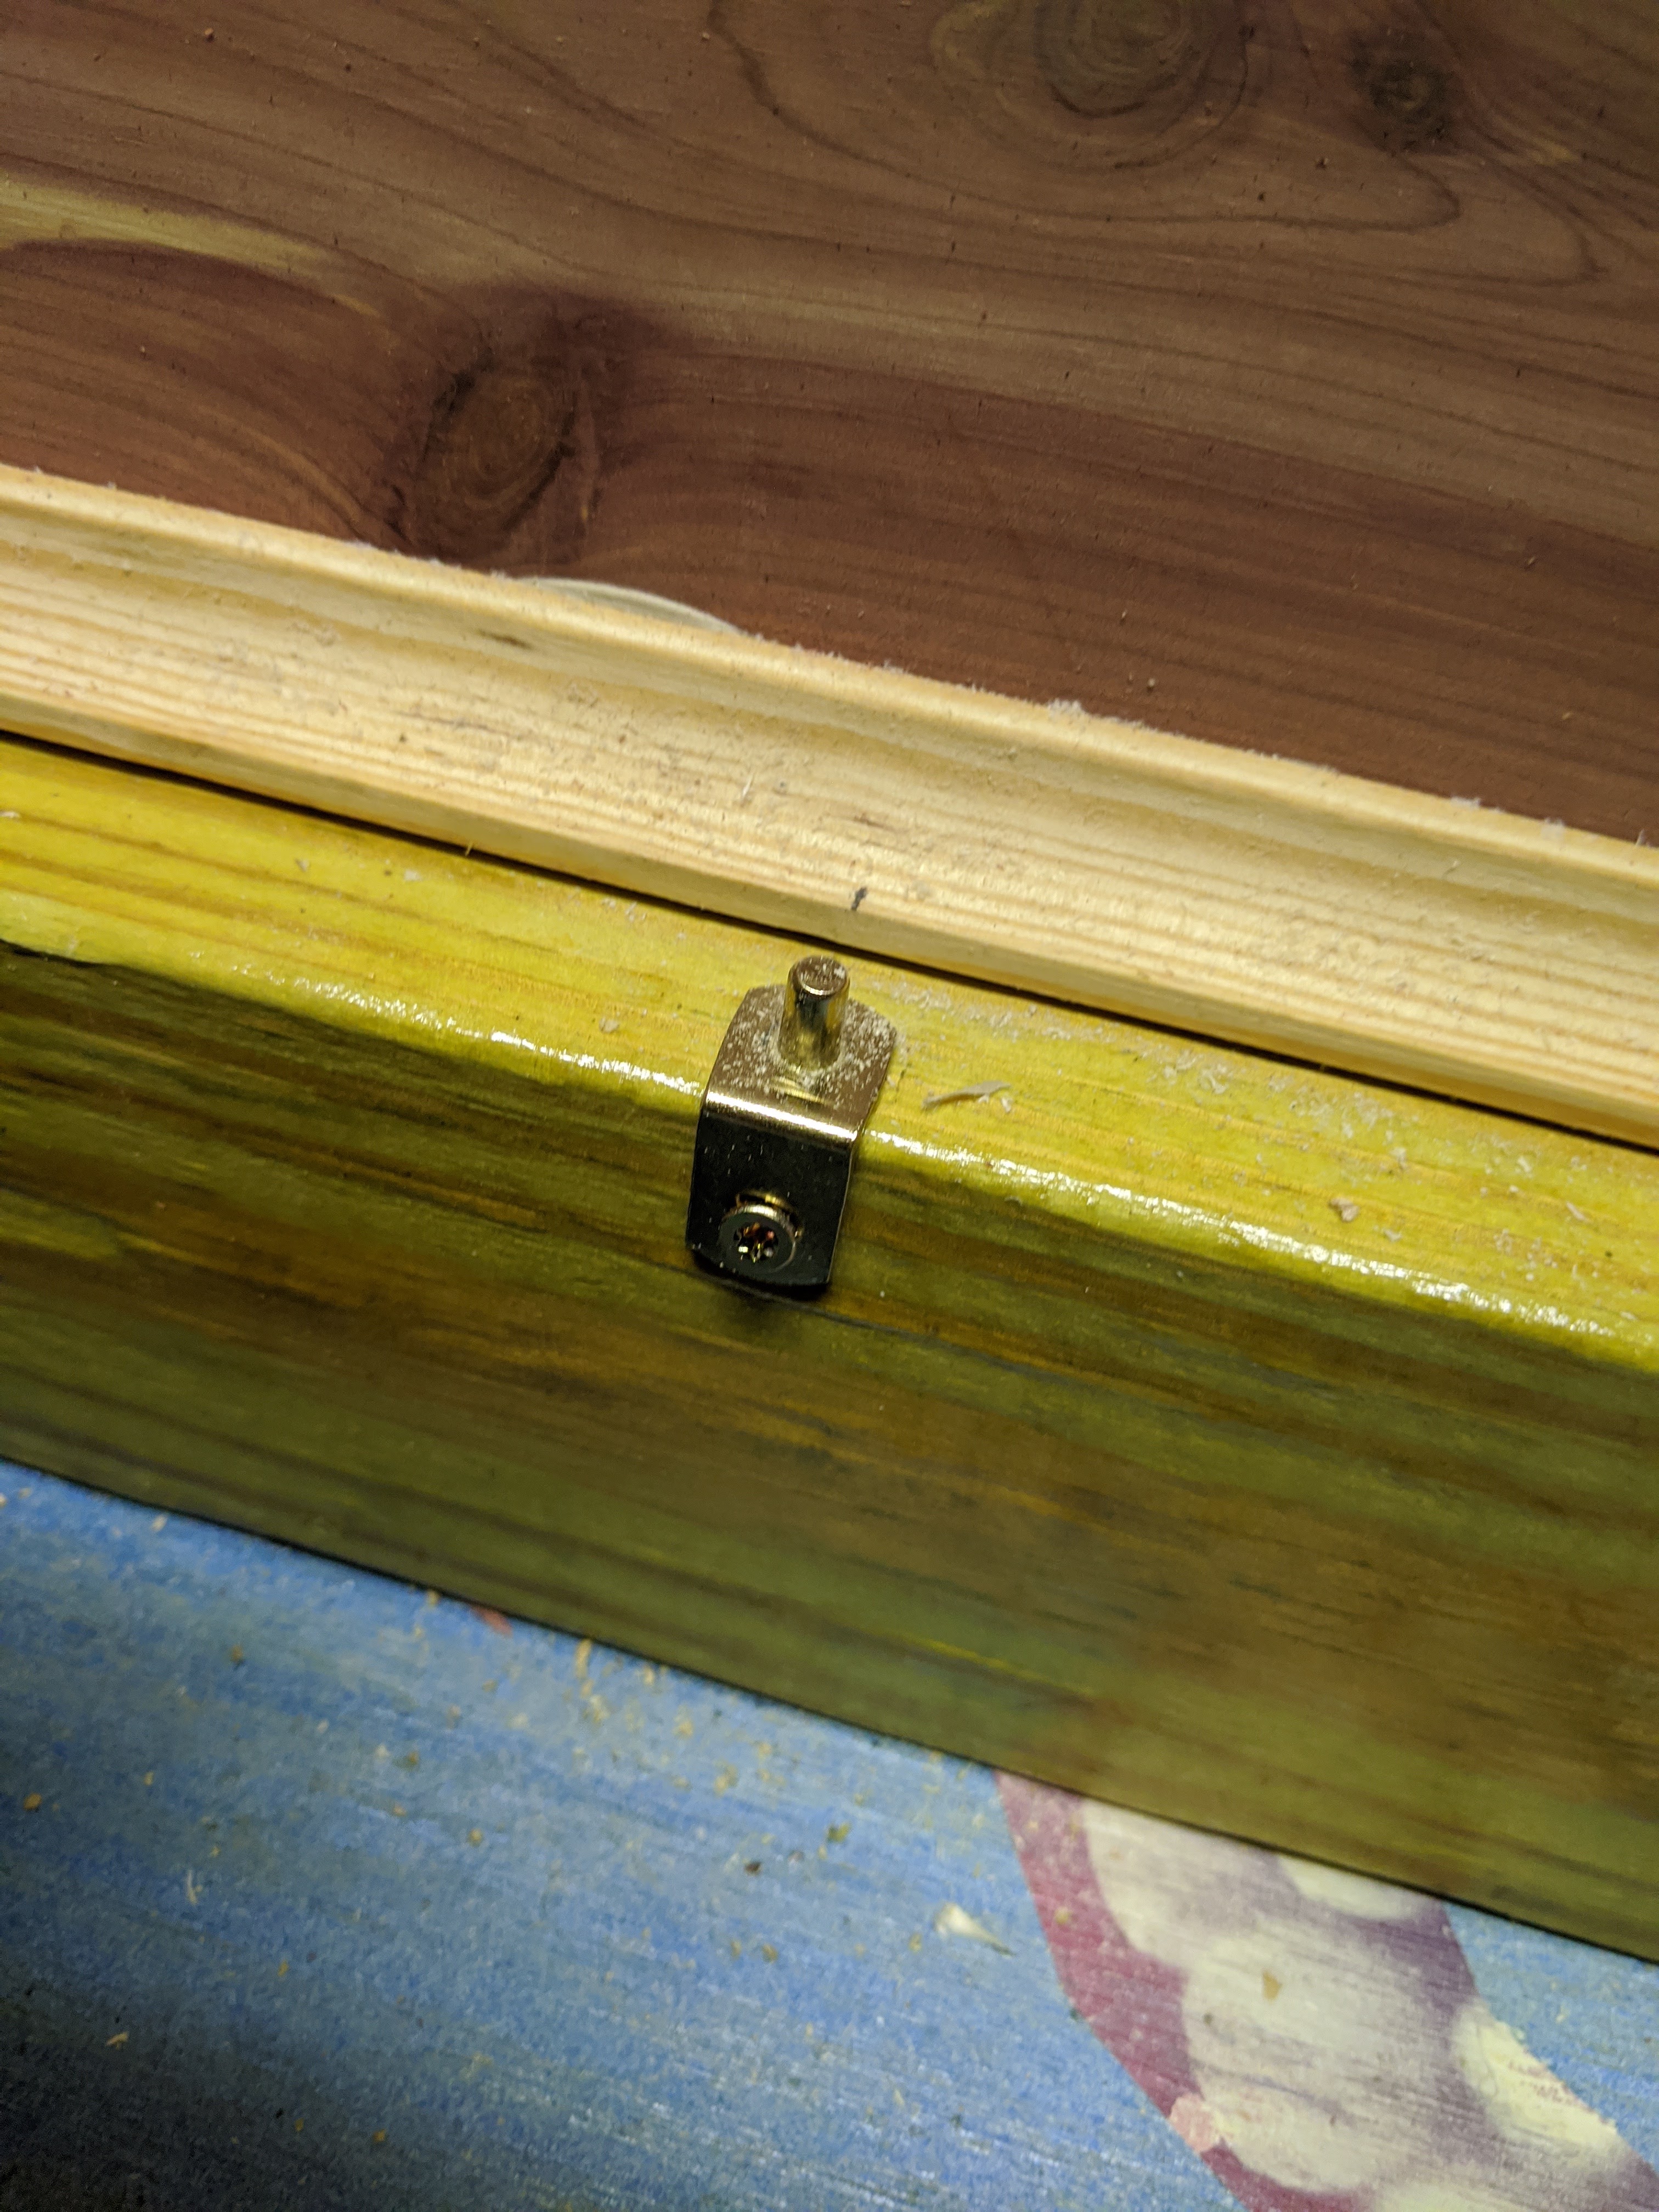
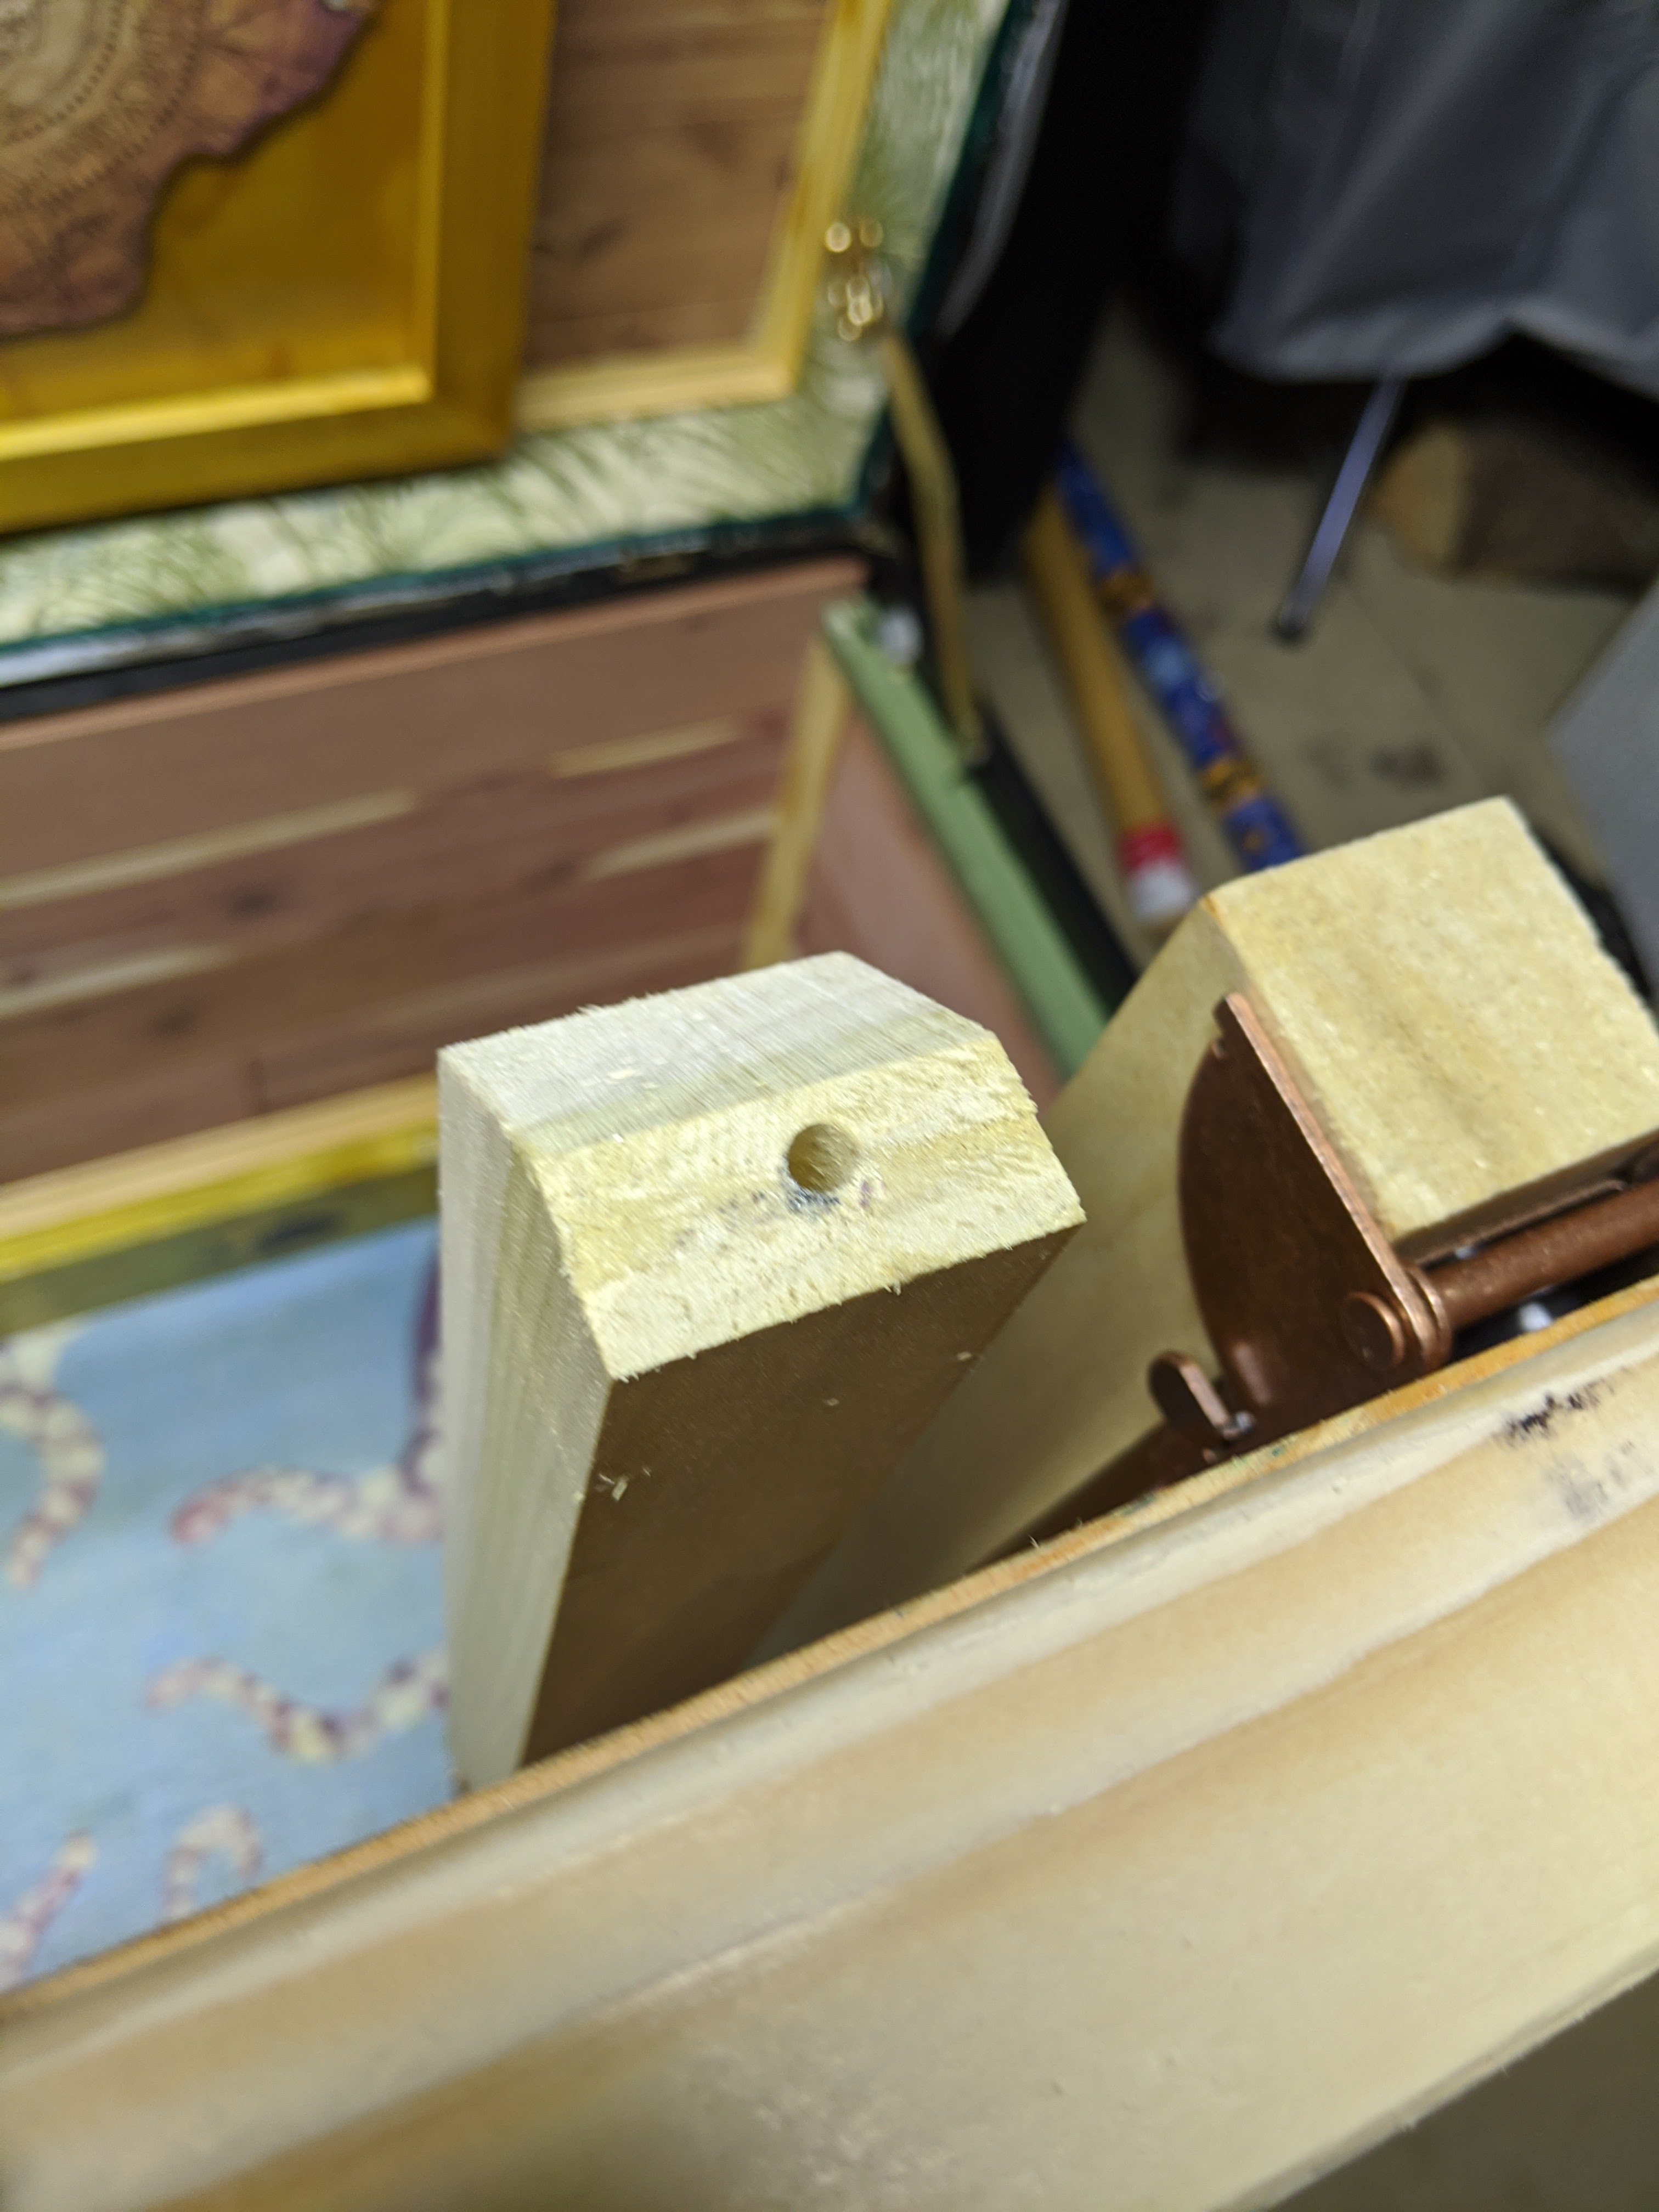
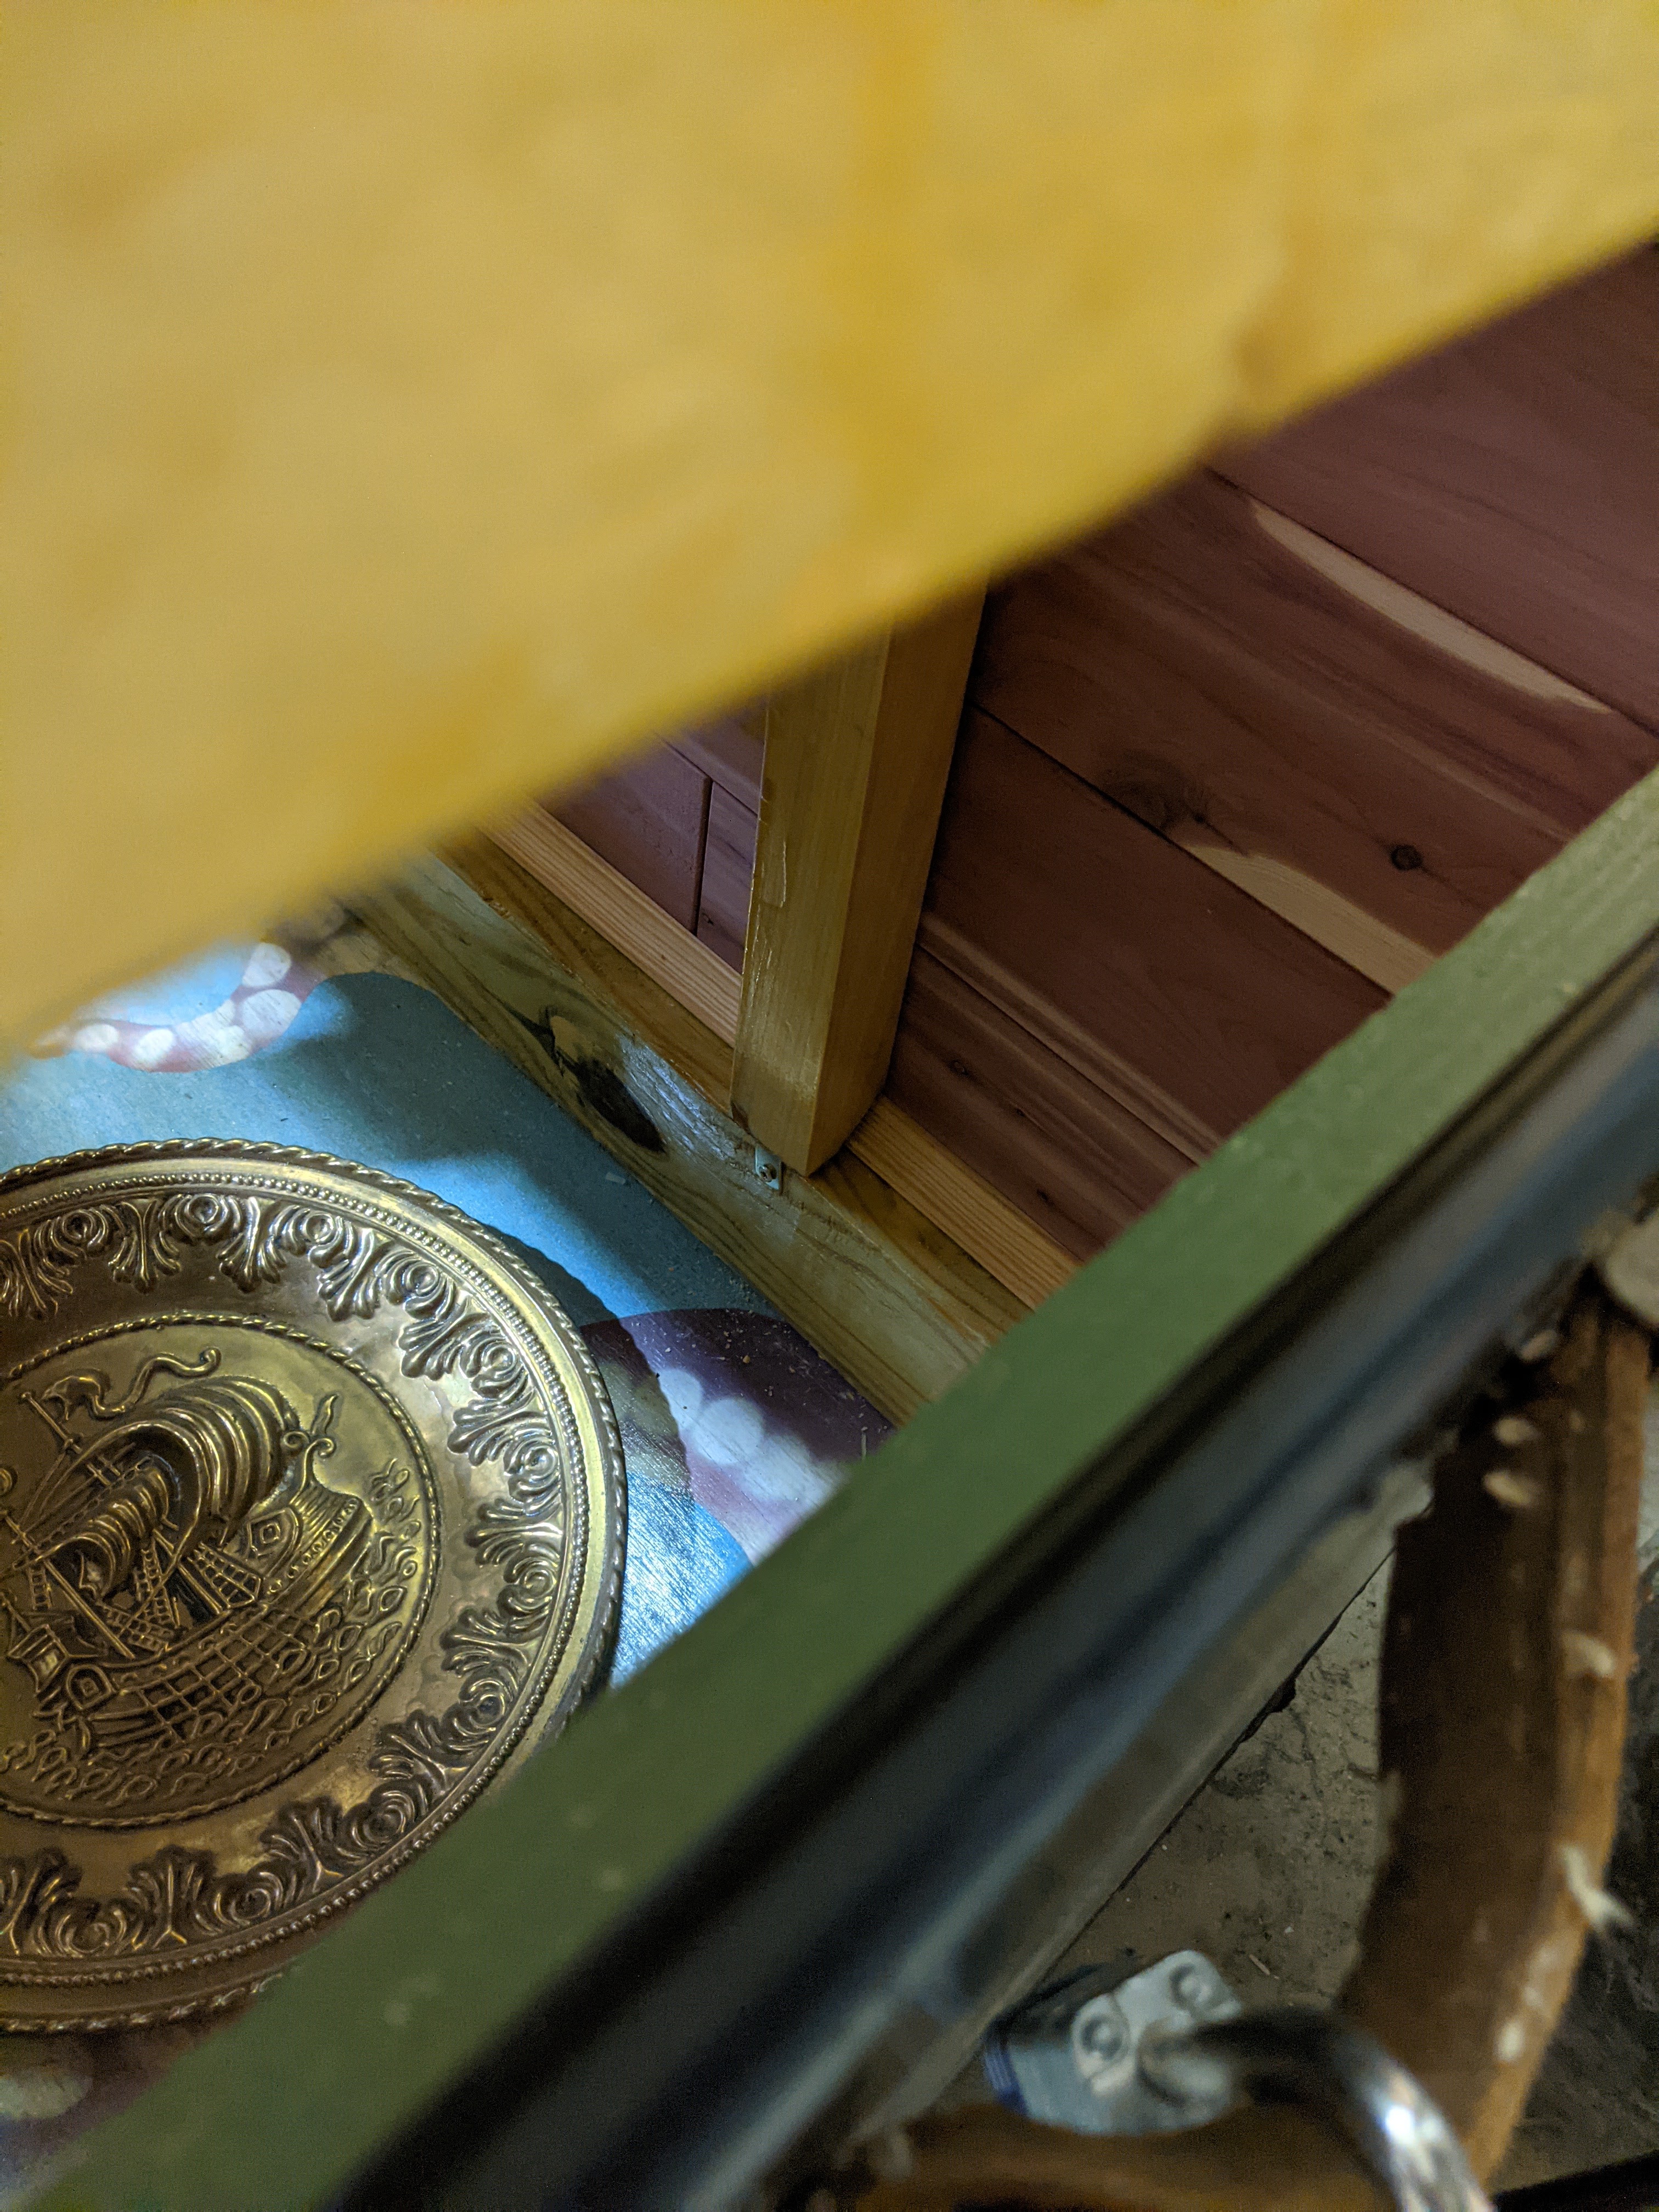
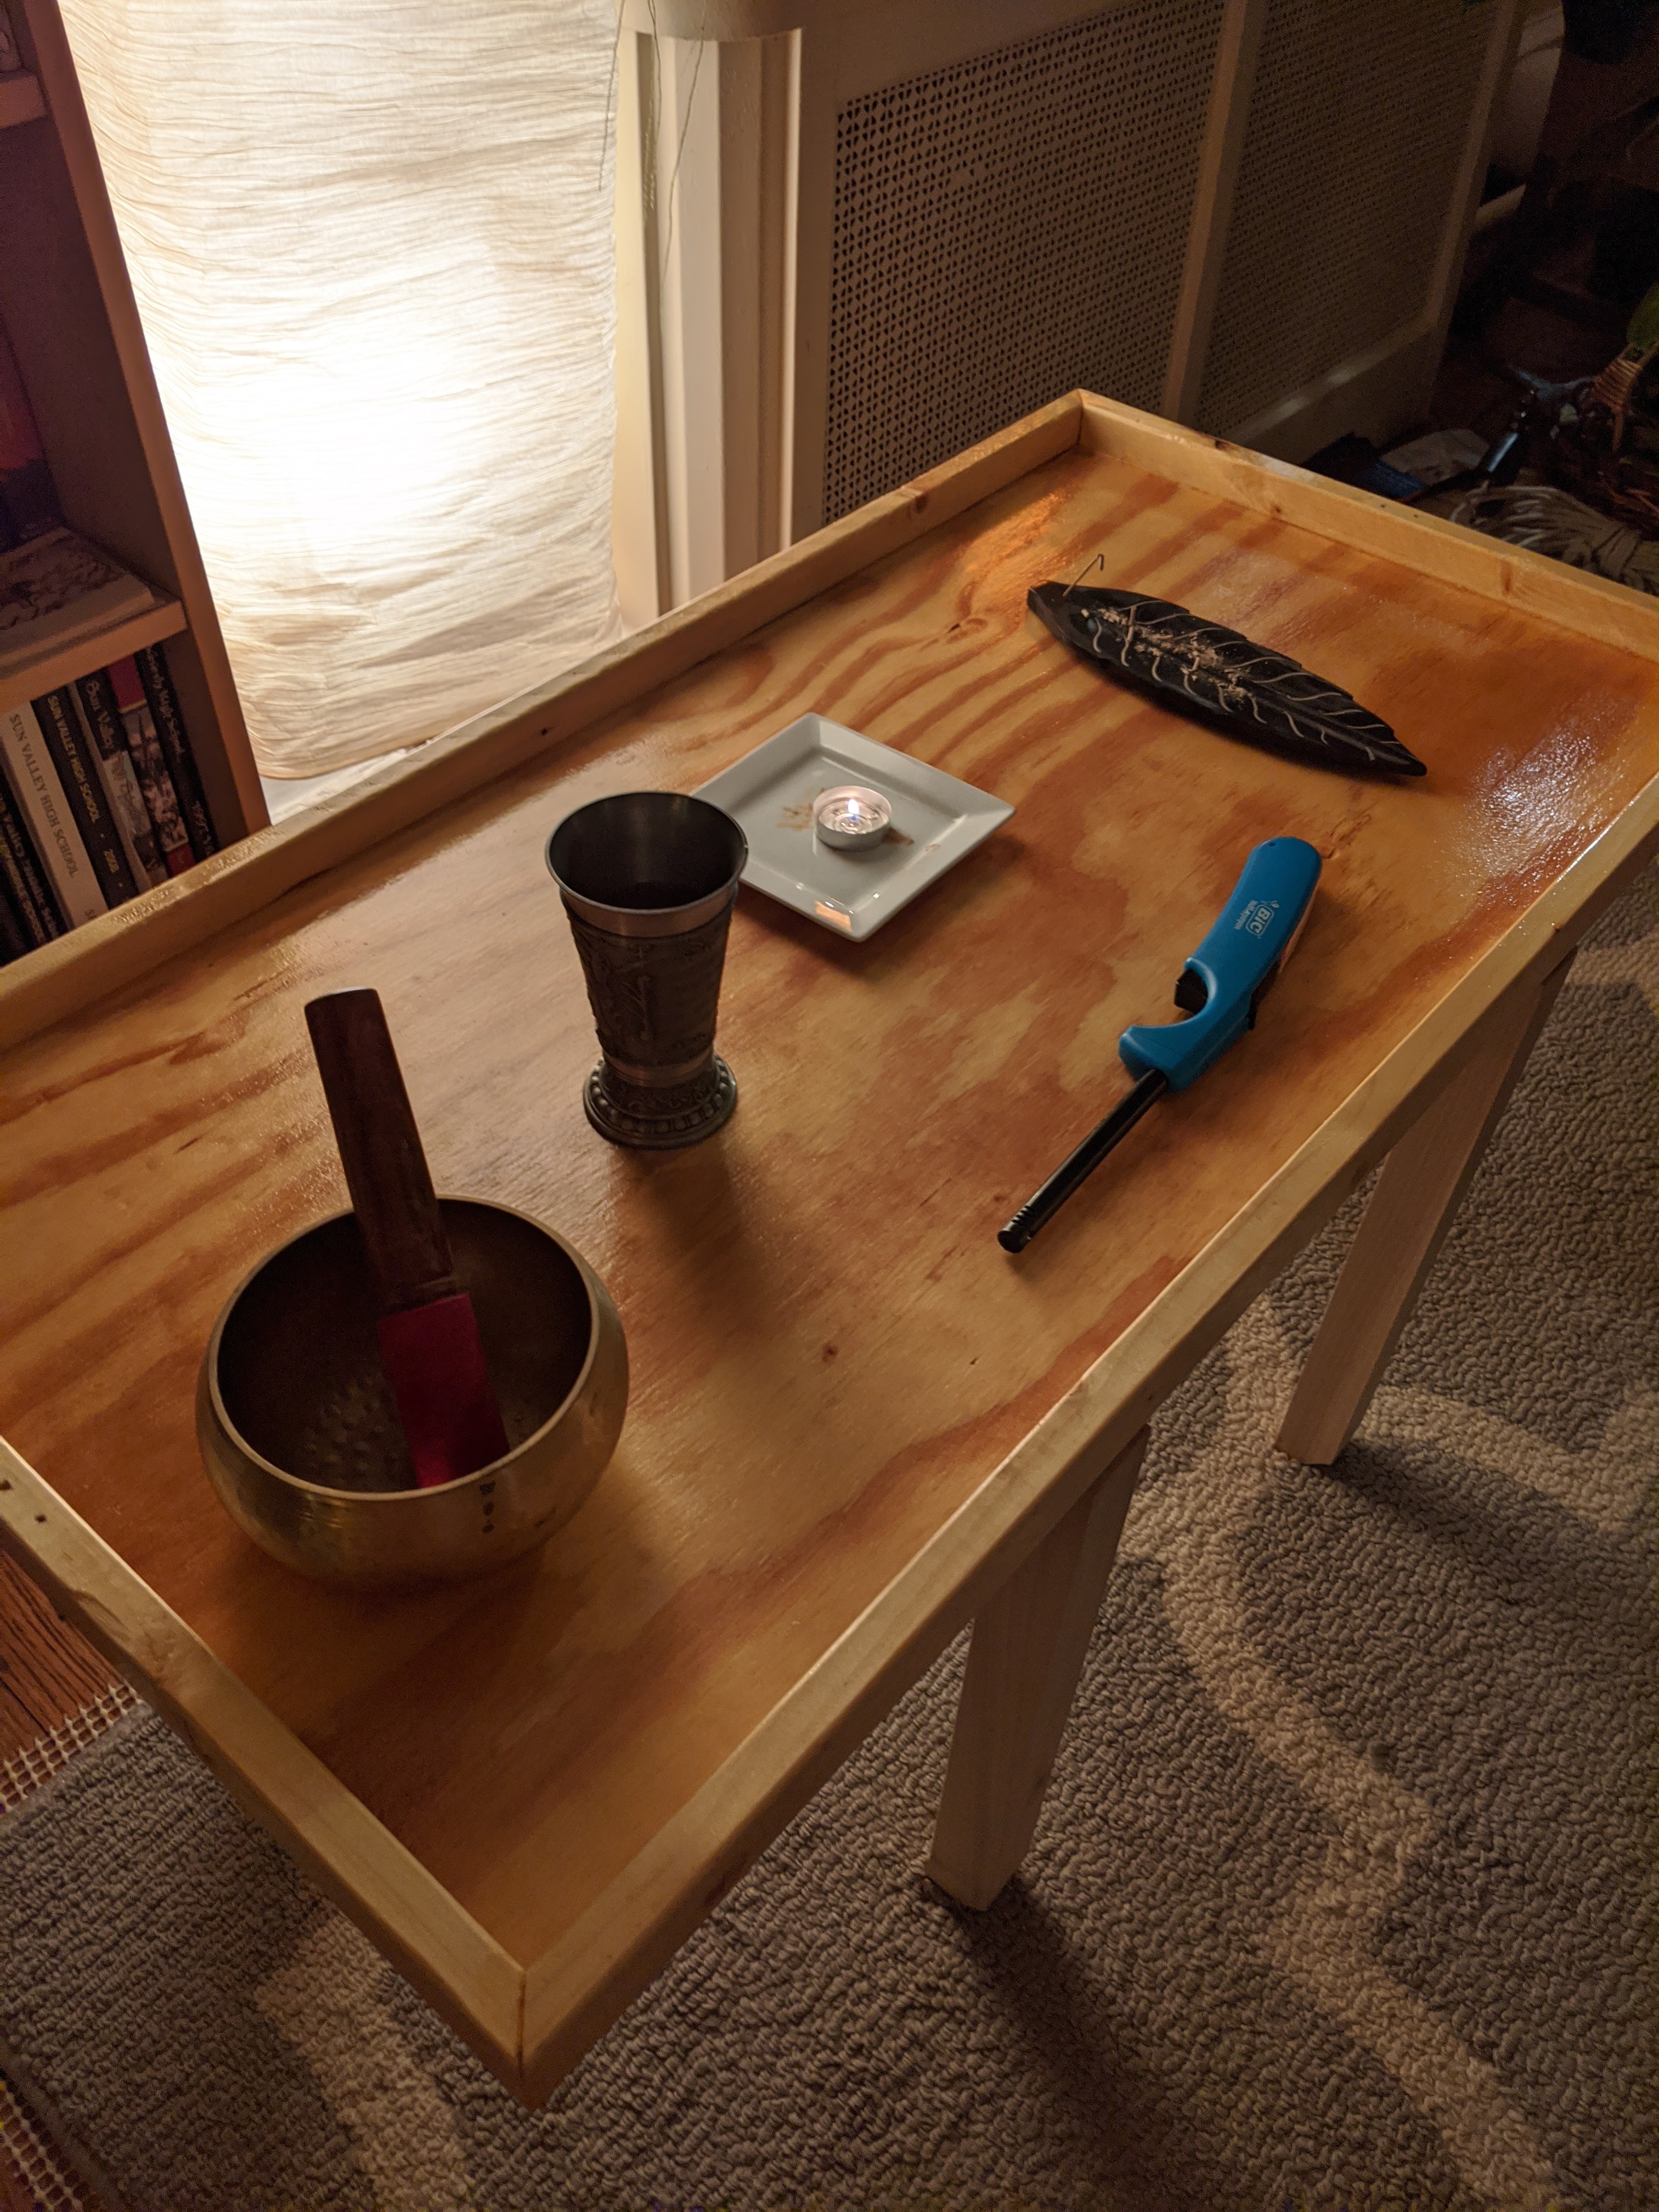
I used shelf brackets as ‘pegs’ for the legs to clip into on the edge of the internal frame. This would let them keep the original height, while maintaining balance and stability. I then measured and cut the difference on the leg between the wall and the trim piece so it would be flush when it was in standing placement. It was a painstaking process to get it all just right and it can be a mild pain to get the legs just right in the trunk when it’s upright but there’s enough gap to adjust them to fit. I spent the next few days varnishing the table to finish it. LET THERE BE TABLE. AND IT WAS GREAT.

Conclusion (or is it?!)
I’ve had a few people ask what my next set of plans for it is and the answers are specific. I’m deliberately choosing not to do anything on the outside (at least for now) because I enjoy the quiet, unassuming nature of the exterior. The latches still work works, I may have to change the handles some day, and maybe at some point clean it up more – but I’m not sprucing up the outside.
I do have plans to make little wheel chocks to keep it from rolling and at some point I will make two small chests that will rest inside of the trunk but I’m saving that for another blog and another day/year (and hopefully proper working space). For now, it’s complete and I’m very happy with it. ❤
Please let me know if you have any questions, I’ll do my best to answer them!!
Cheers! D.
